
Spring DIY: Naturally Dyed Easter Eggs

Check out my Garden E-Book!
Did you know I wrote an e-book? It’s perfect for beginner gardeners in their first 3 years of gardening. Check it out and purchase my e-book here!
I’m so happy it’s spring again! For me, this time of year brings a lot of joy with the return of flowers, bright colours and warmer air. Quinn and our golden retriever Zoe have been spending extra time running around outside lately and going on hikes, while I’ve been feeling extra inspired to think of seasonal, family friendly activities! I’m still not over this adorable picnic moment or this DIY play dough in springtime colours. Also, if you haven’t seen my blog full of spring break ideas yet, click here for some inspiration!

Today I’m coming at you with another DIY, and this time it’s all about dyeing Easter eggs using colour-rich foods instead of chemicals to get a spring palette. My family celebrates Easter, but this can be a fun craft no matter how significant you consider the holiday to be. And, if this DIY isn’t for you, no worries — I’ll be back with more soon!
This blog is all about taking one step at a time on our sustainable journeys, and holidays are a perfect time to make little adjustments. I say “little” because we get quite used to our traditions and I’m not suggesting anyone change those overnight! In my opinion, the best thing we can do is to identify areas that generate waste or are harmful to our health, then find eco swaps for them (whether materials or practices) and give those a try.

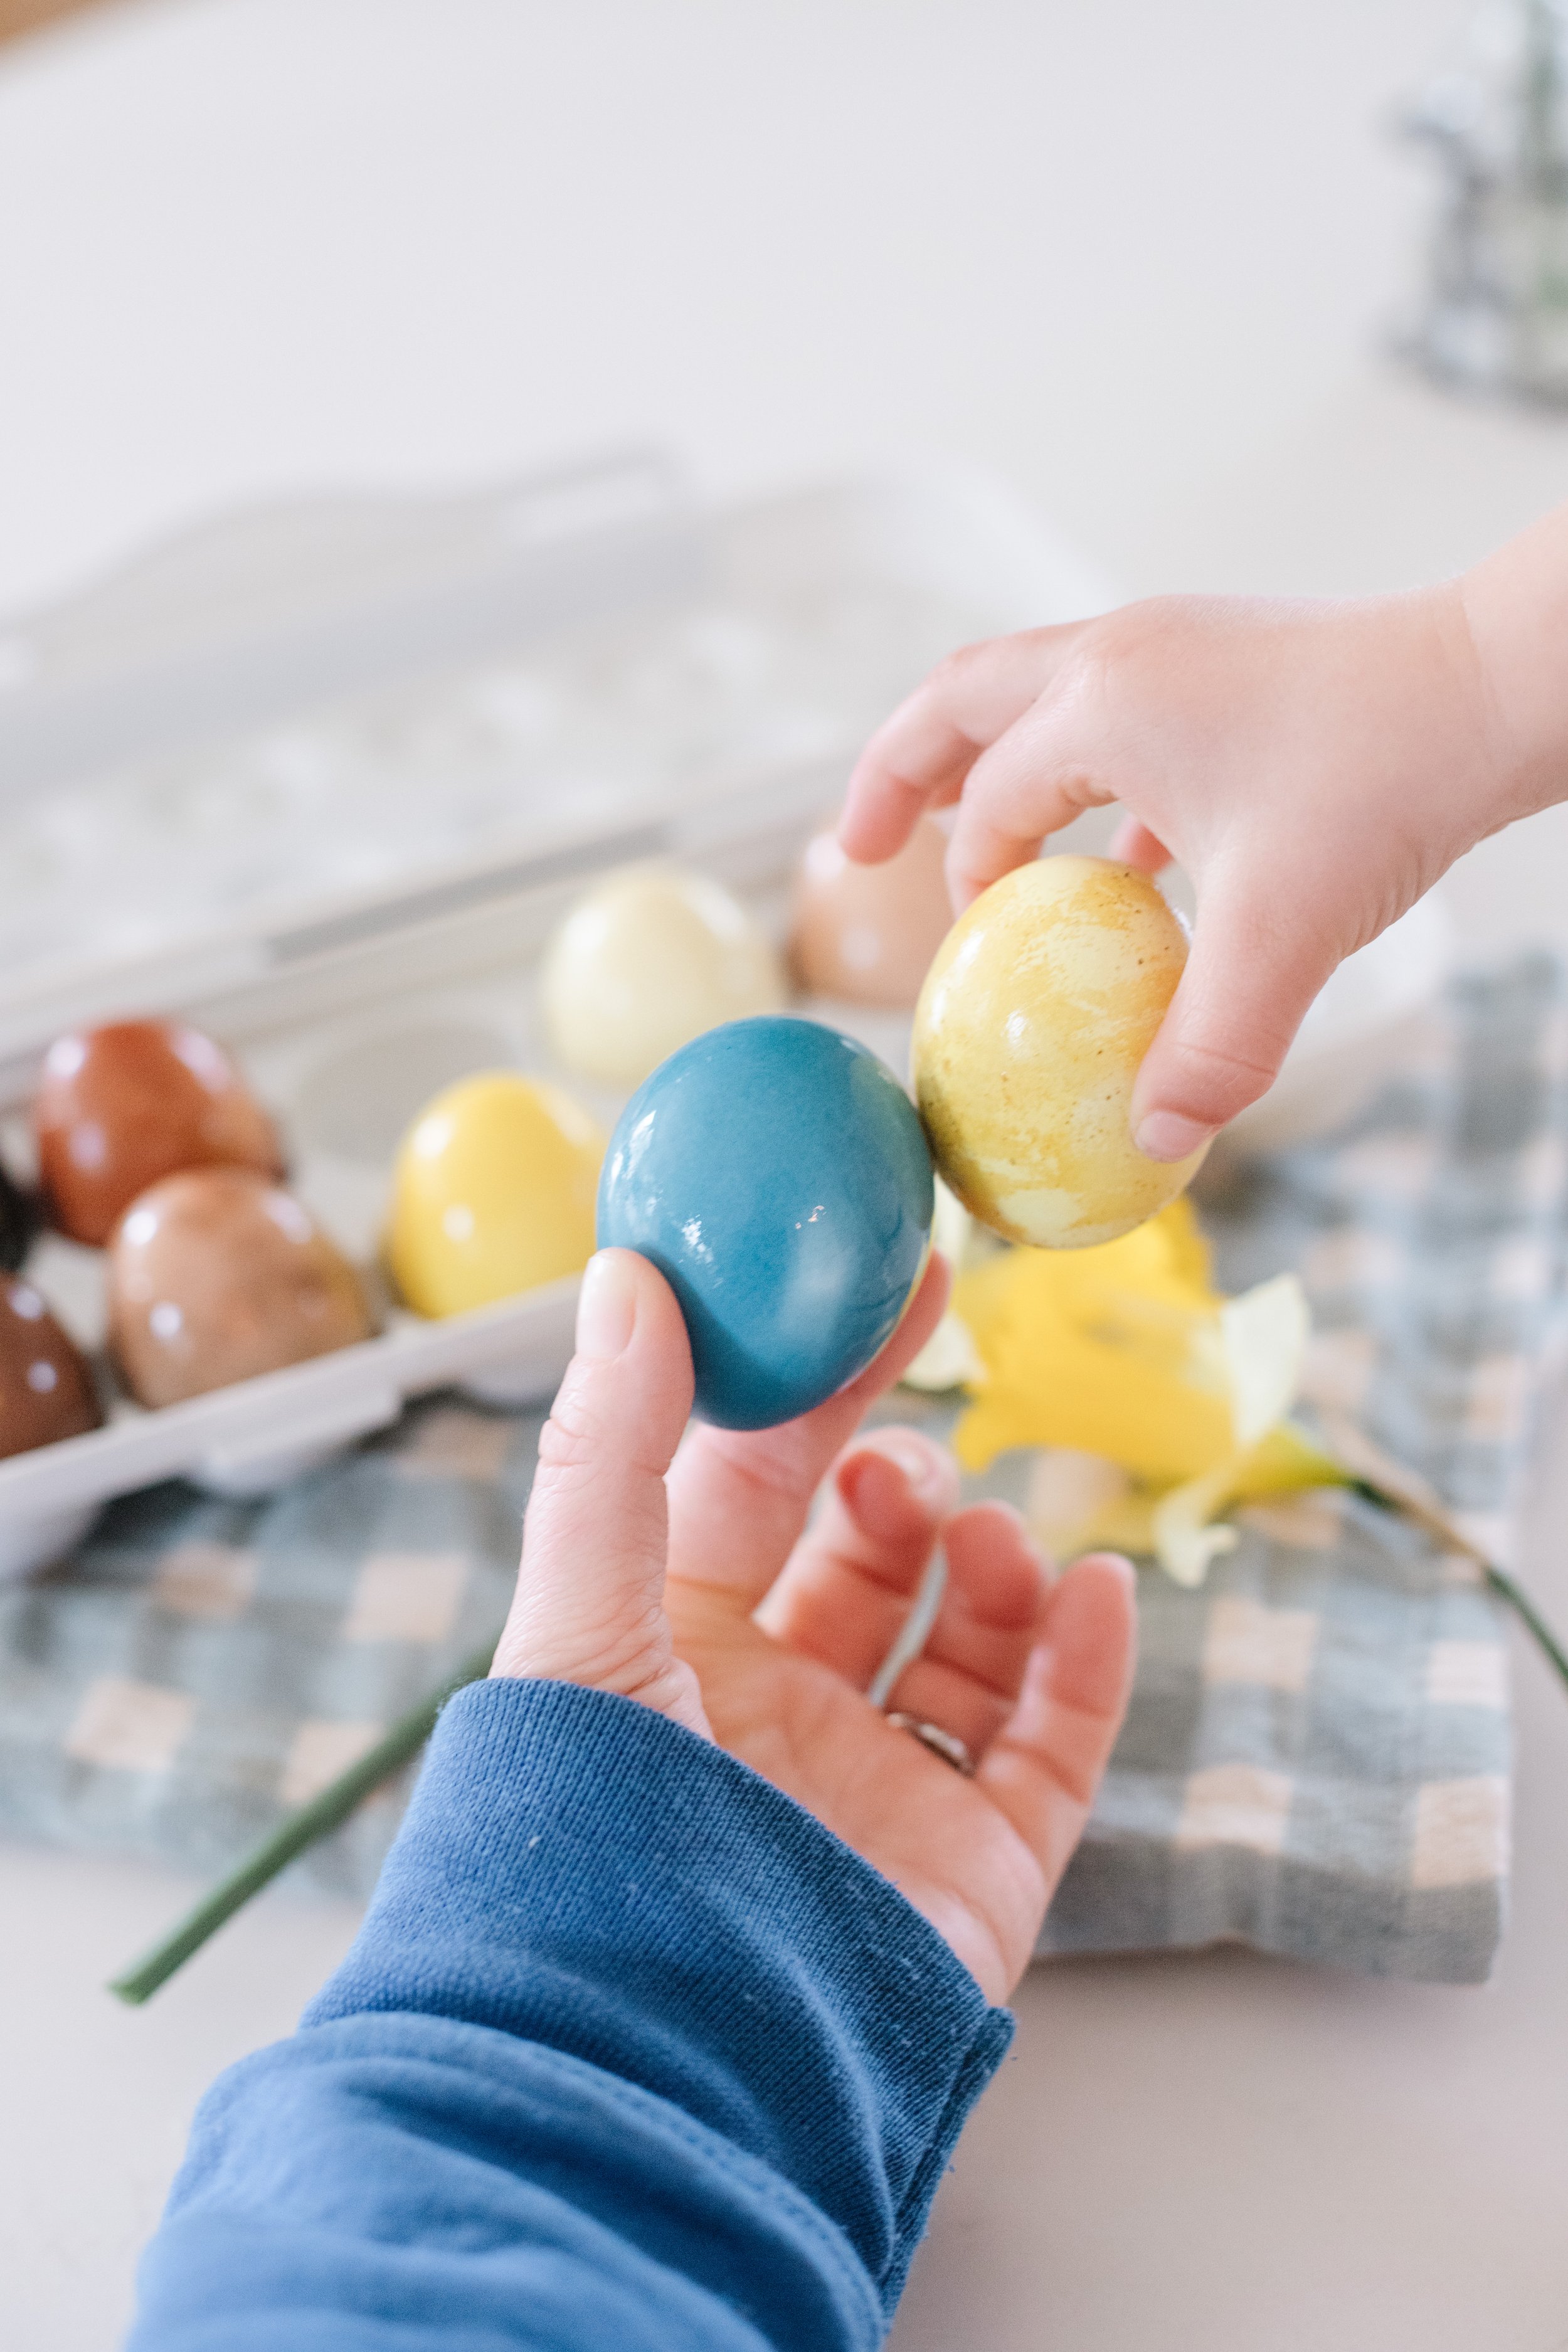
This year, I wanted to try naturally dyeing eggs in Easter colours! This meant passing on synthetic dyes and colouring my eggs with foods that give off natural dyes. In addition to being a great sustainable alternative, playing with colour is a fun way to spark the imagination. It’s also free of waste — after hard boiling and dyeing your (ideally organic white) eggs, you can eat them (maybe in a large potato salad or for breakfast on toast?!). I had such a blast and kept wondering why I haven’t always done this! This is definitely something to get older kids involved with, too, but I recommend keeping very young hands away since stains can happen (with turmeric especially!).
All right, are you ready to find out how to make eco egg magic? Keep reading and happy Easter!

Equipment and ingredients you’ll need:
Various pots for boiling eggs and colour solutions (you'll need to do each solution in a separate pot)
Reused glass jars (the wider the mouth the better) with tight-fitting lids
Slotted spoon (that fits in the jars)
Old towel or rag that you don’t mind staining
Carton of eggs (ideally organic white eggs)
Colour solution ingredients (see below for ideas)
White vinegar (use the kind you cook with, not concentrated cleaning vinegar!)
How I got my colours:
White eggs:
Robin egg blue: 3 cups grated red cabbage
Light speckled blue: 1 cup frozen blueberries (warmed up in the microwave)
Yellow: 2 tsp turmeric (powder is fine)
Light pink: 2 cups grated fresh beets
Brown eggs:
Black: 3 cups grated red cabbage
Darker brown with reddish hue: 2 cups grated fresh beets
Medium brown: 1 cup frozen blueberries (warmed up in the microwave)

My tips for you:
Play with this! Test different ingredients (there are lots you can use that I didn’t mention!), amounts, timing, and treatments until you get your desired colour effect. It definitely takes some trial and error — I tried using carrots and to be honest, I wasn’t sold on the results. (If you figure out a way to make them work, I’d love to know!)
Hard boil your eggs first before dyeing. I don’t suggest boiling the eggs with the colour solution since you could overcook them.
If you’re interested in a more natural palette, brown eggs are interesting to dye as well as white eggs.
After dyeing your eggs, store them in the fridge to eat! You should consume them within a week, so only use as many as you will eat.
You can also enjoy the pickled beets and cabbage after dyeing your eggs pink and blue. I put mine on tacos - YUM.
Try running your eggs under cold water after removing from the solution to get the colours you like! See the photos above for a before and after of my blue eggs (dyed with cabbage!). I even rubbed them a little to make a speckled look on some.
Reuse different glass jars lying around your kitchen - my pasta sauce jars always come in handy! Just make sure they have tight-fitting lids and you are able to cover the eggs with your colour solution — personally, I could fit two eggs per jar.

Naturally dyed eggs recipe:
1. Bring water to a boil in your large pot and hard boil your eggs (7-9 minutes). Remove from the water using a slotted spoon and let cool while you prepare the colour solutions.
2. For each colour solution's pot, bring two cups of water, 1-2 tbsp of white vinegar, and food ingredient (e.g. cabbage) to a boil. Turn off the heat and let sit for at least 30 minutes.
3. After 30 minutes, pour each solution into a glass jar. Using your spoon, carefully add as many eggs as you like and that can be completely submerged in the solution.
4. Cover and leave overnight in the fridge — you'll want to give this at least 24 hours.
5. Remove the eggs with a slotted spoon and rinse under cold water if you want to create more of a pastel colour!

Thanks for reading — I hope you love this Dye-I-Y. :) I definitely encourage you to give this a shot if you’re curious! There are lots of different options you can play with, so I can’t wait to see what you do. Tag me on Instagram if you care to share!
Happy Easter and happy spring,