
Inside Our West Coast Cabin Renovation
There is something pretty special about renovating a cabin on the Pacific Ocean. There’s also the hurdles of being on a remote island! But we made it through and I am excited to share a few details with you. Balancing the practical things—small spaces, storage, durability, muddy feet, sandy towels, kids, guests and all the realities that come with a cabin—while also trying to create a place that feels like an escape was the goal.
For us, this cabin has always been about more than the renovation itself. It is a place where our family gathers, where we cook meals together, where the kids play on the beach, where we watch sunsets, storm watch in the winter and hopefully create the kind of memories that stay with us for years.
After sharing individual reveals of the kitchen, living room, bedrooms and outdoor dining space, I thought it was finally time to put the whole renovation together in one place.
So, welcome to our complete West Coast cabin renovation!
The Vision: A Small Cabin With a Big Purpose
One of the biggest lessons I learned during this renovation is that a small space doesn't have to feel small. Instead of trying to make every room as large as possible, we focused on giving the square footage to the places where we actually spend our time.
We actually moved walls by inches to accommodate furniture and beds, and those small measurements made a huge difference. It is one of those things you don't necessarily think about when you're dreaming about paint colours and counter tops, but it ended up being one of the most important parts of the renovation.
The Living Room: Making a Small Space Feel Bigger
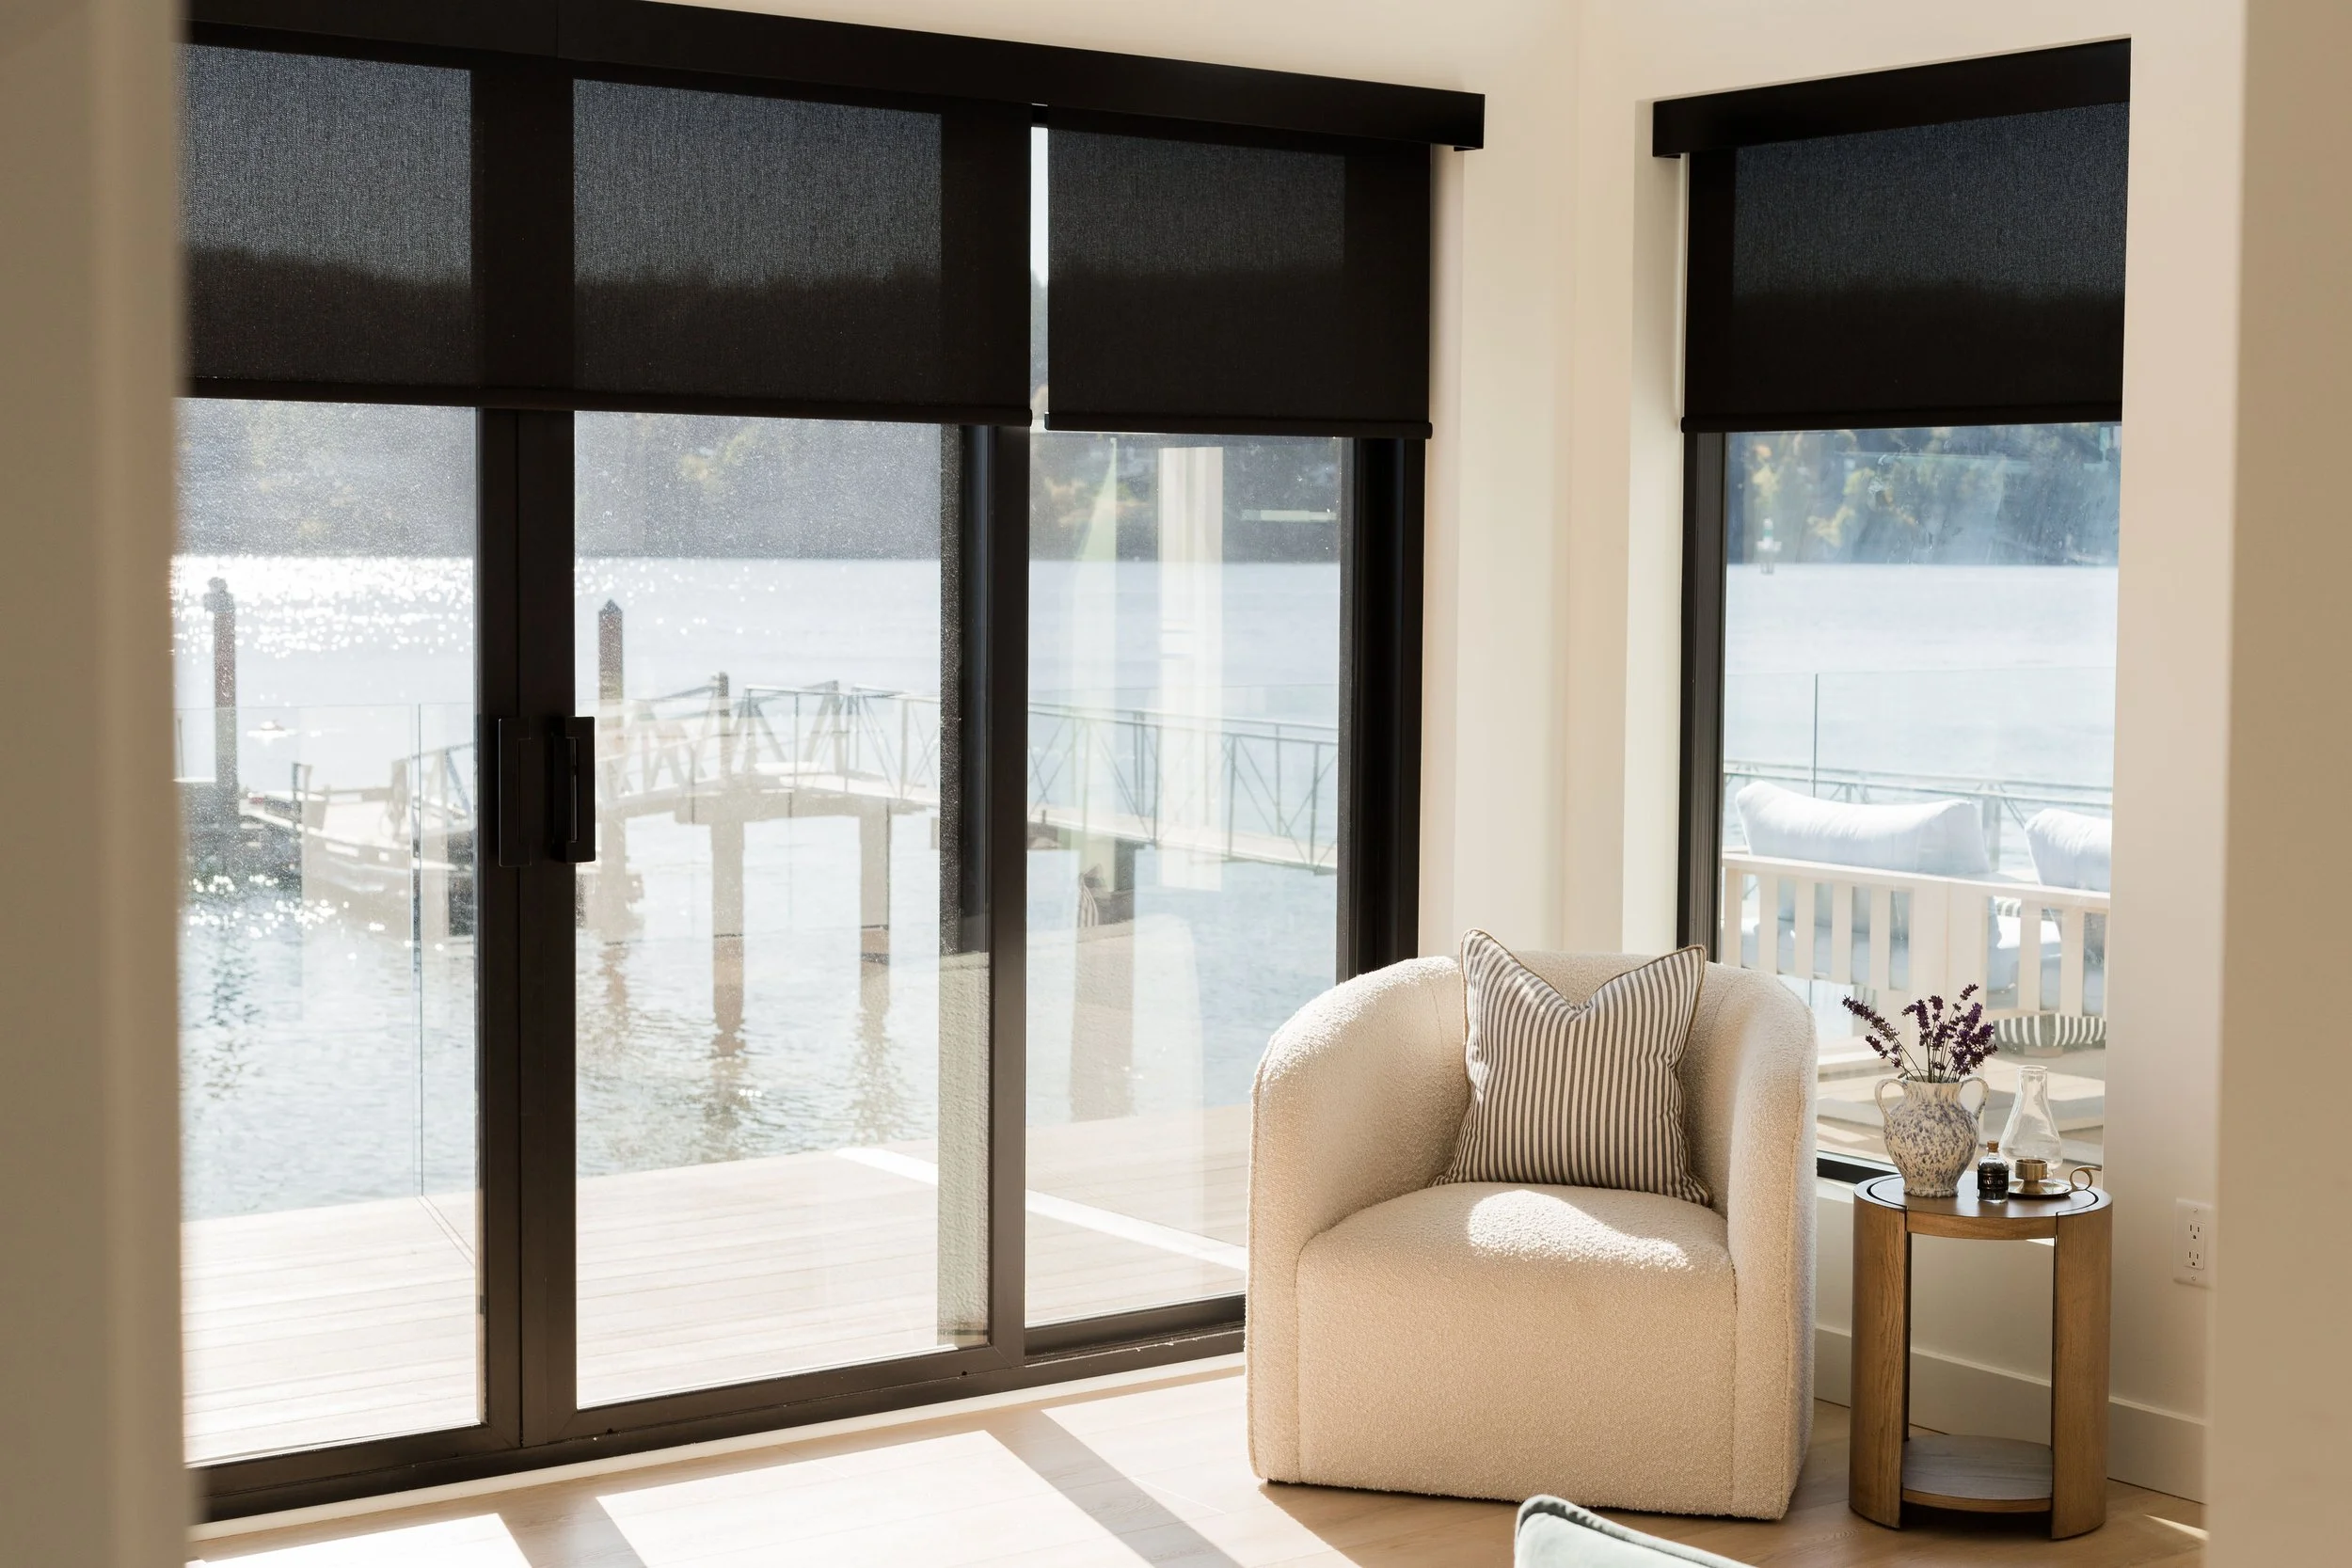
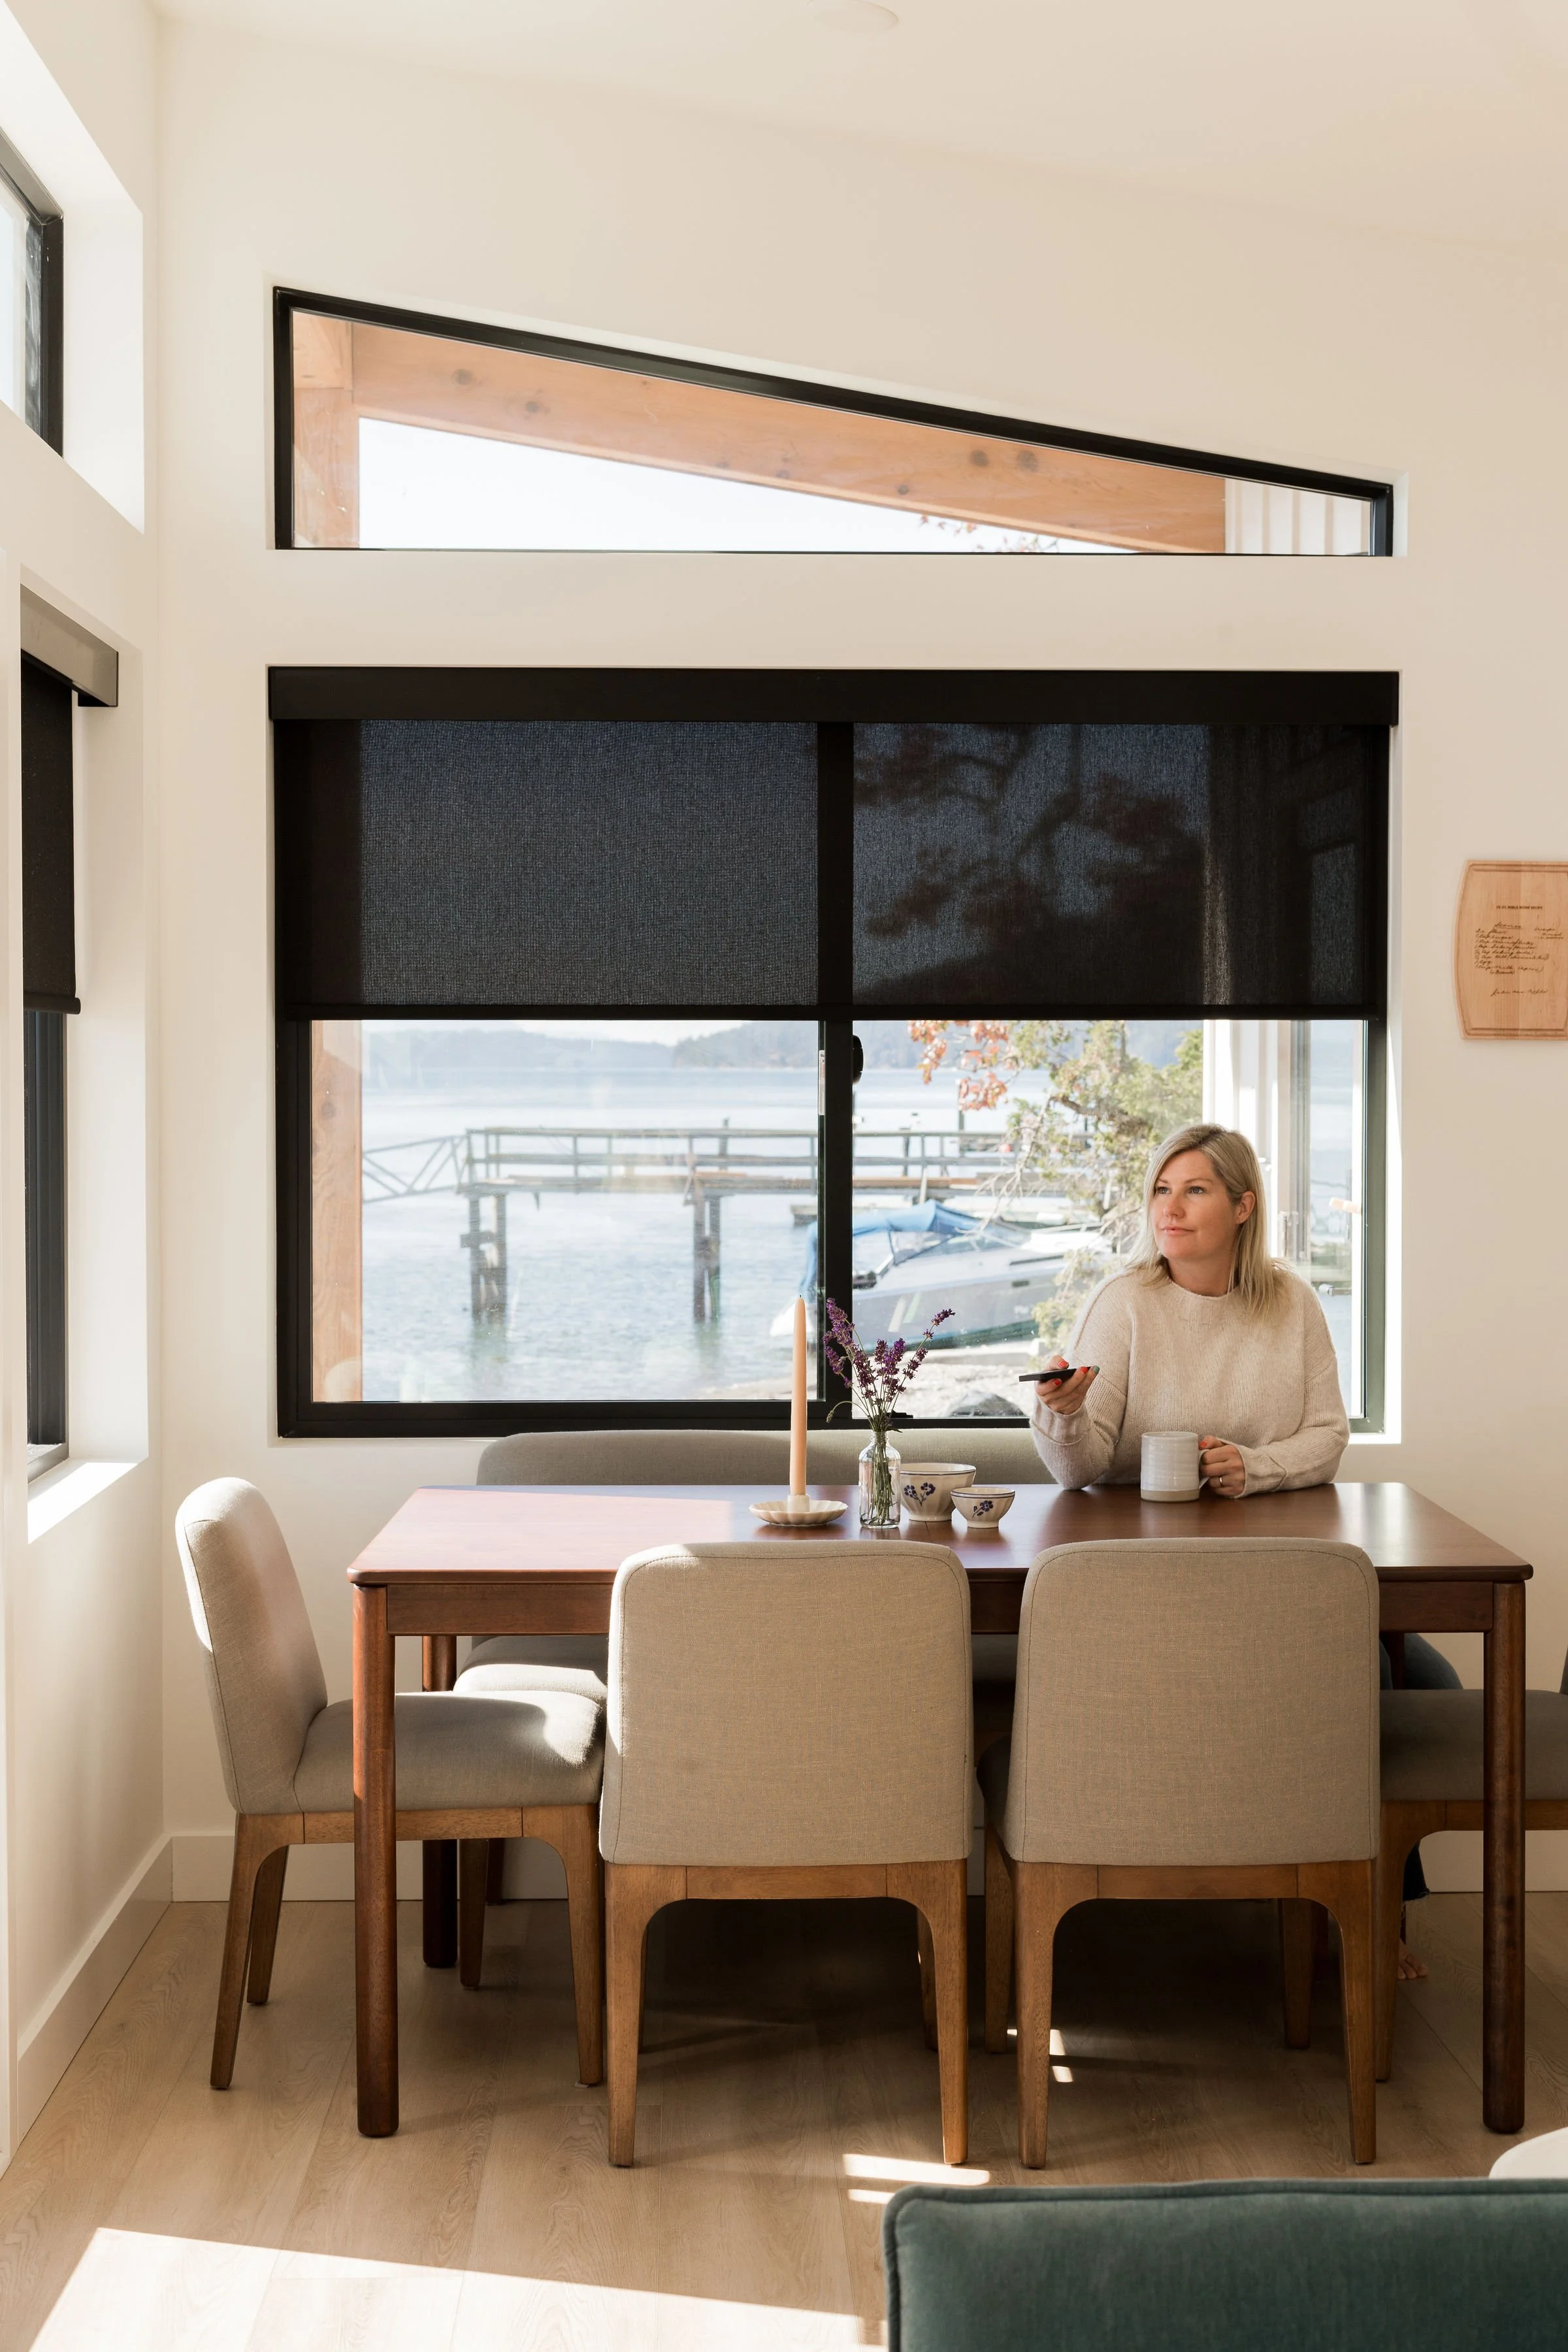
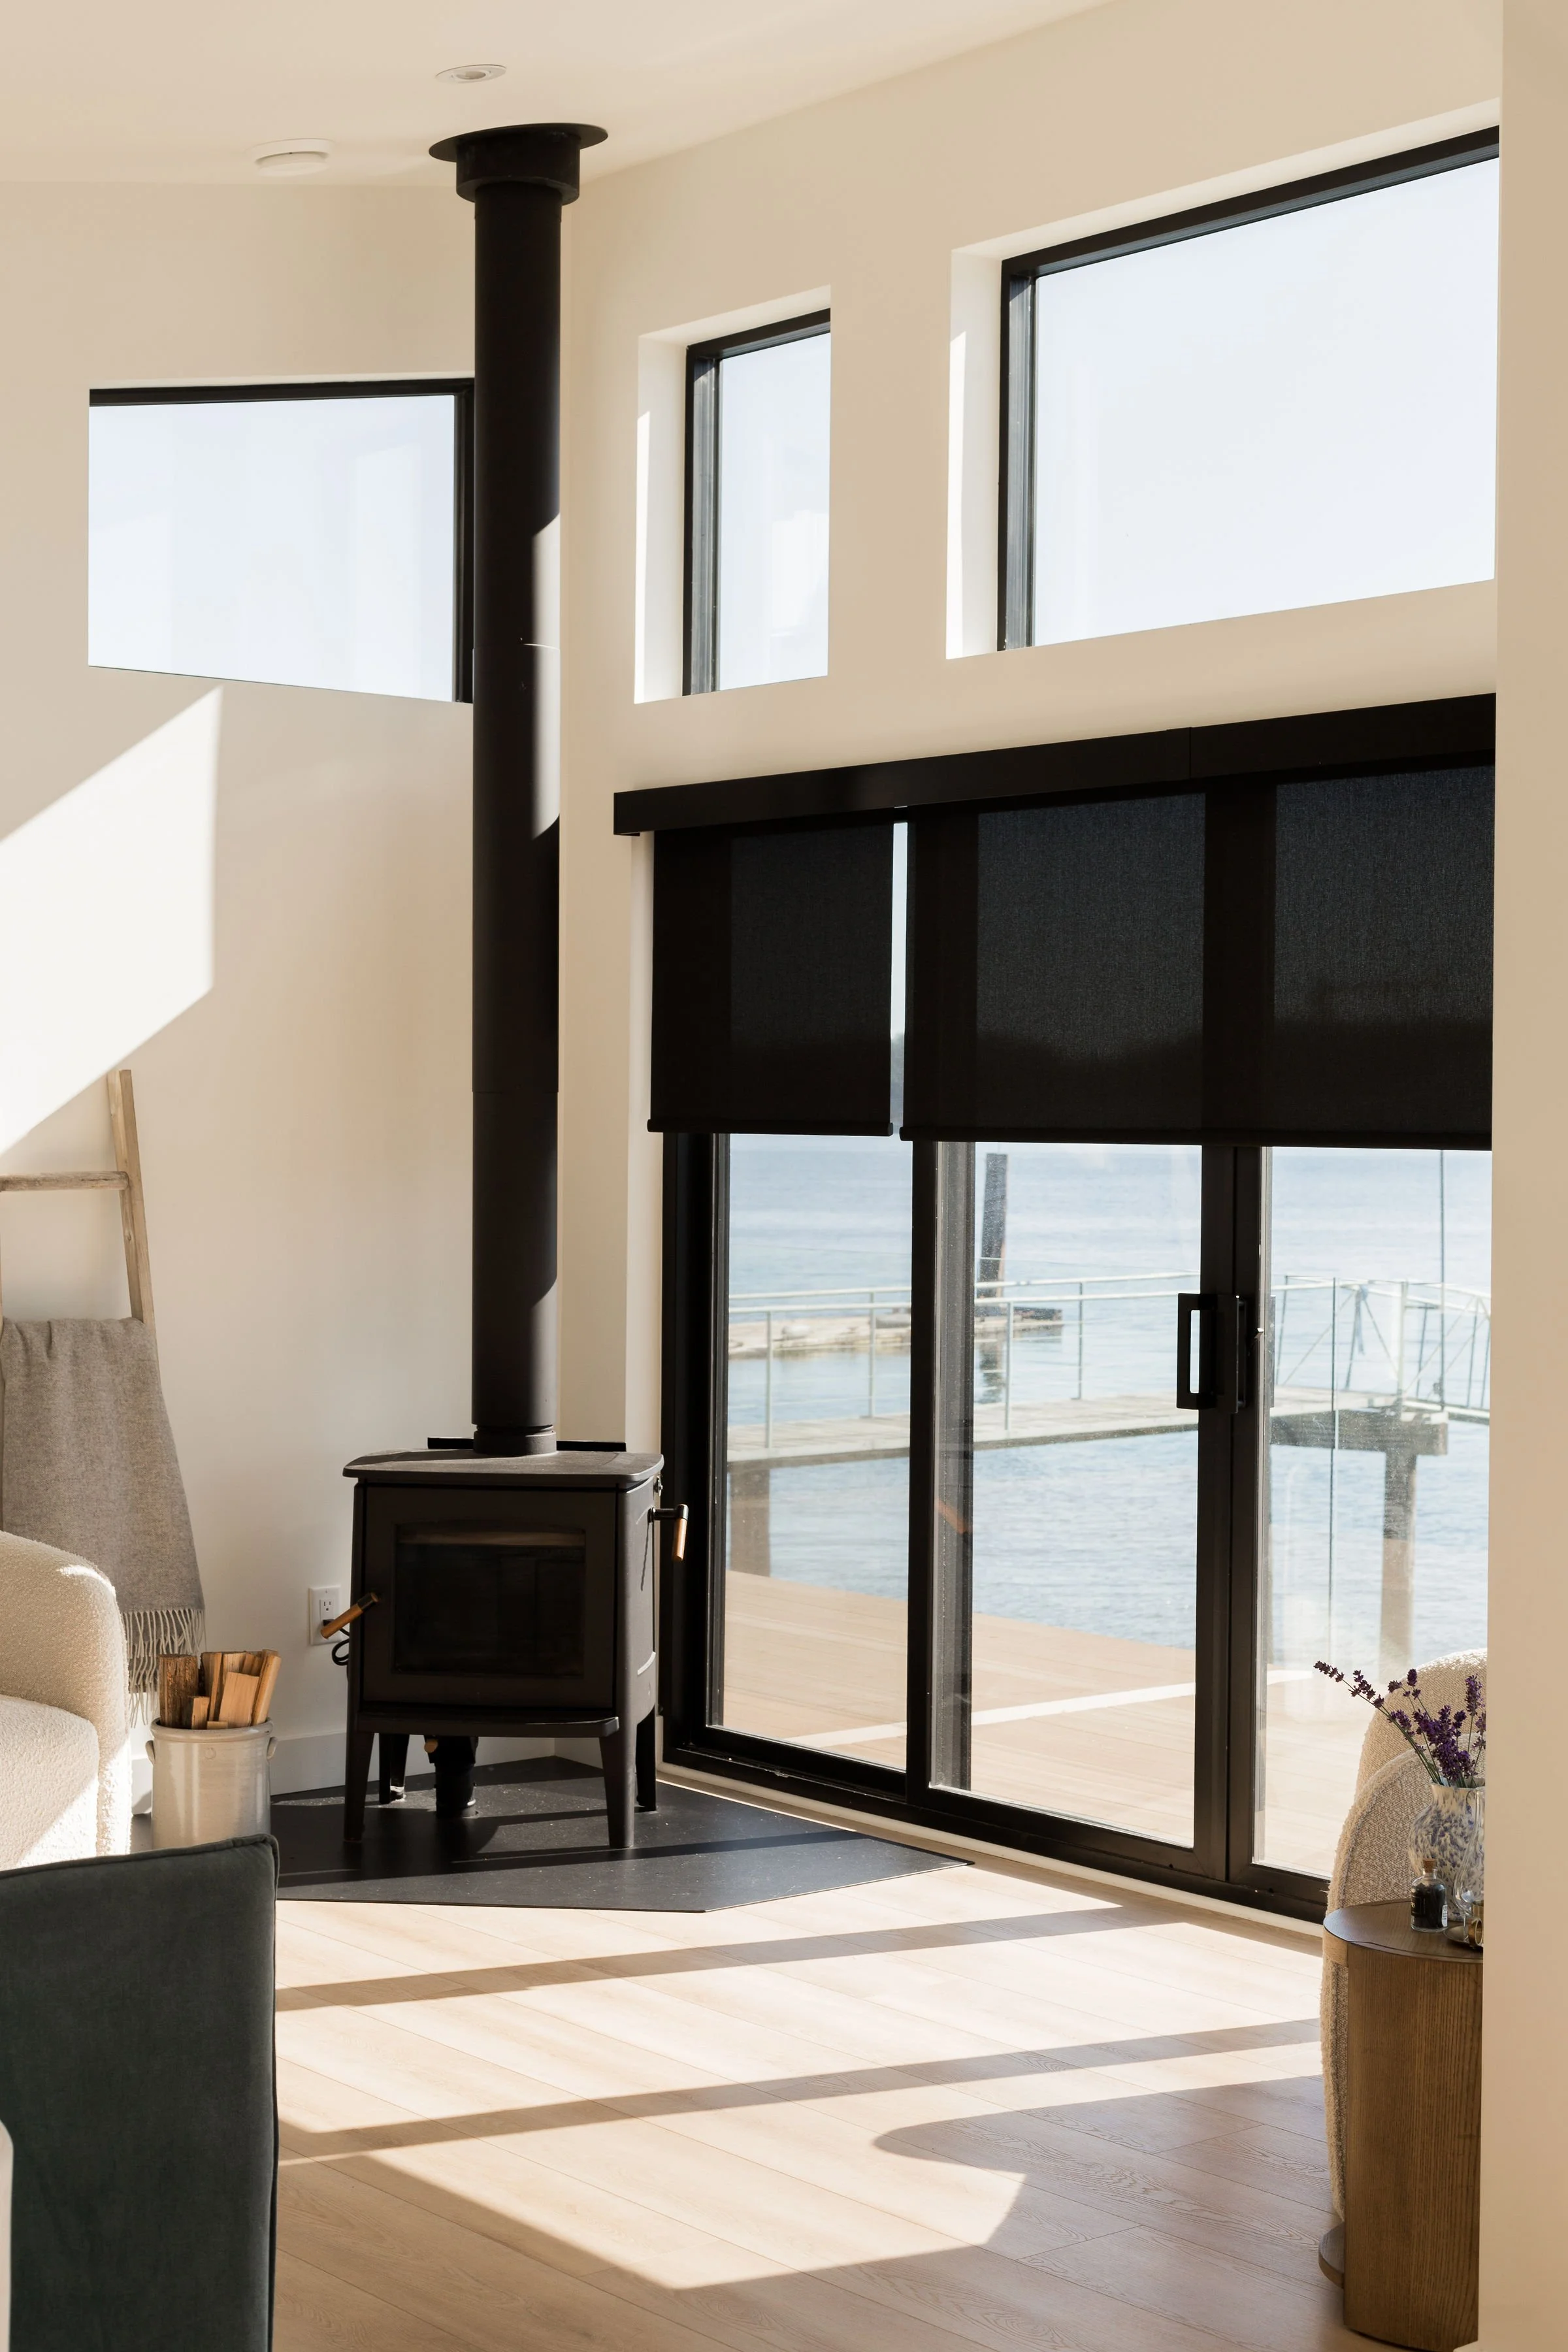
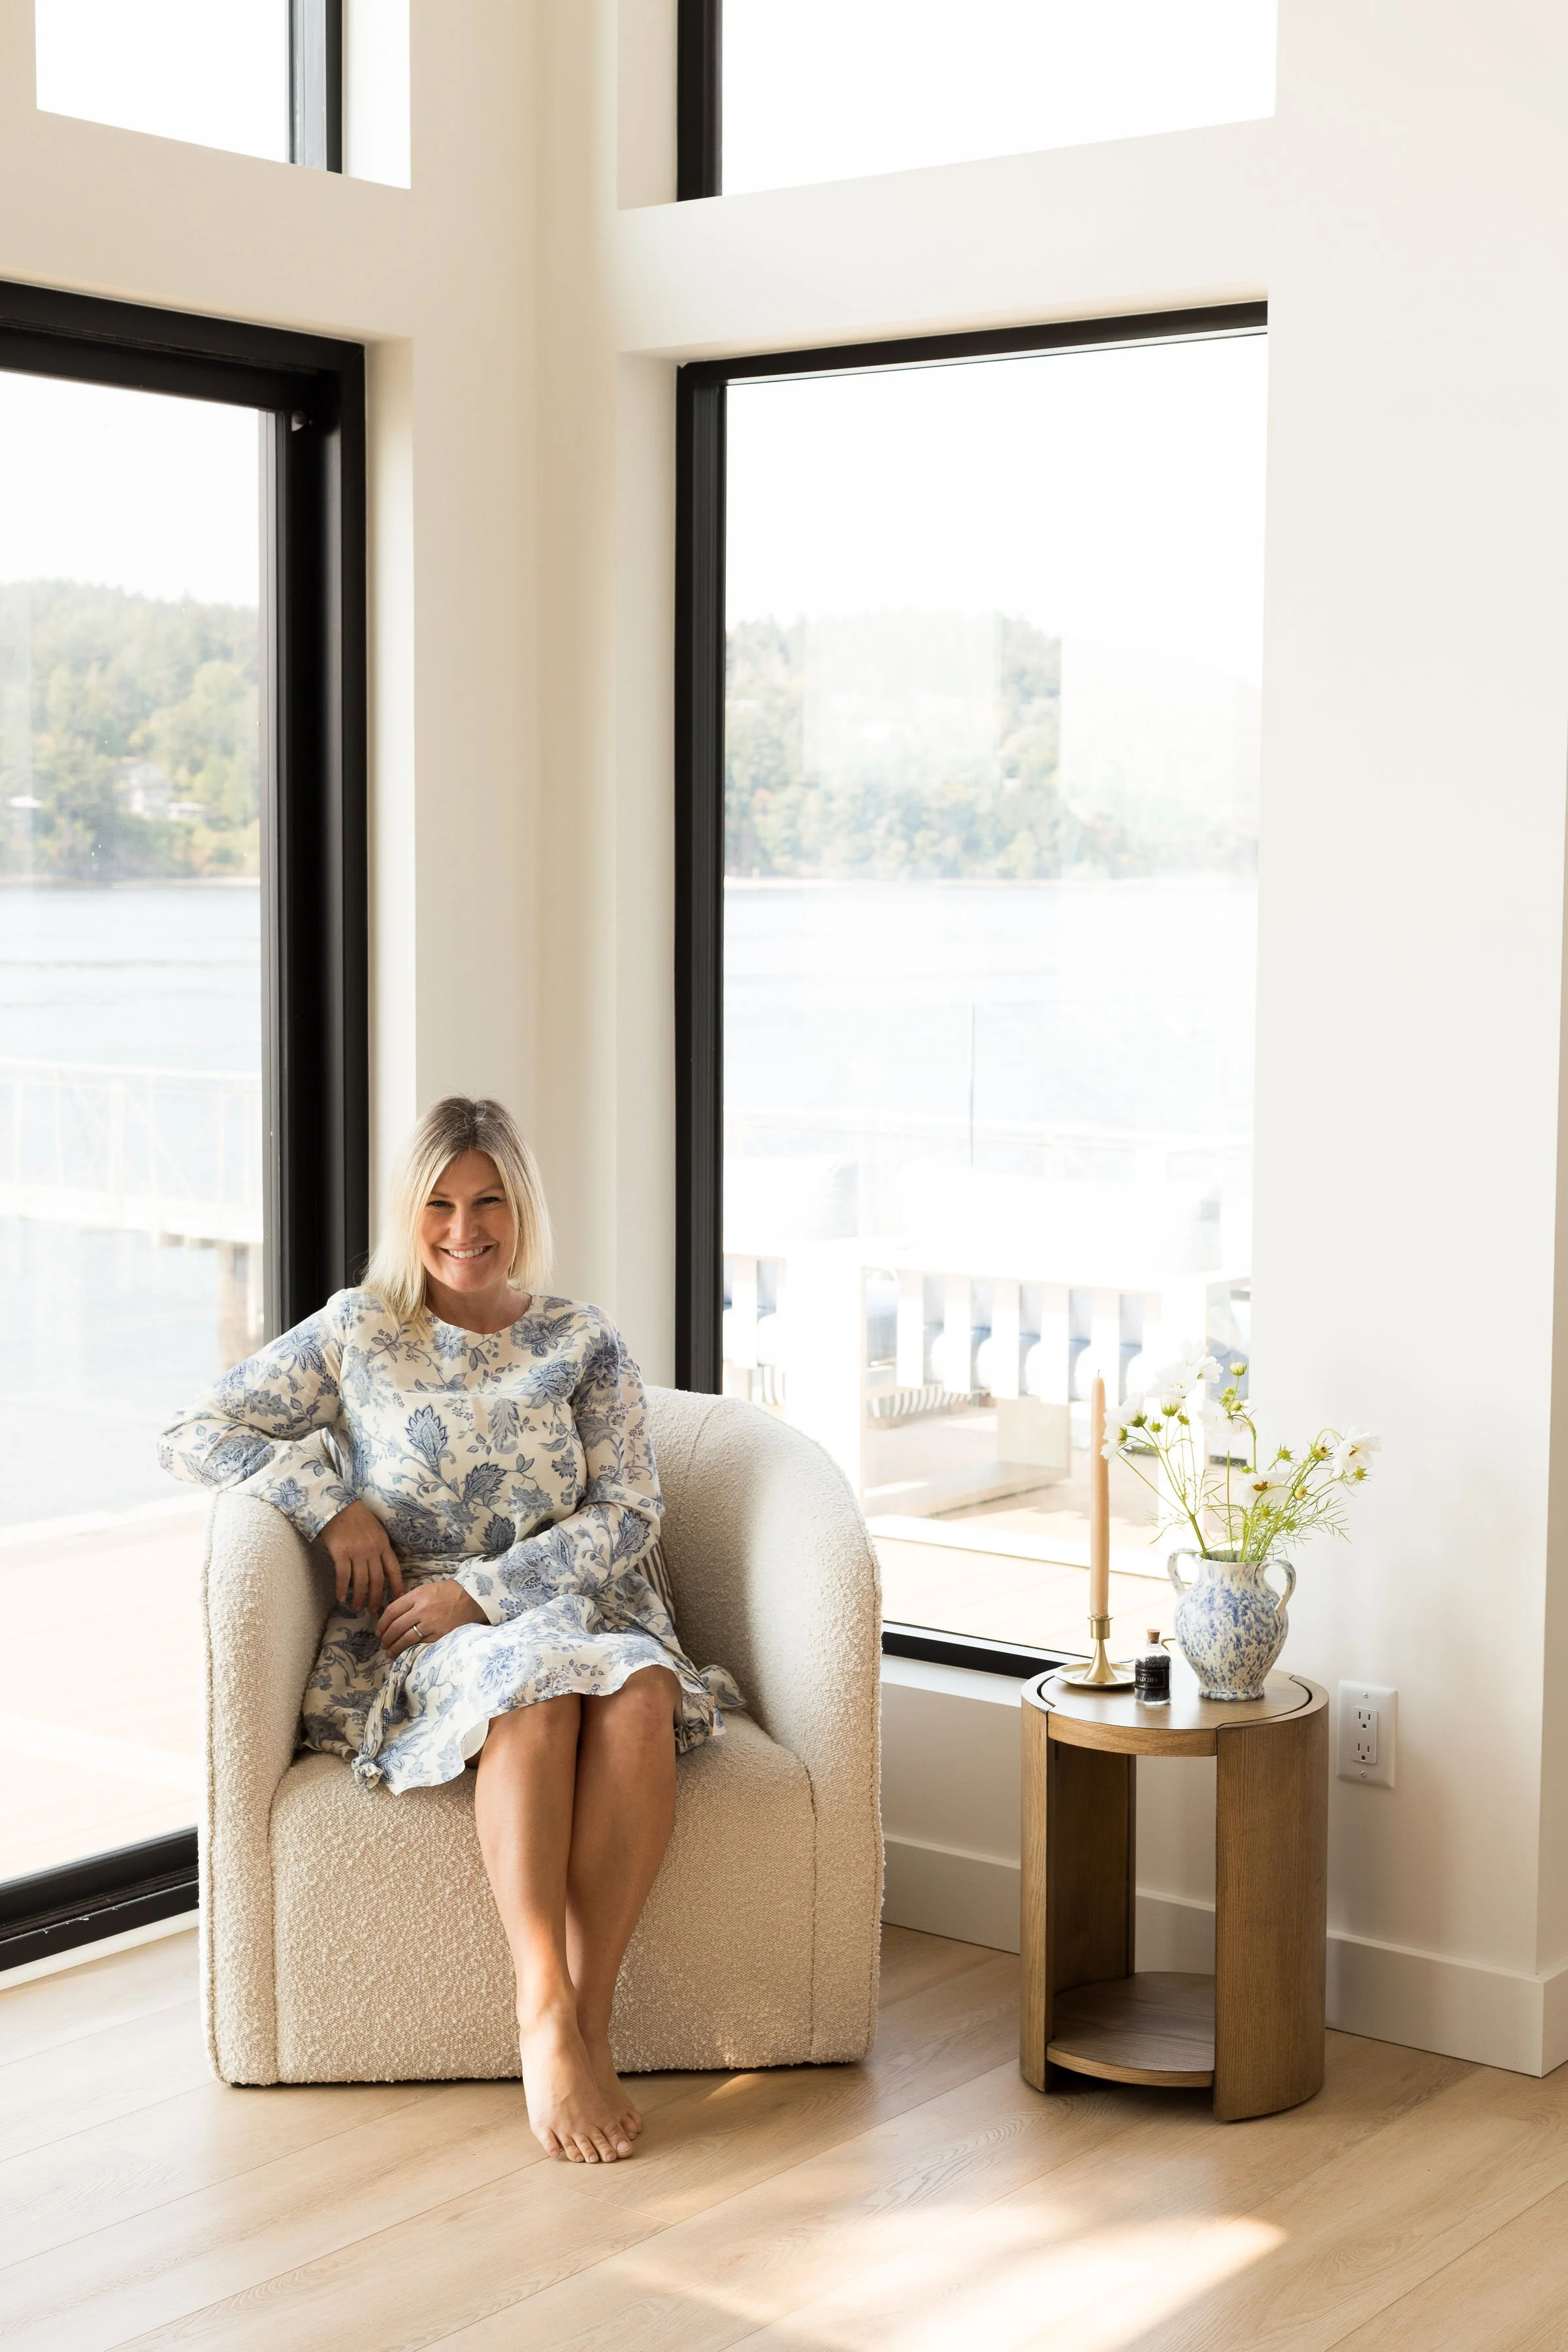
The living room was one of the biggest transformations. Because we couldn't increase the footprint of the room, we looked up and out instead.We created higher ceilings with a shed-style roof and added custom windows to capitalize on the Pacific Ocean views and natural light. Those windows completely changed the feeling of the room and made the space feel so much larger. We are also so happy with the motorized window shades from VistaShades that look seamless with the black windows. Learn more about our blinds here.
One of my favourite details throughout the cabin is the use of black windows and drywall returns. We skipped traditional window trim, which gives the windows a clean, modern look and allows them to feel almost like framed pictures of the landscape outside.
For the walls, we chose Benjamin Moore Alabaster OC-129. I wanted something light and simple but with enough warmth that it wouldn't feel stark against all the natural wood and coastal elements.
The flooring is a light oak-look vinyl, which was a very intentional practical decision. With kids, guests and all the coming and going that happens at a waterfront cabin, I wanted something that could handle real life.
For the fireplace, we chose The Hipster 14 from Ambience Fireplaces. Its Scandinavian-inspired design fits perfectly with the simple, modern direction we were going for.
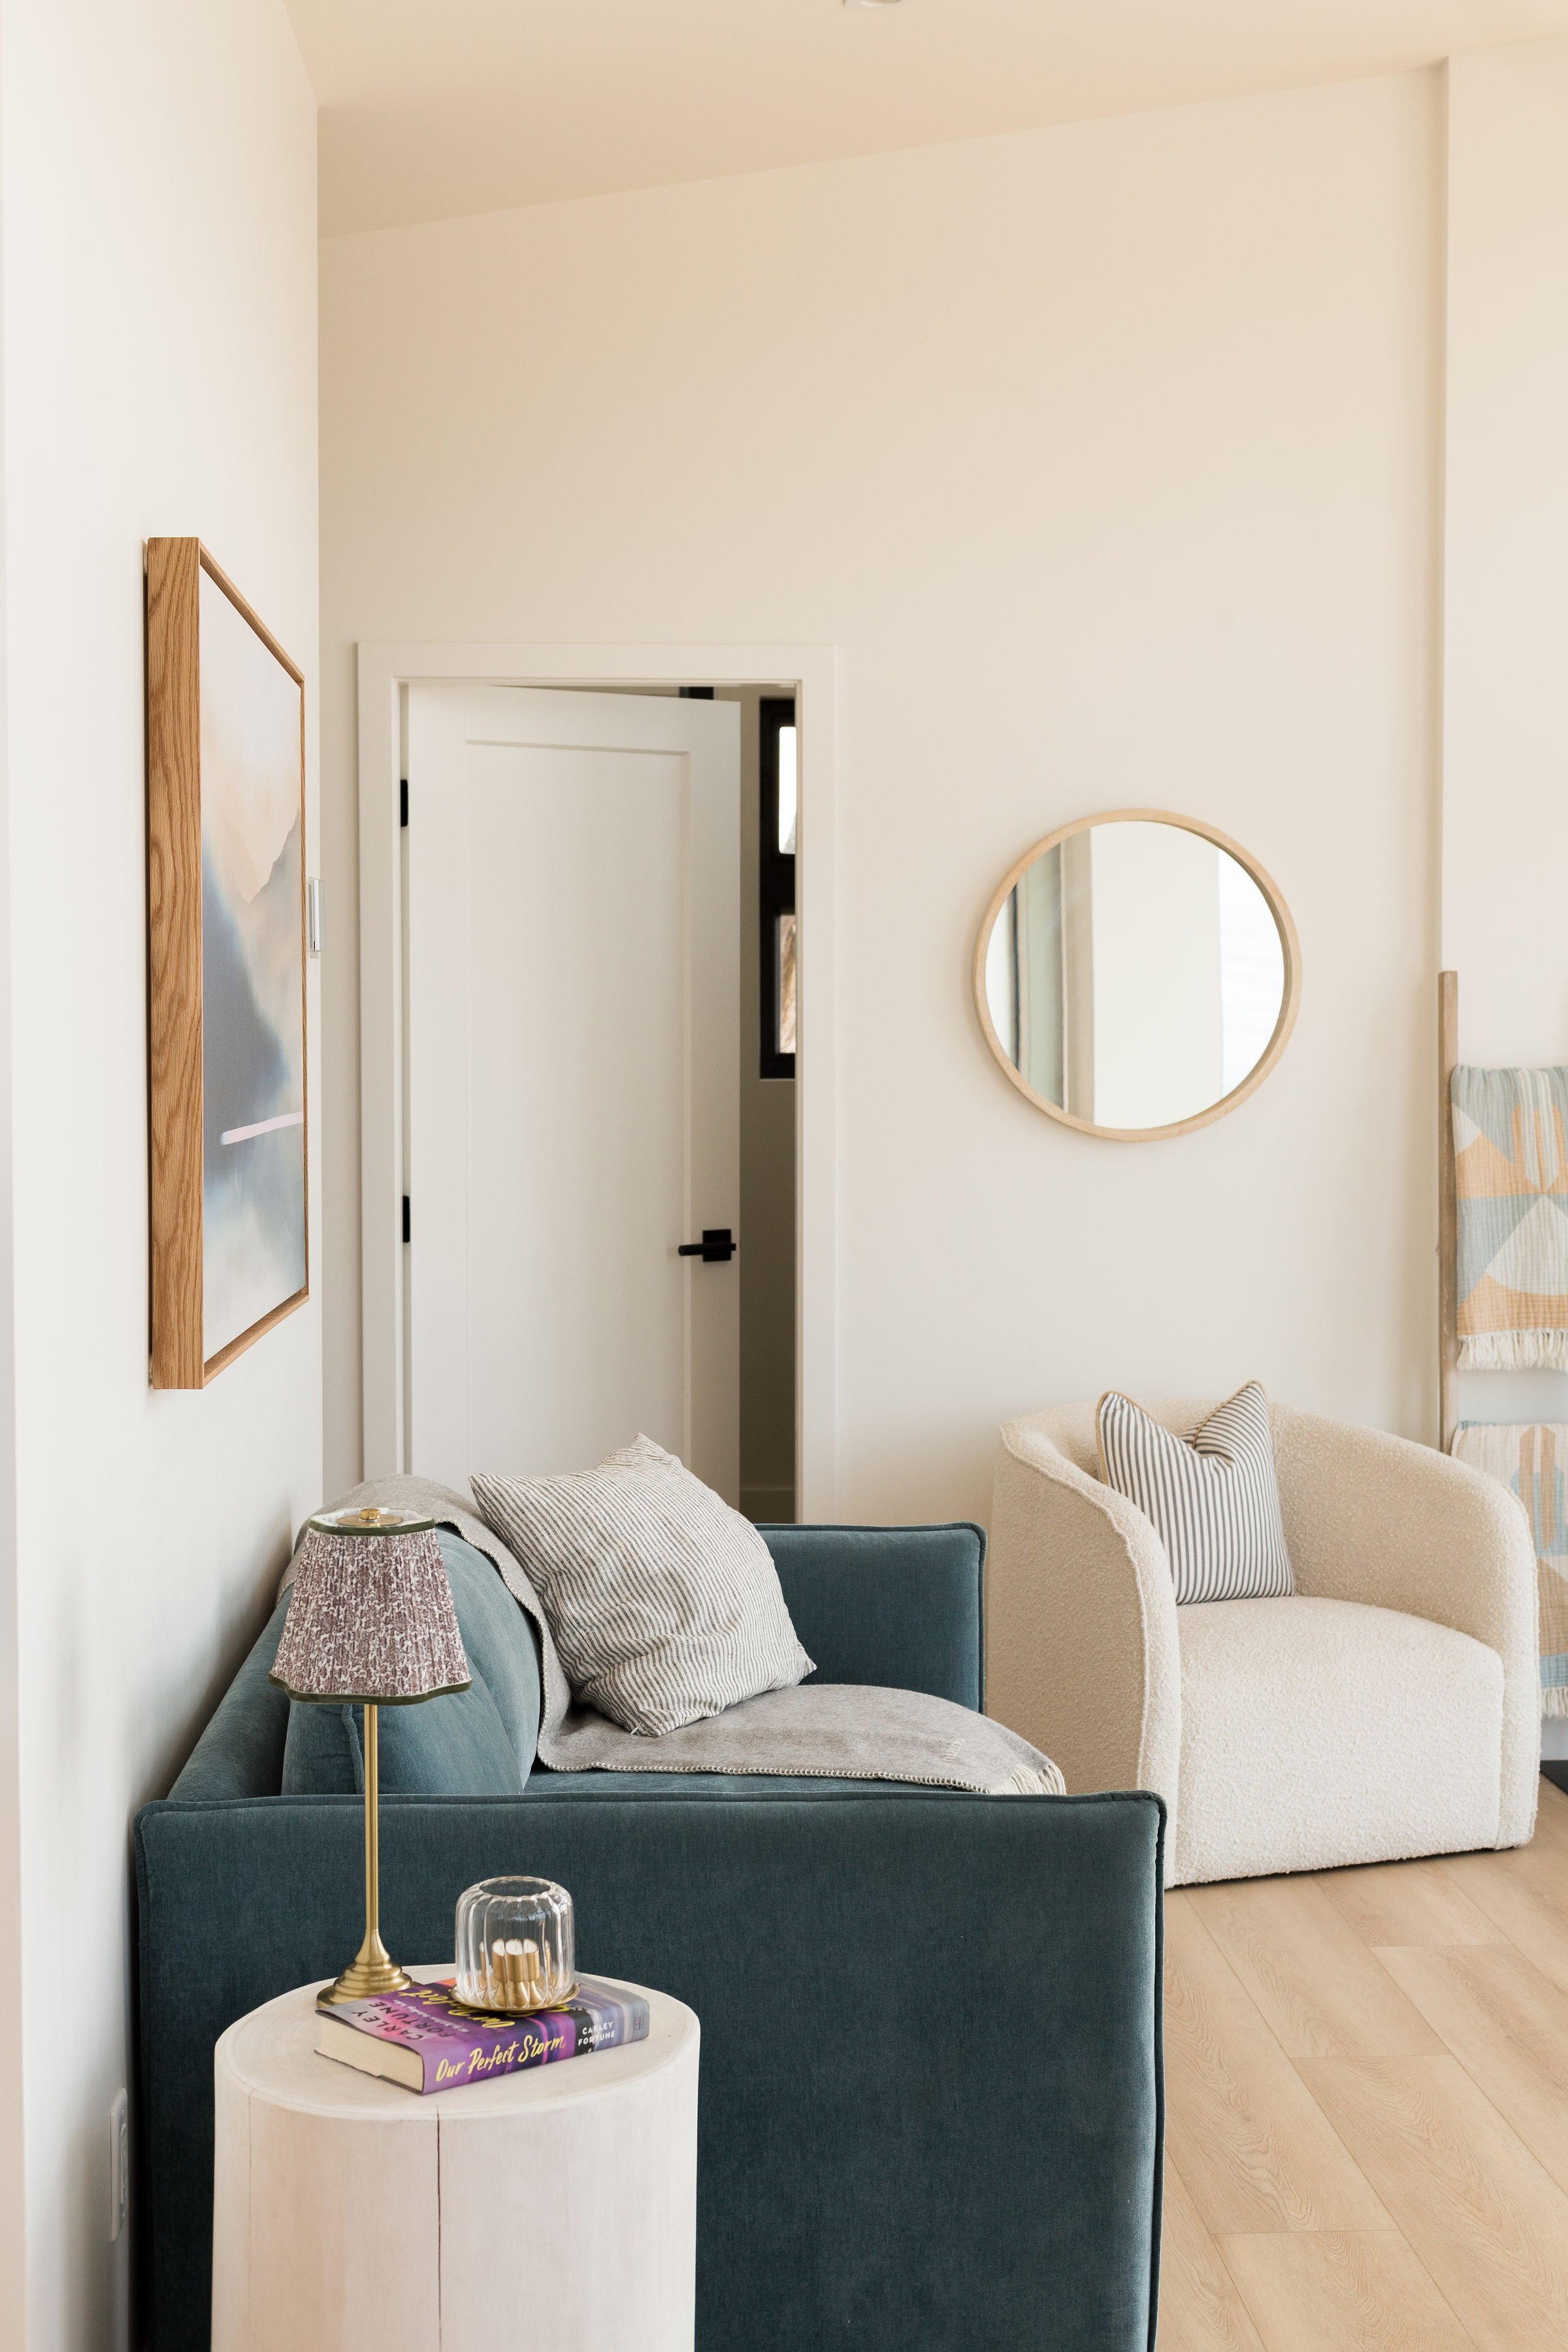
Furniture was another place where we wanted to maximize every inch. We worked with Nest and Nook in Sidney, BC, giving them our dimensions and letting them help us find pieces that would fit the room without making it feel crowded.
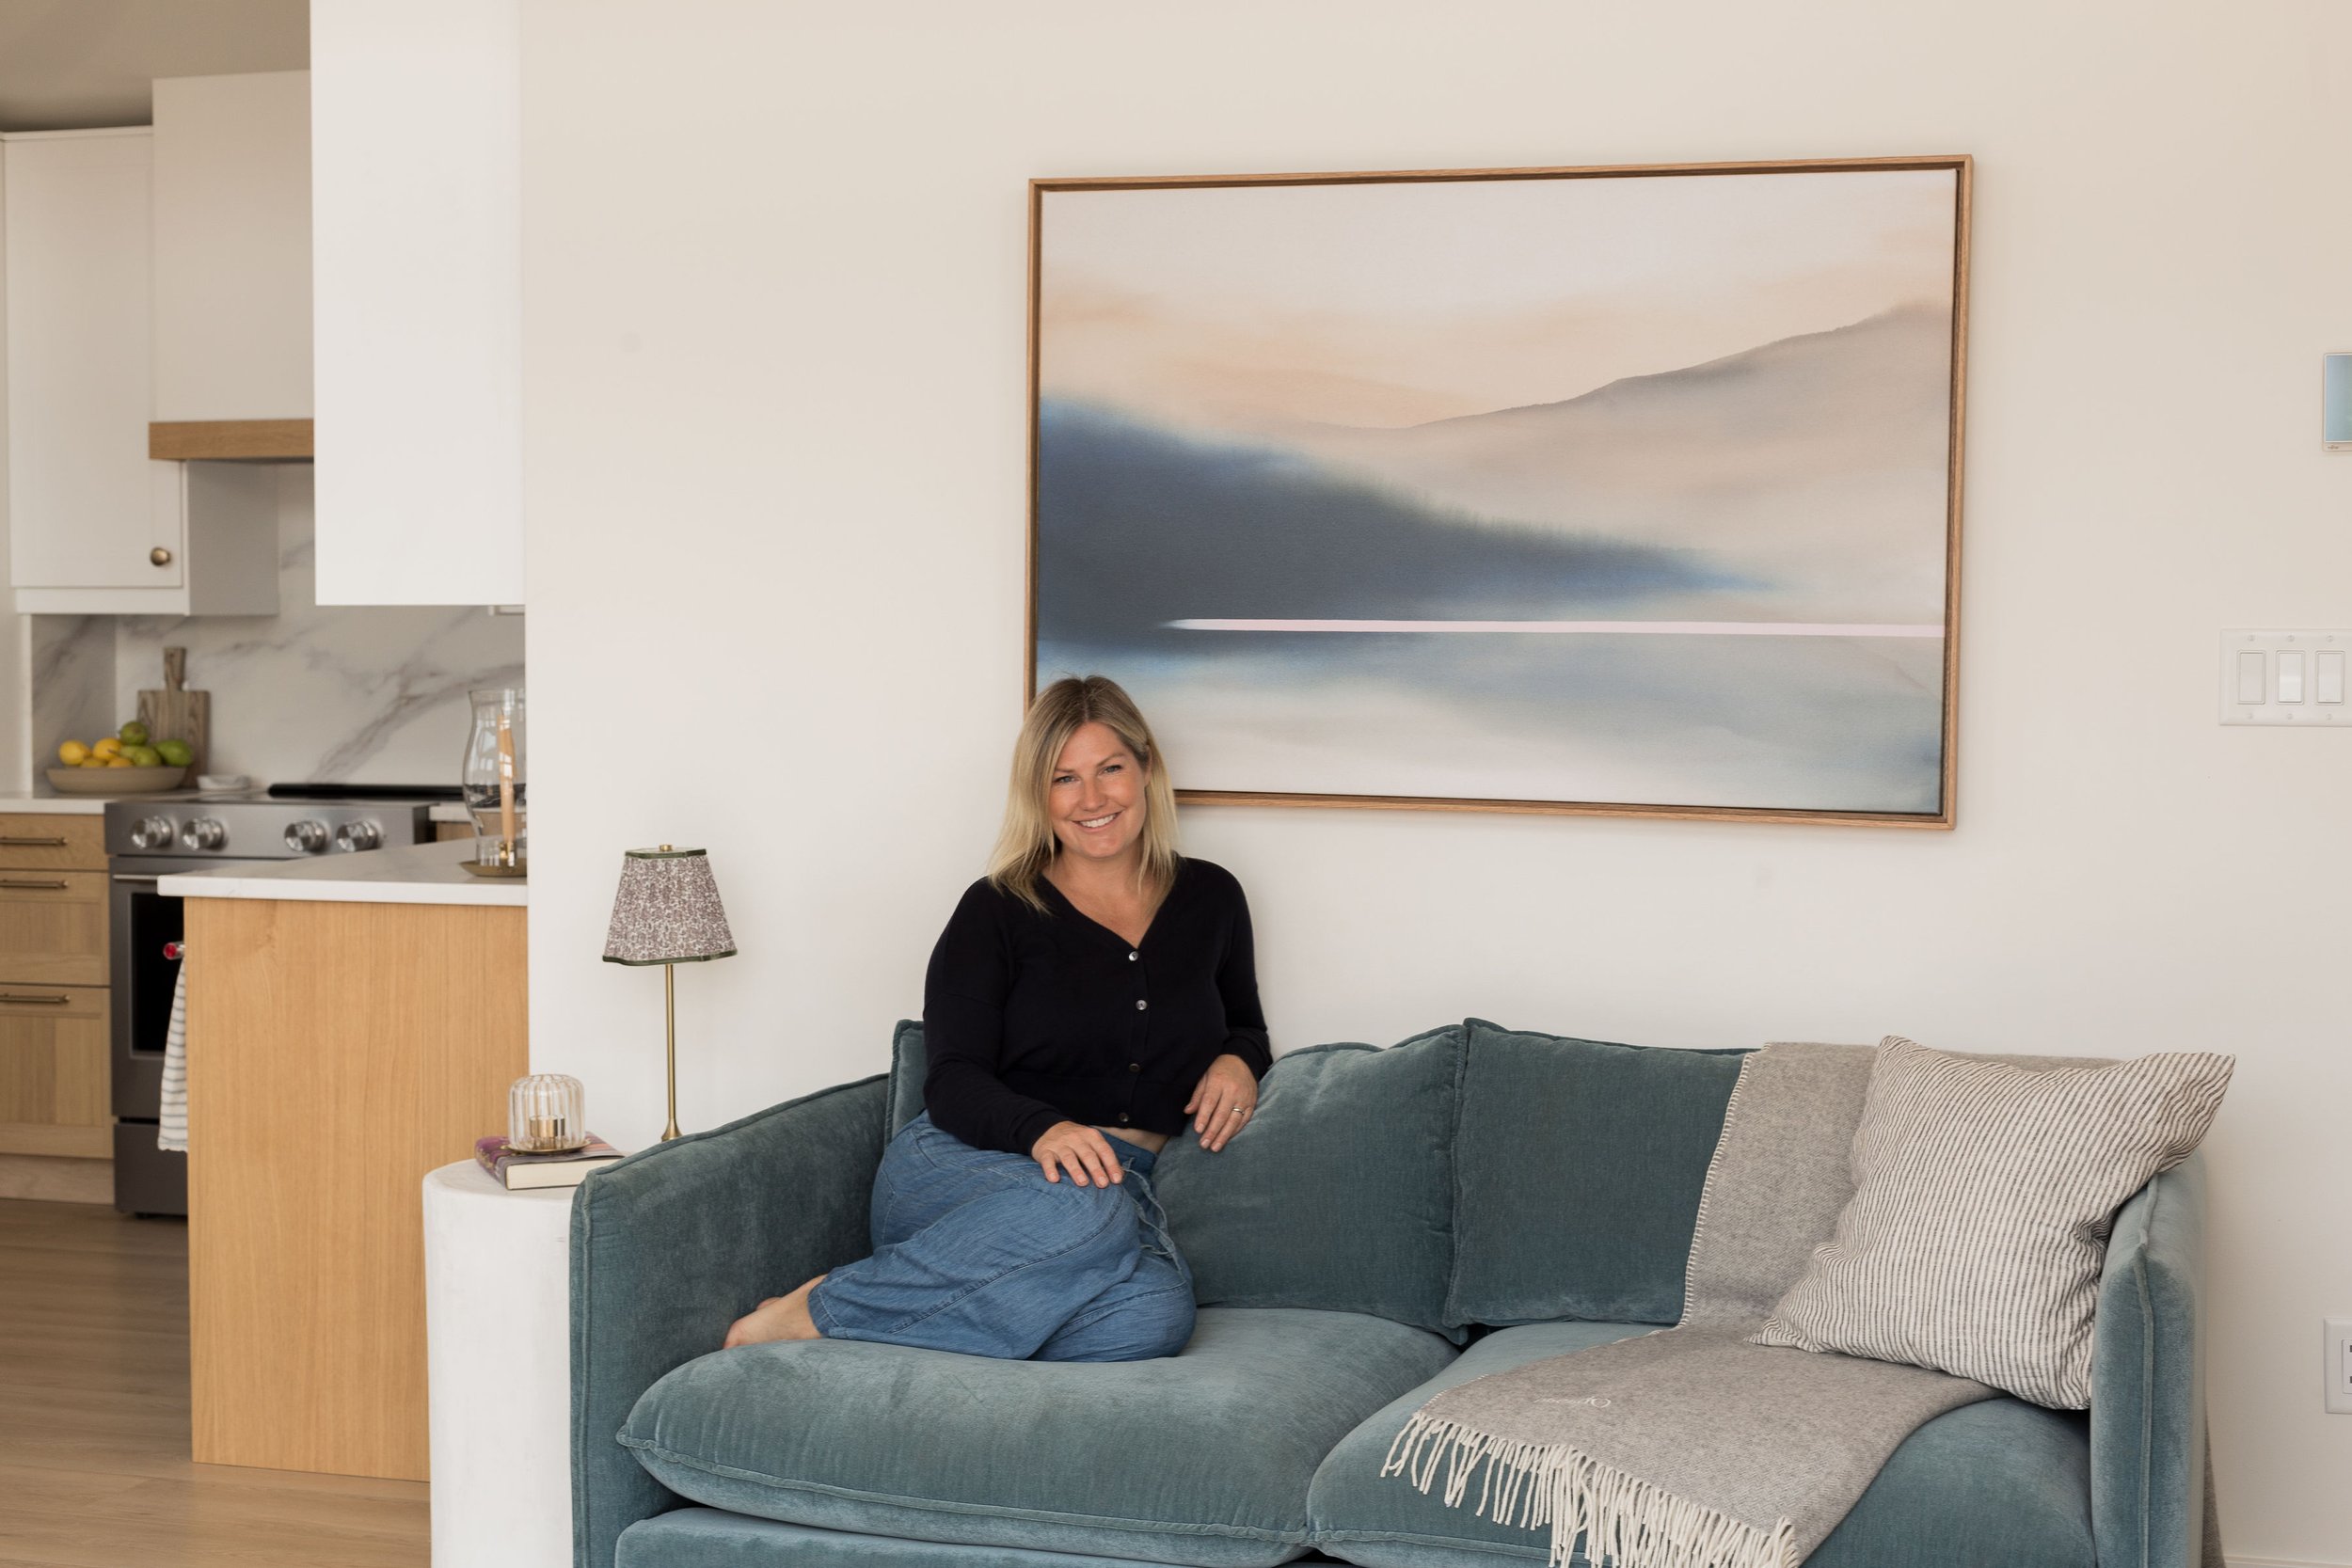
The blue Lake Cottage Sofa gives the room a beautiful pop of colour, while the textured off-white chairs keep everything feeling light and coastal. We added wood accents, including a white stump side table, a wood mirror and a blanket ladder for warmth and texture.
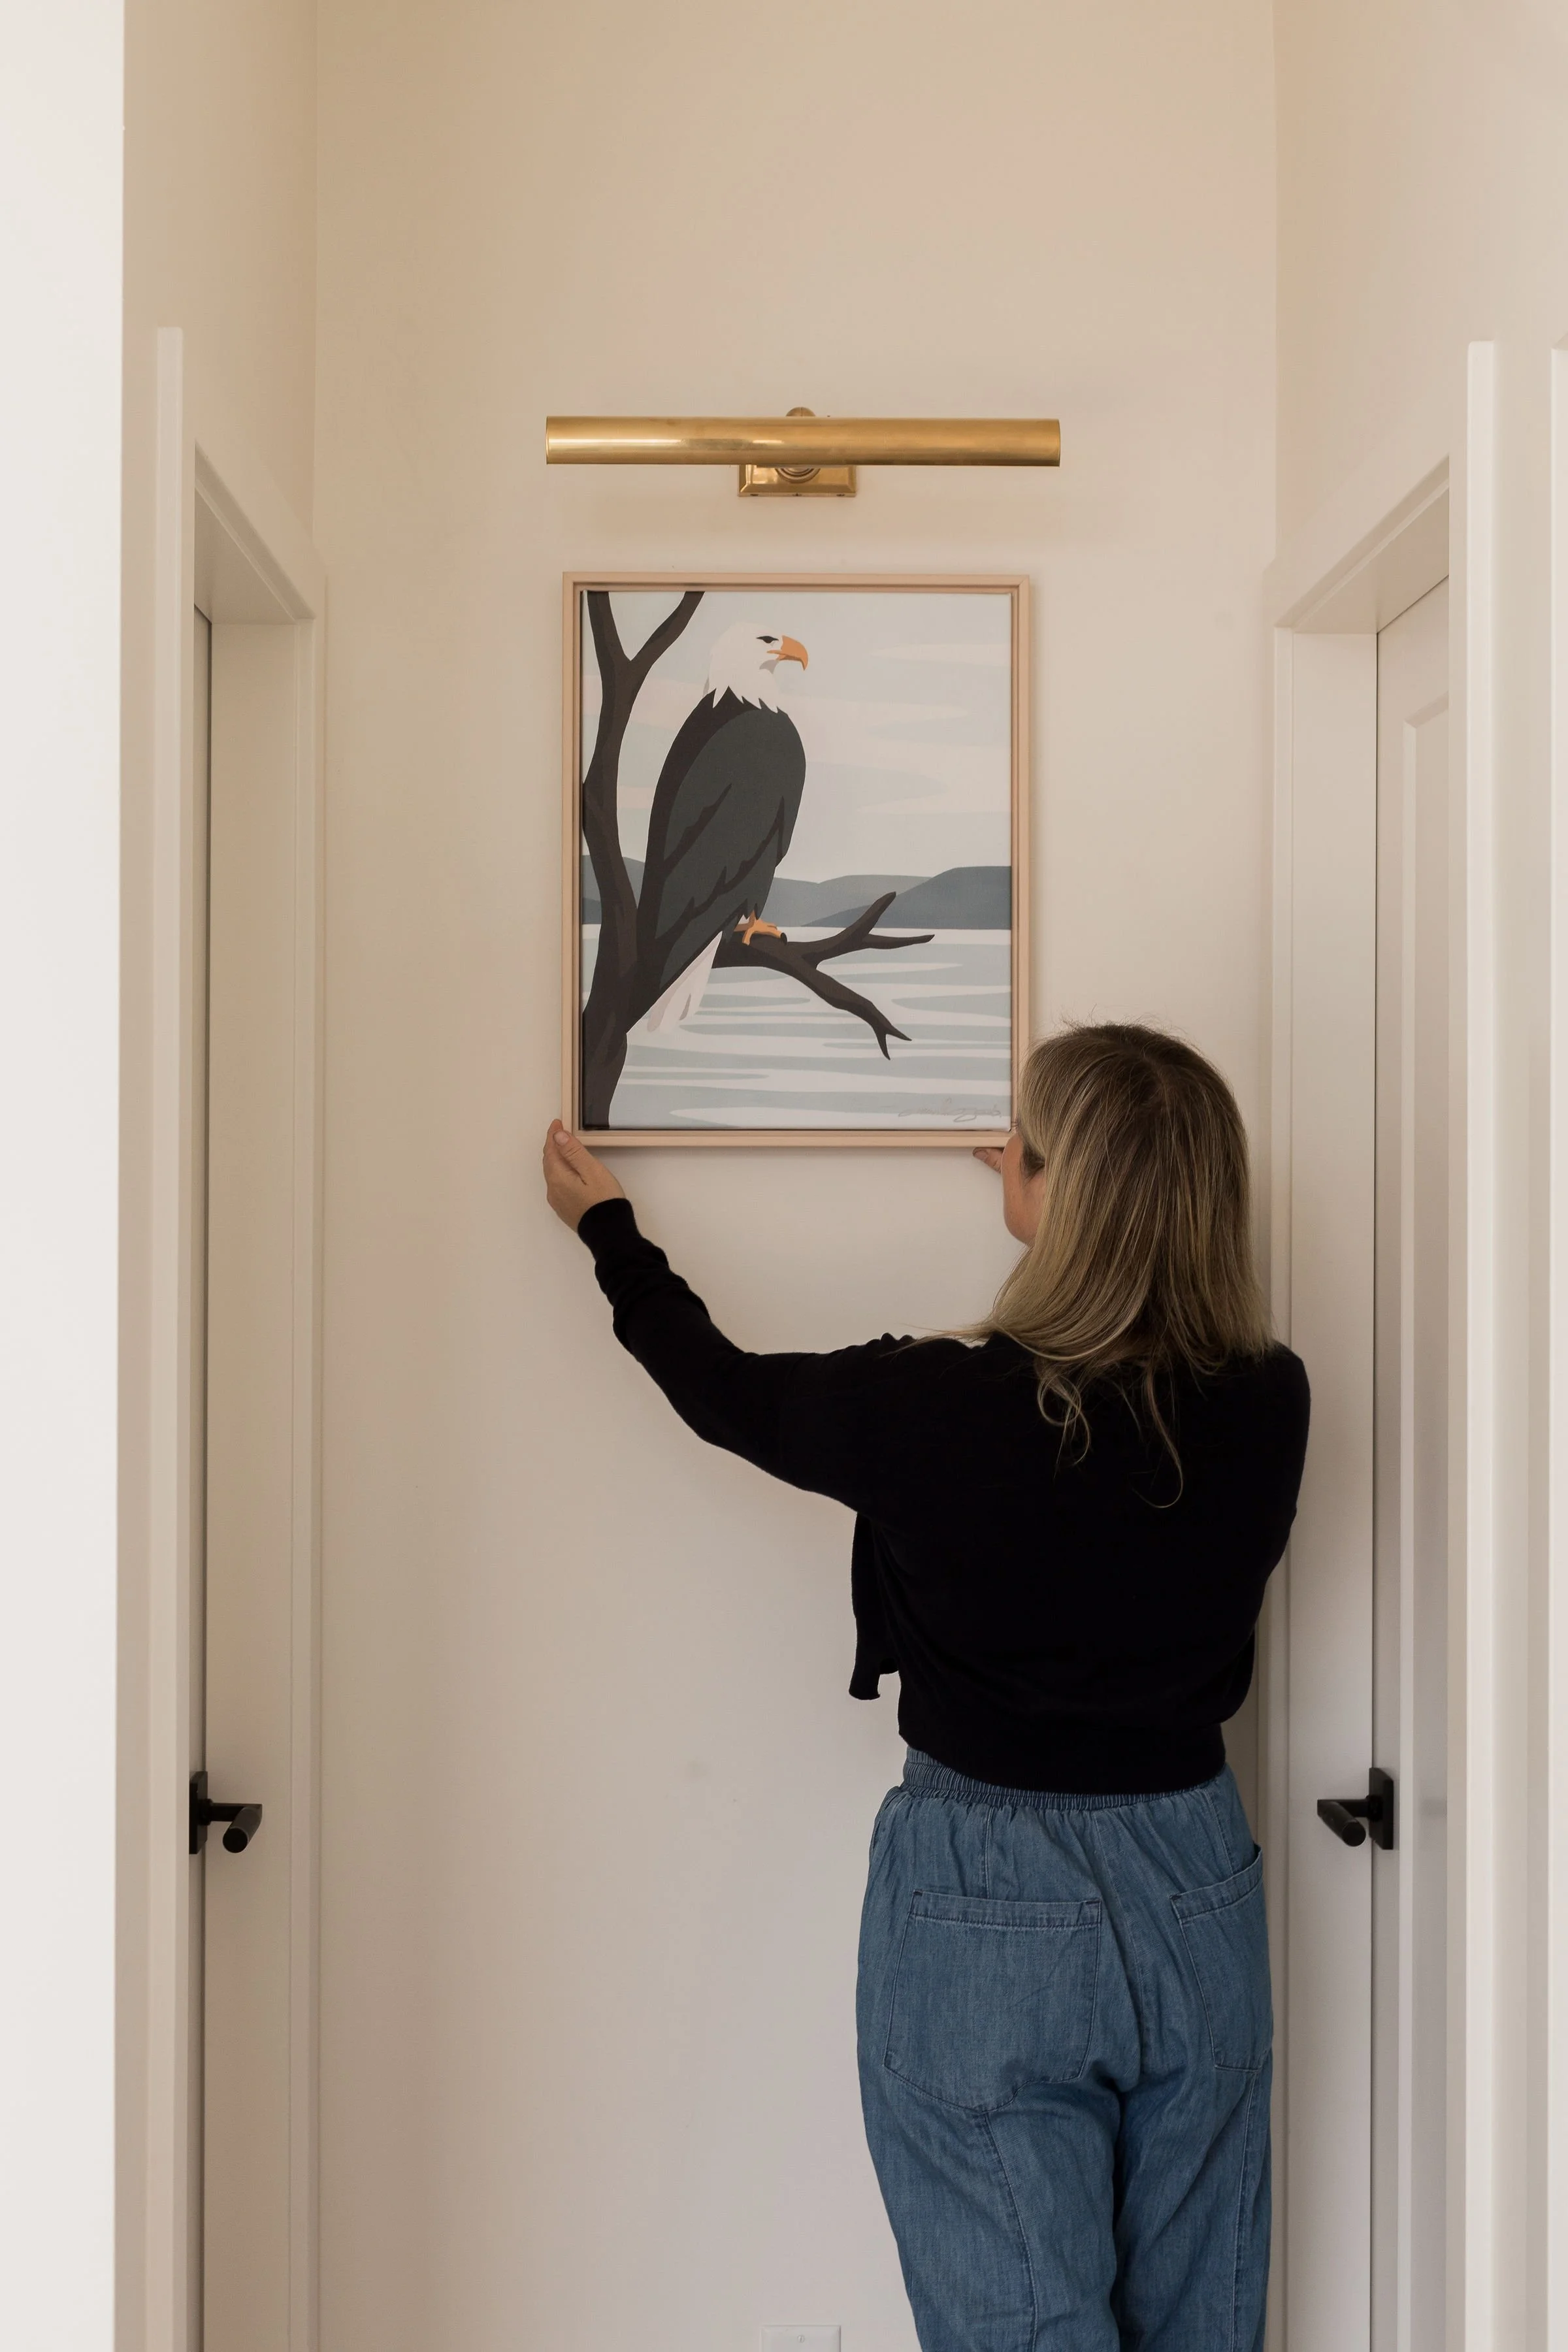
And then there is the art — I love using art to bring personality into a neutral space, and we chose pieces inspired by nature and the West Coast. A canvas by Victoria artist Lauren Mycroft hangs above the sofa, while a meaningful eagle painting called Watching Over by Misha Smart Artworks hangs in the hallway. That eagle has an especially special meaning for our family—it represents our dog, Zoey, who has since passed away. We like to think of her as still watching over us when we're at the cabin.
The Kitchen: The Heart of the Cabin
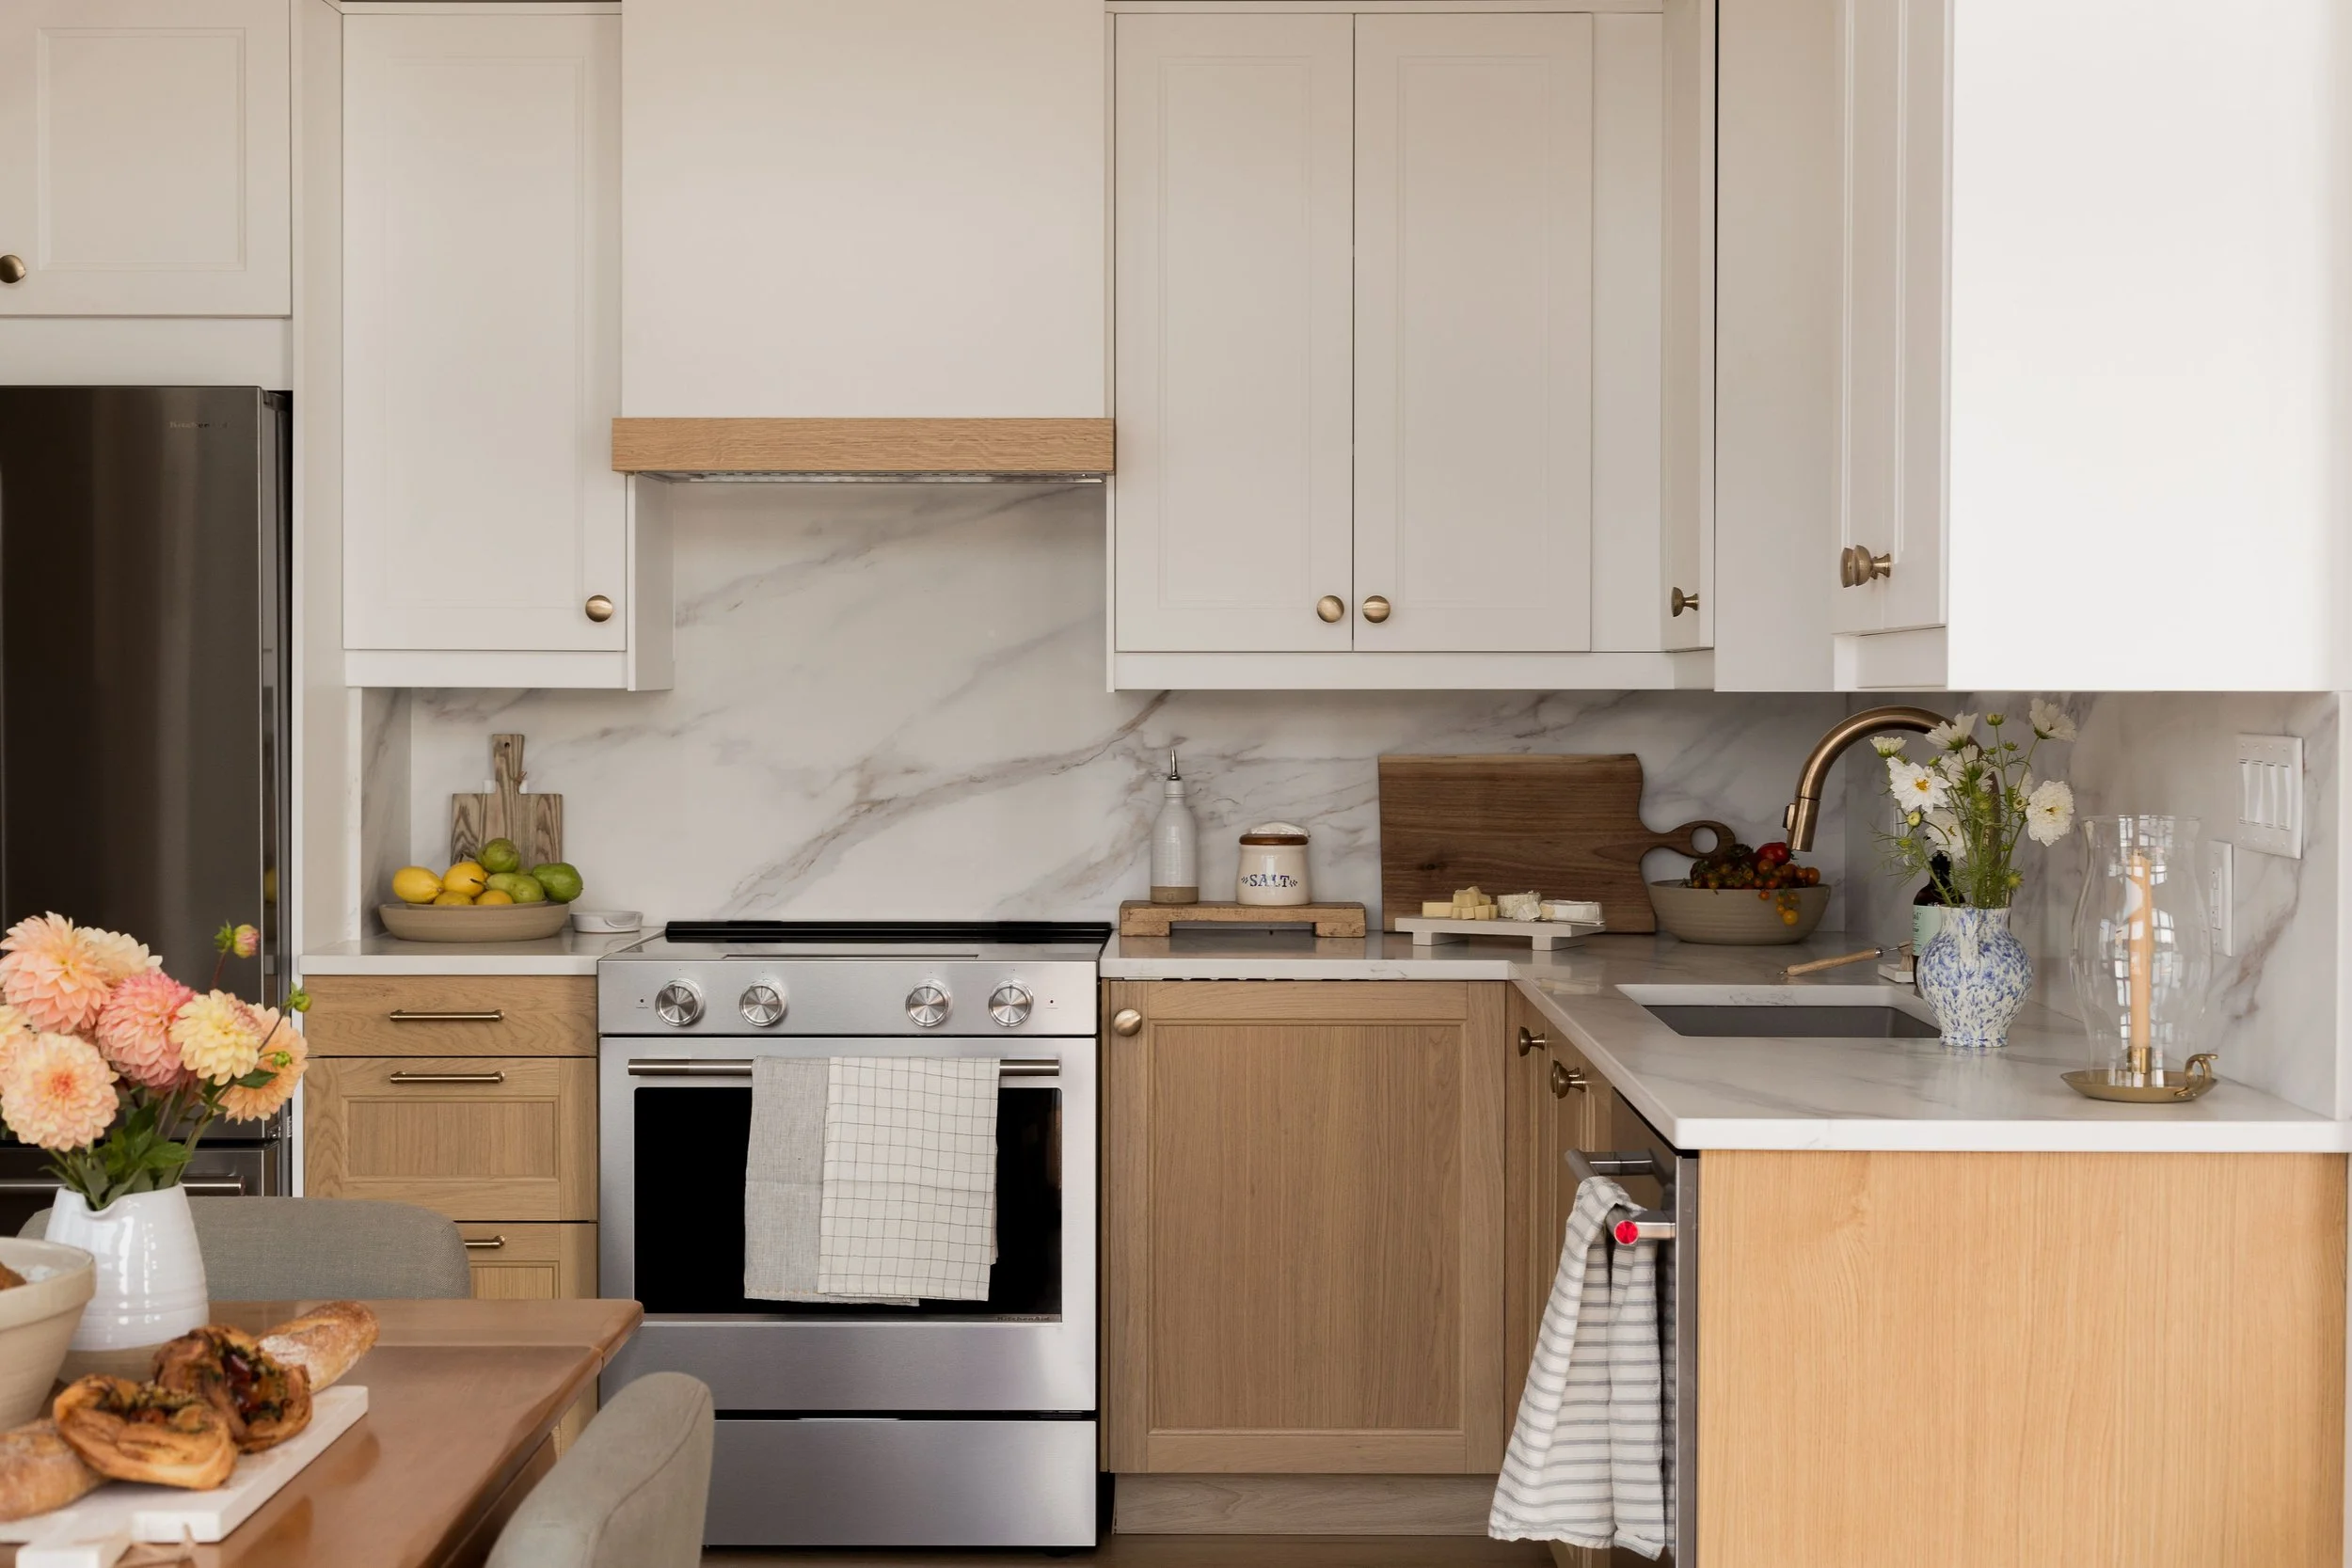
If there is one room I know will become the heart of the cabin, it is the kitchen. I wanted a space where I could cook, bake, gather and feed the people I love. We wanted plenty of storage, good functionality and a timeless look, but I still wanted it to have personality.
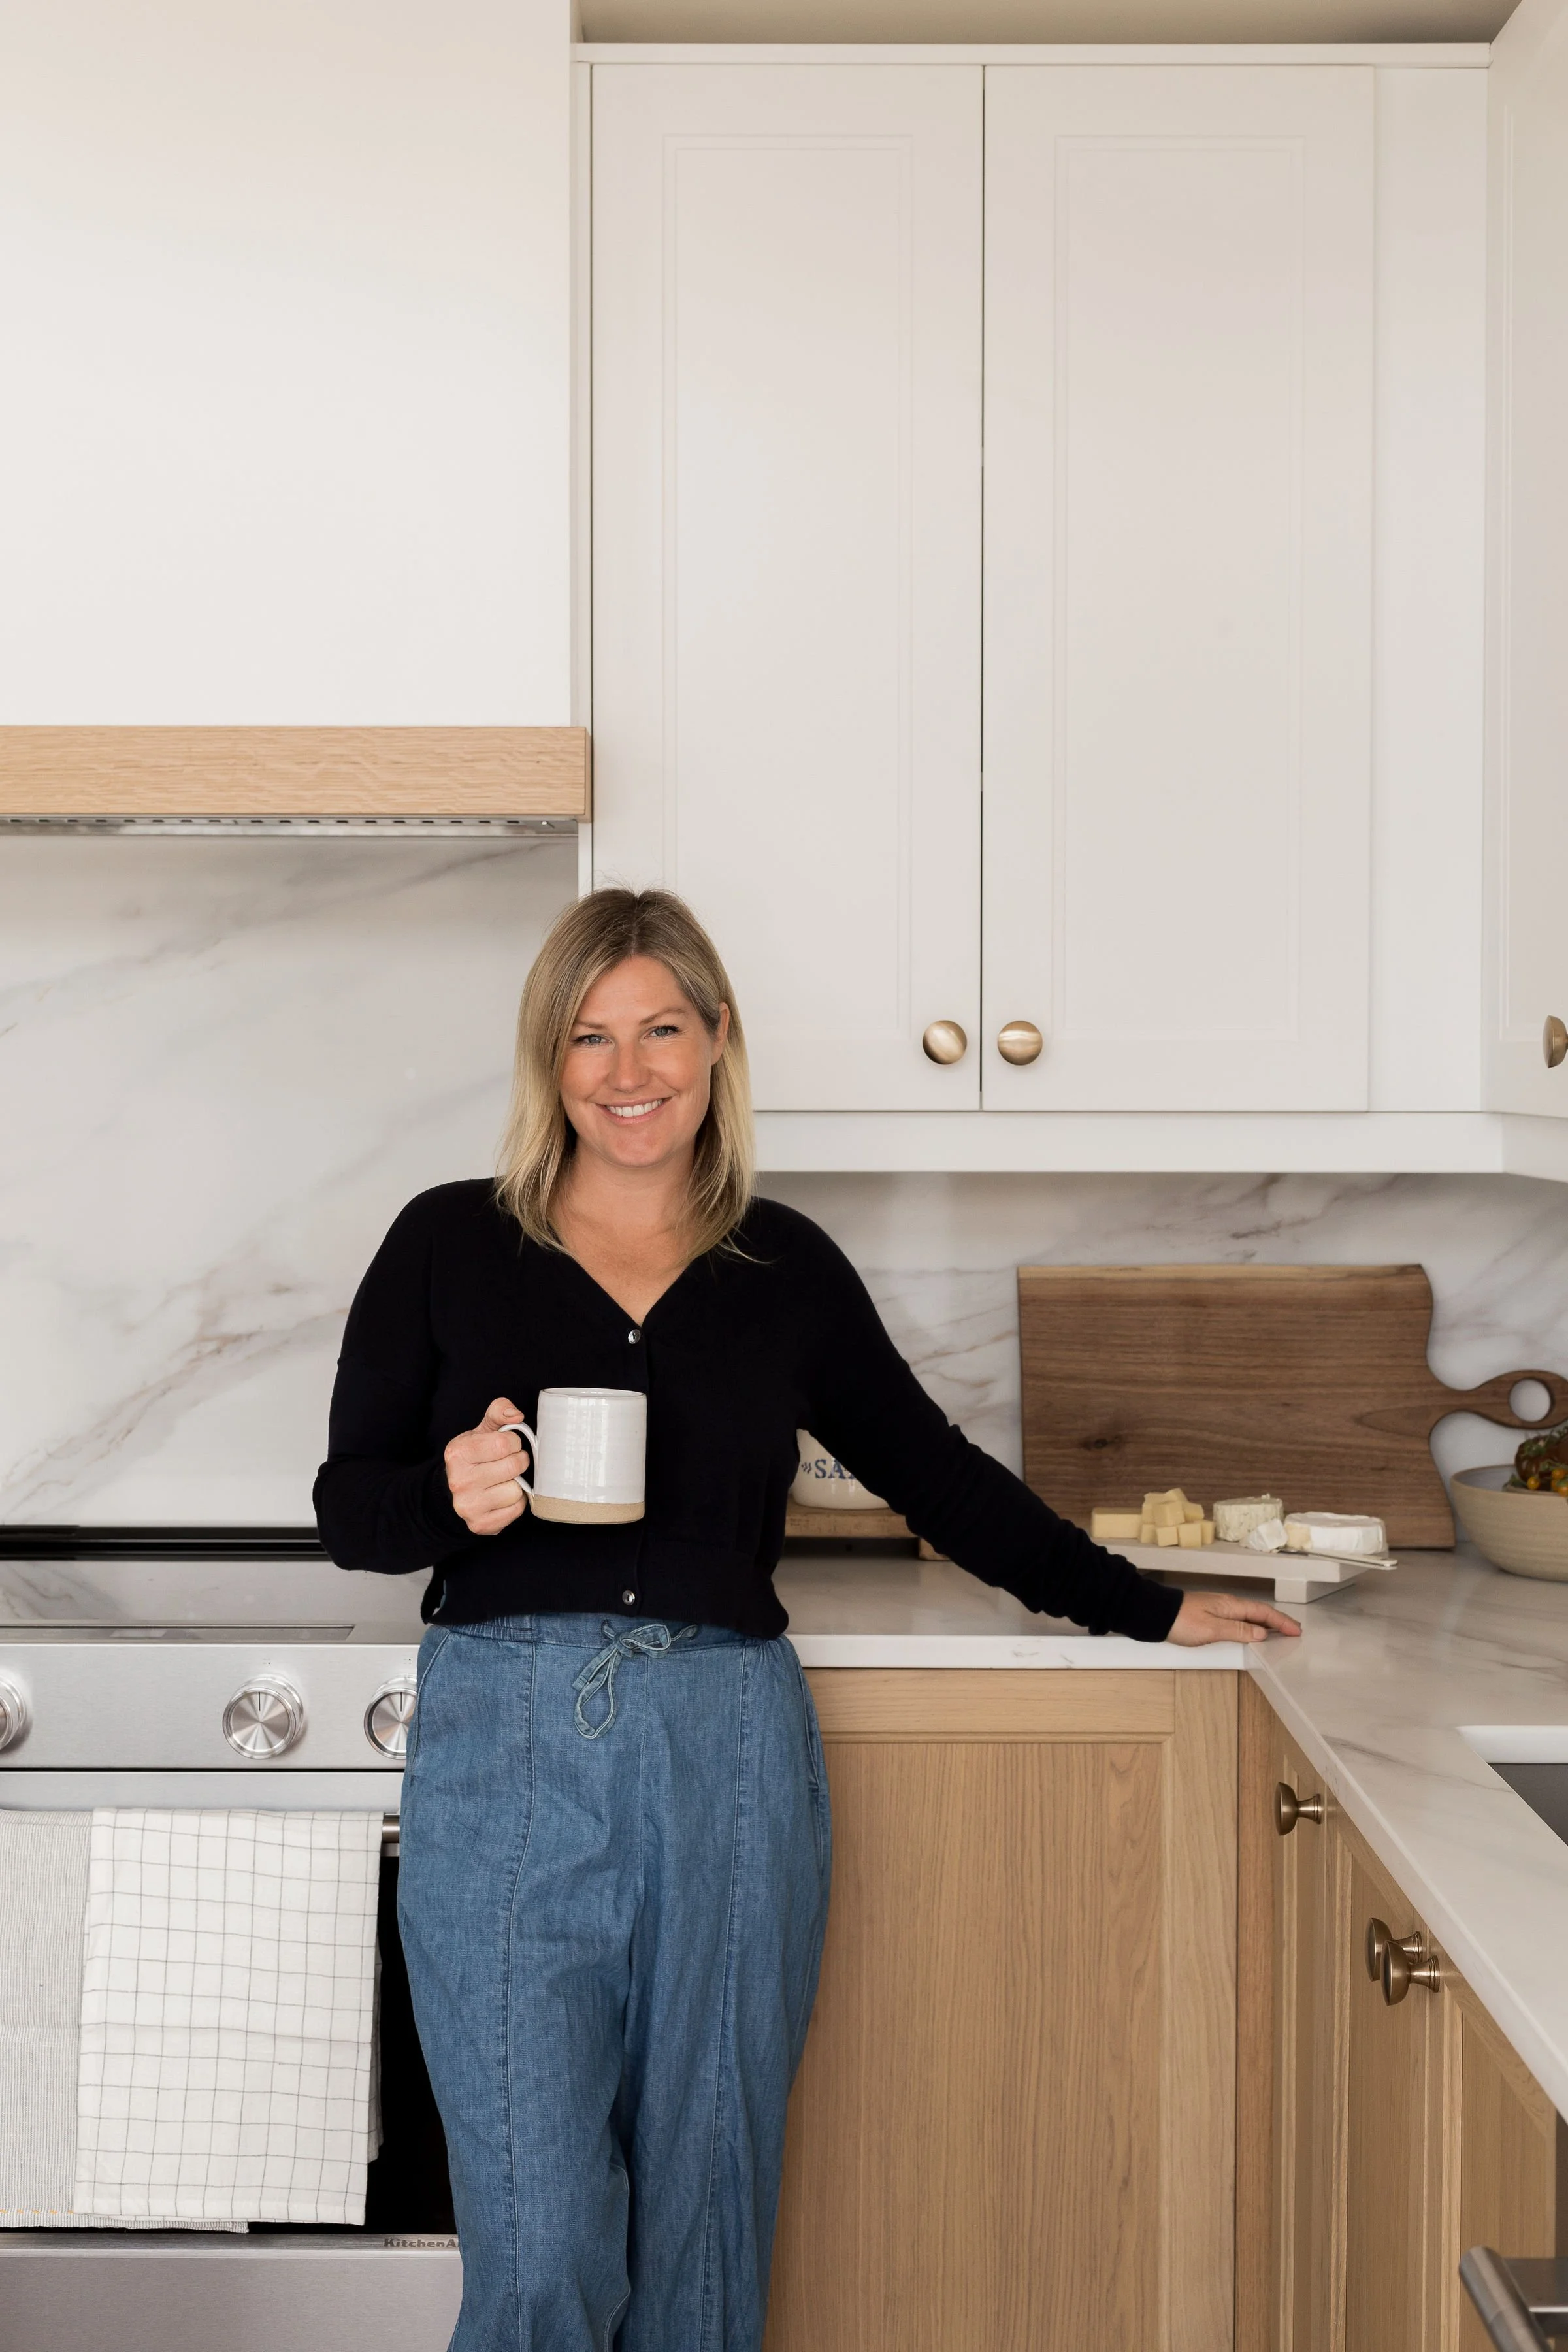
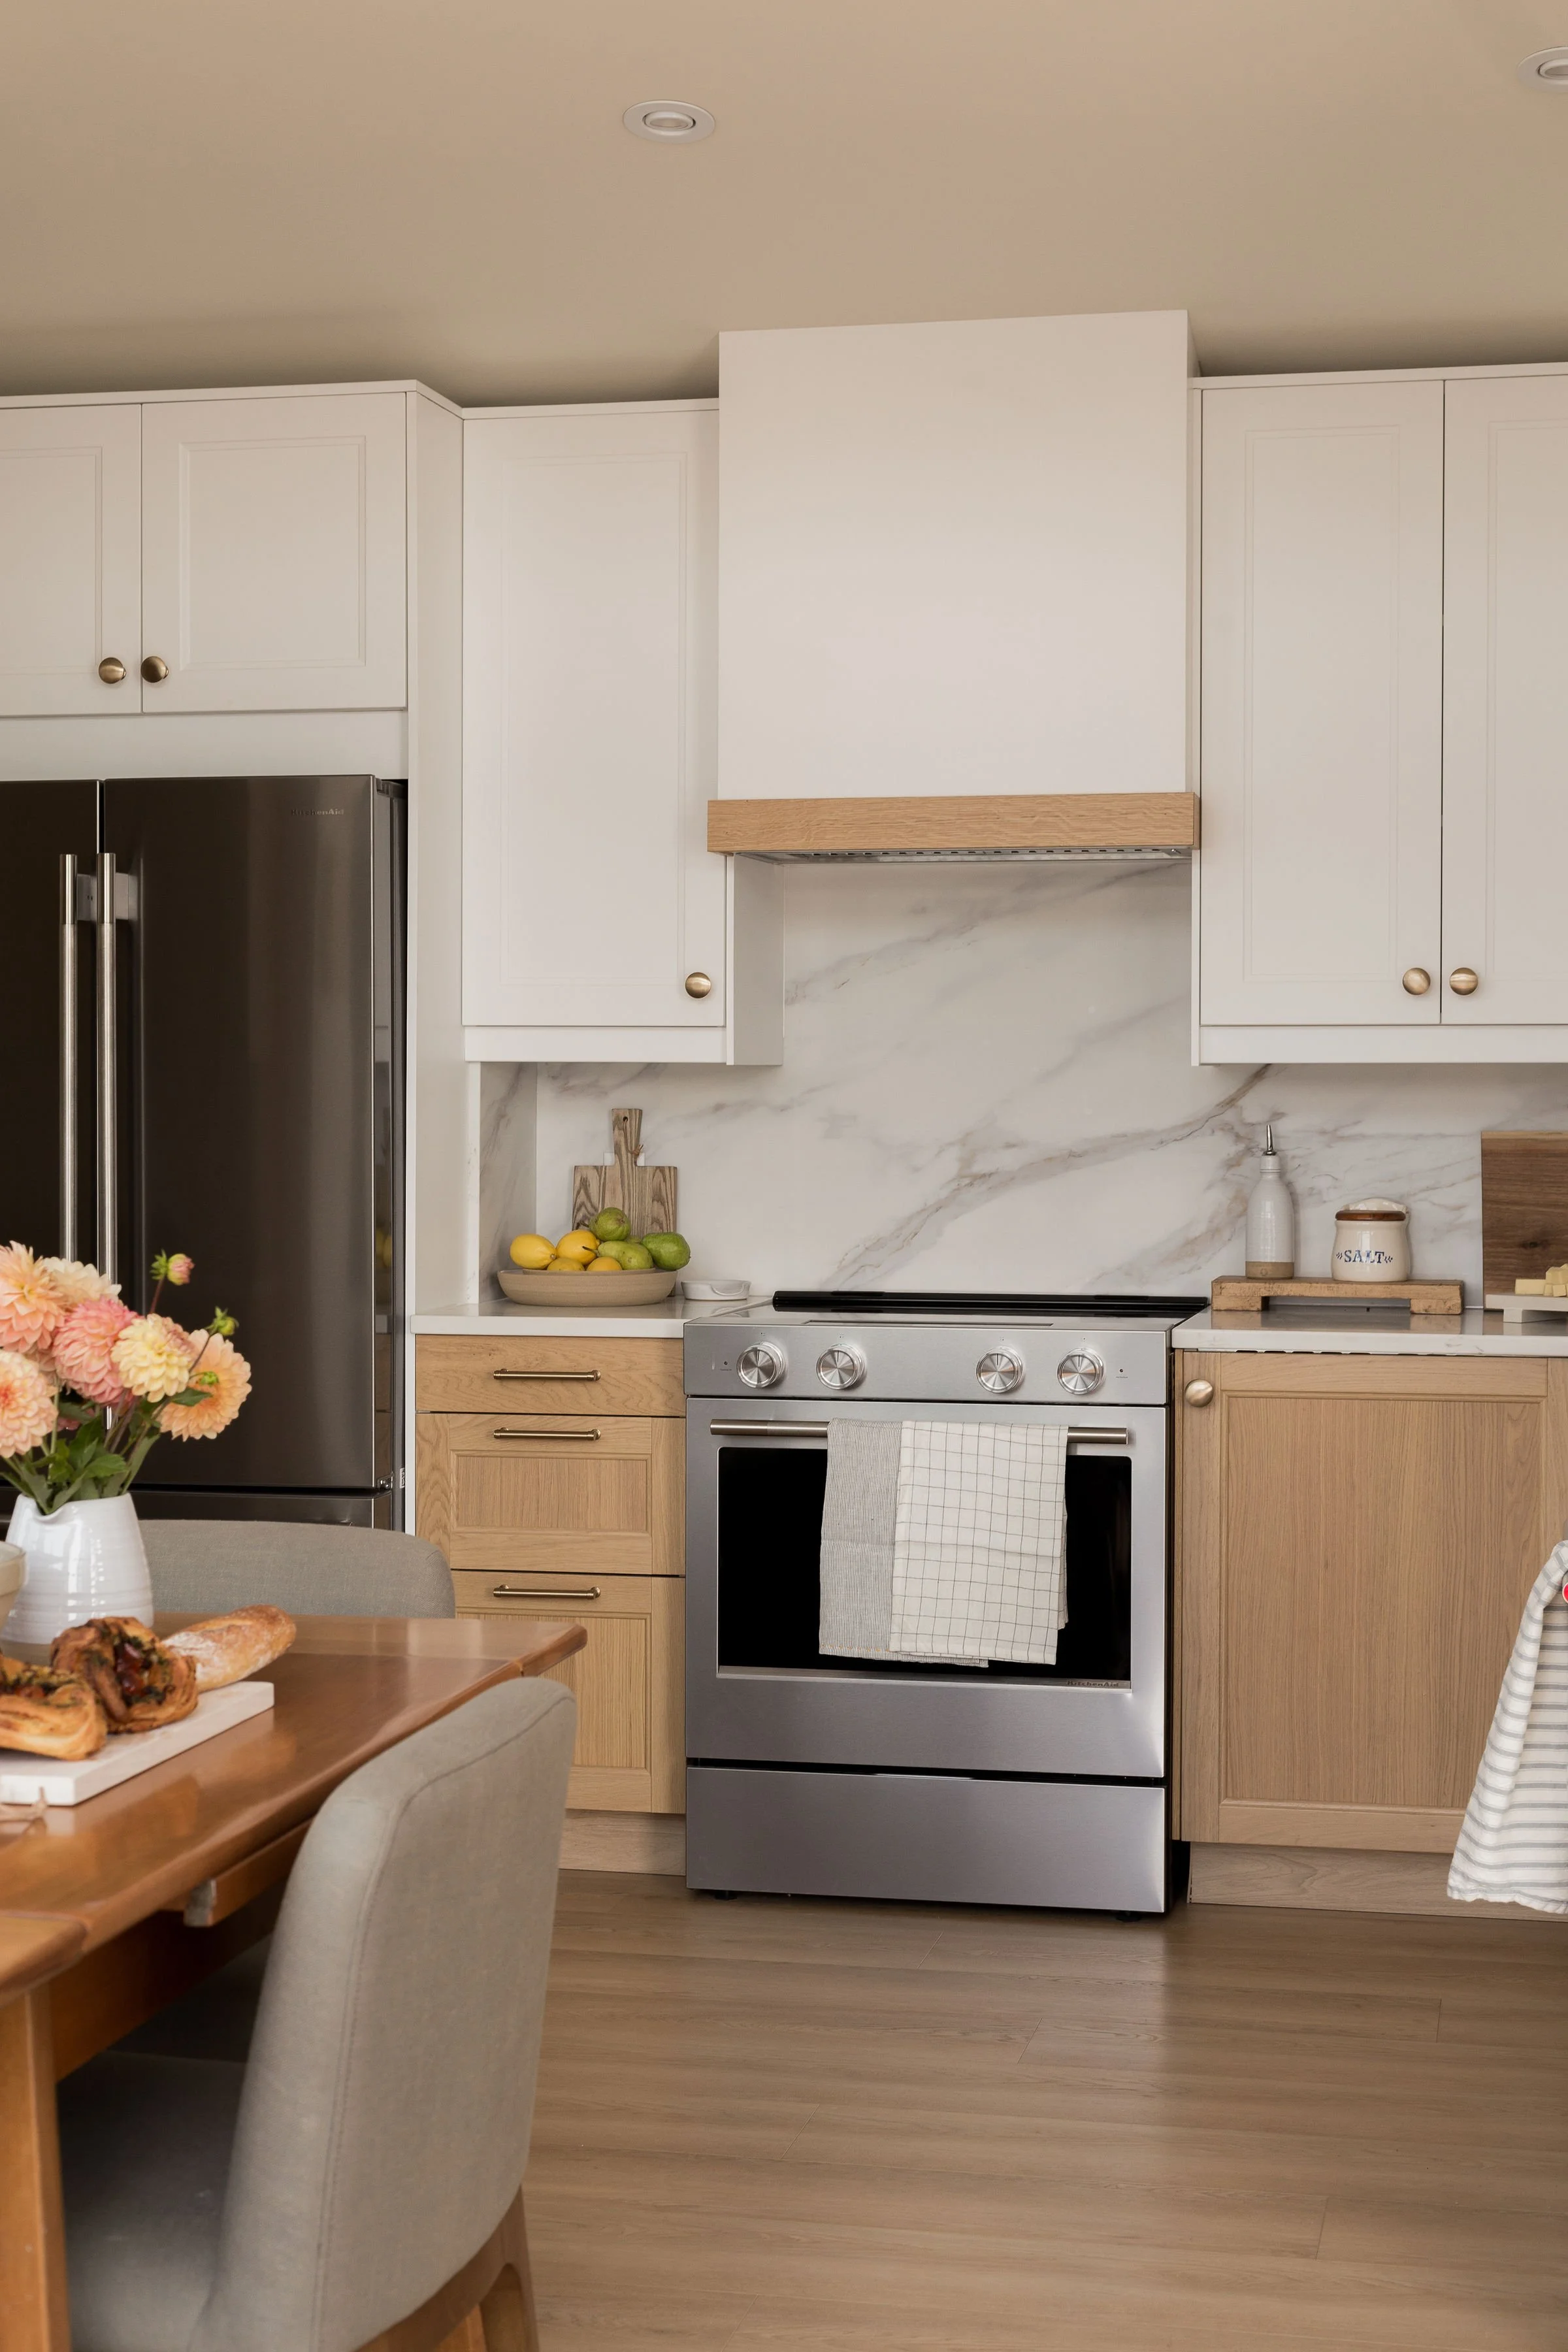
We chose IKEA cabinetry and went with a two-tone design. The upper cabinets are white, which helps the vaulted space feel larger, while the oak-look VEDHAMN cabinetry on the lower portion brings warmth and texture. For hardware, we added Emtek pulls and knobs in Satin Brass. The brass adds just enough warmth and interest without taking over the space.
The counter tops and back splash were another major design decision. We used RH7002 from RH Stones and carried the counter top material up the wall as the back splash. The brown undertones were important because they brought that subtle beachy warmth into the kitchen. We also ran the back splash all the way up to the range hood, which ended up being one of my favourite details.
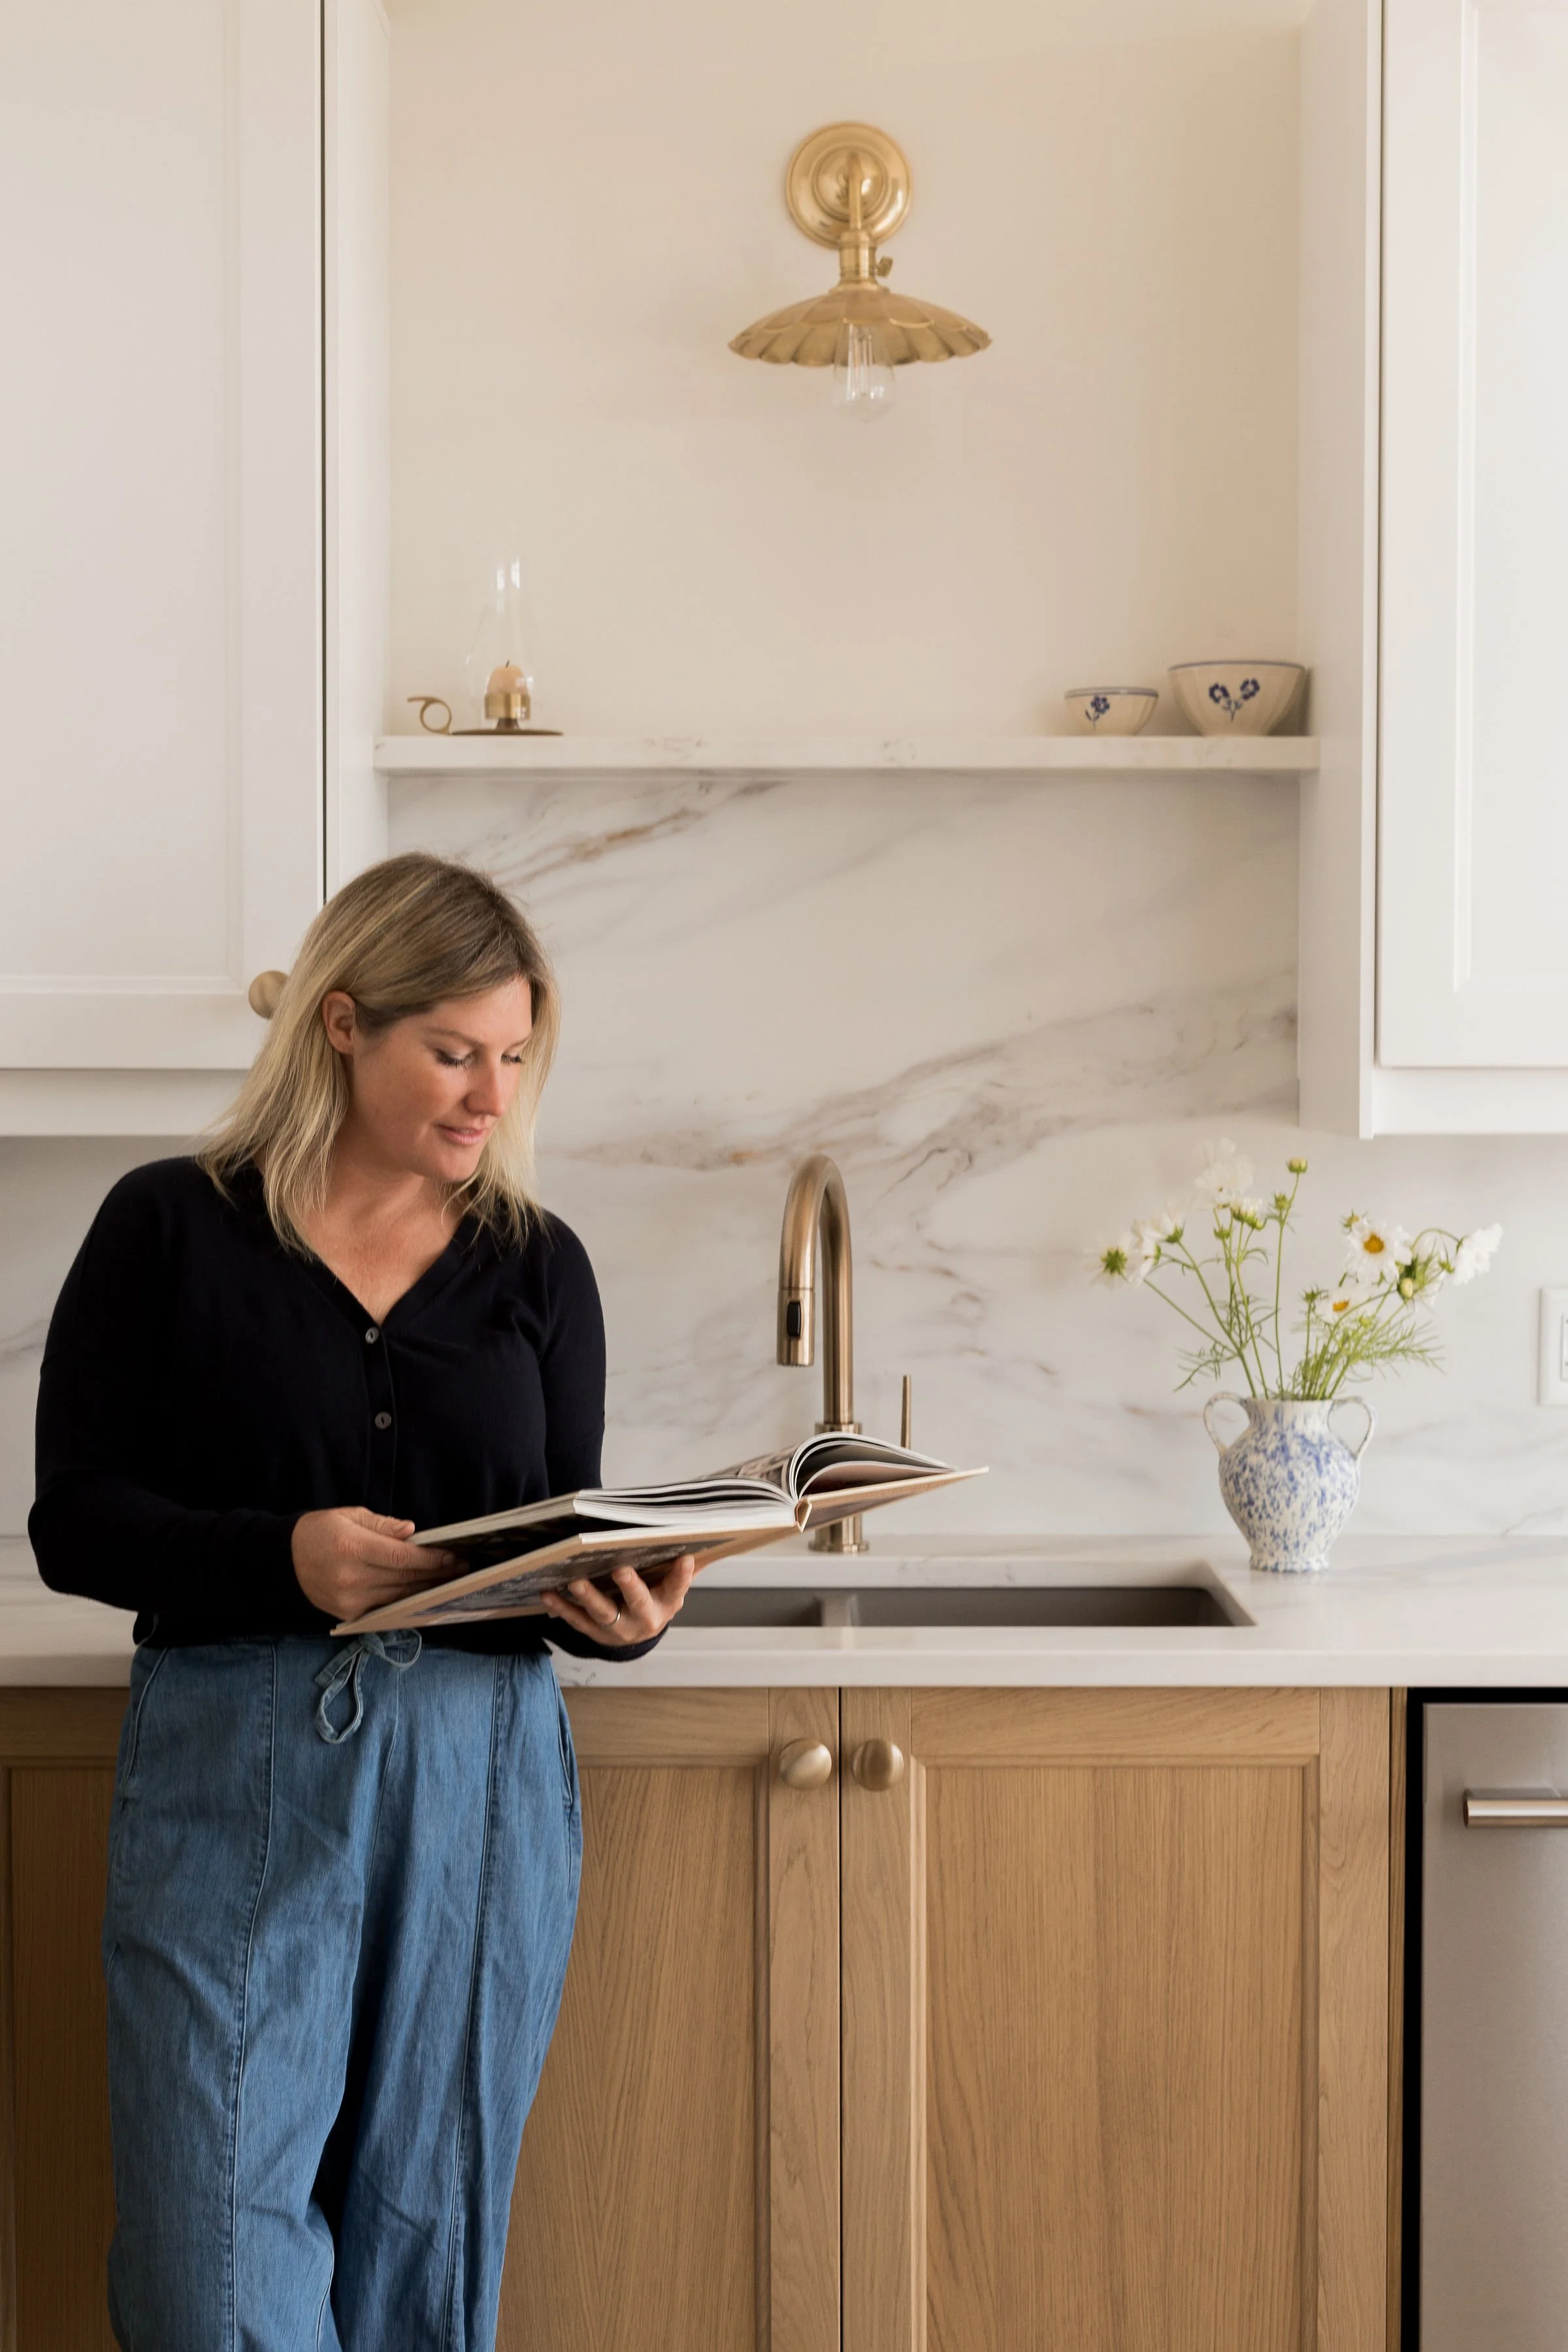
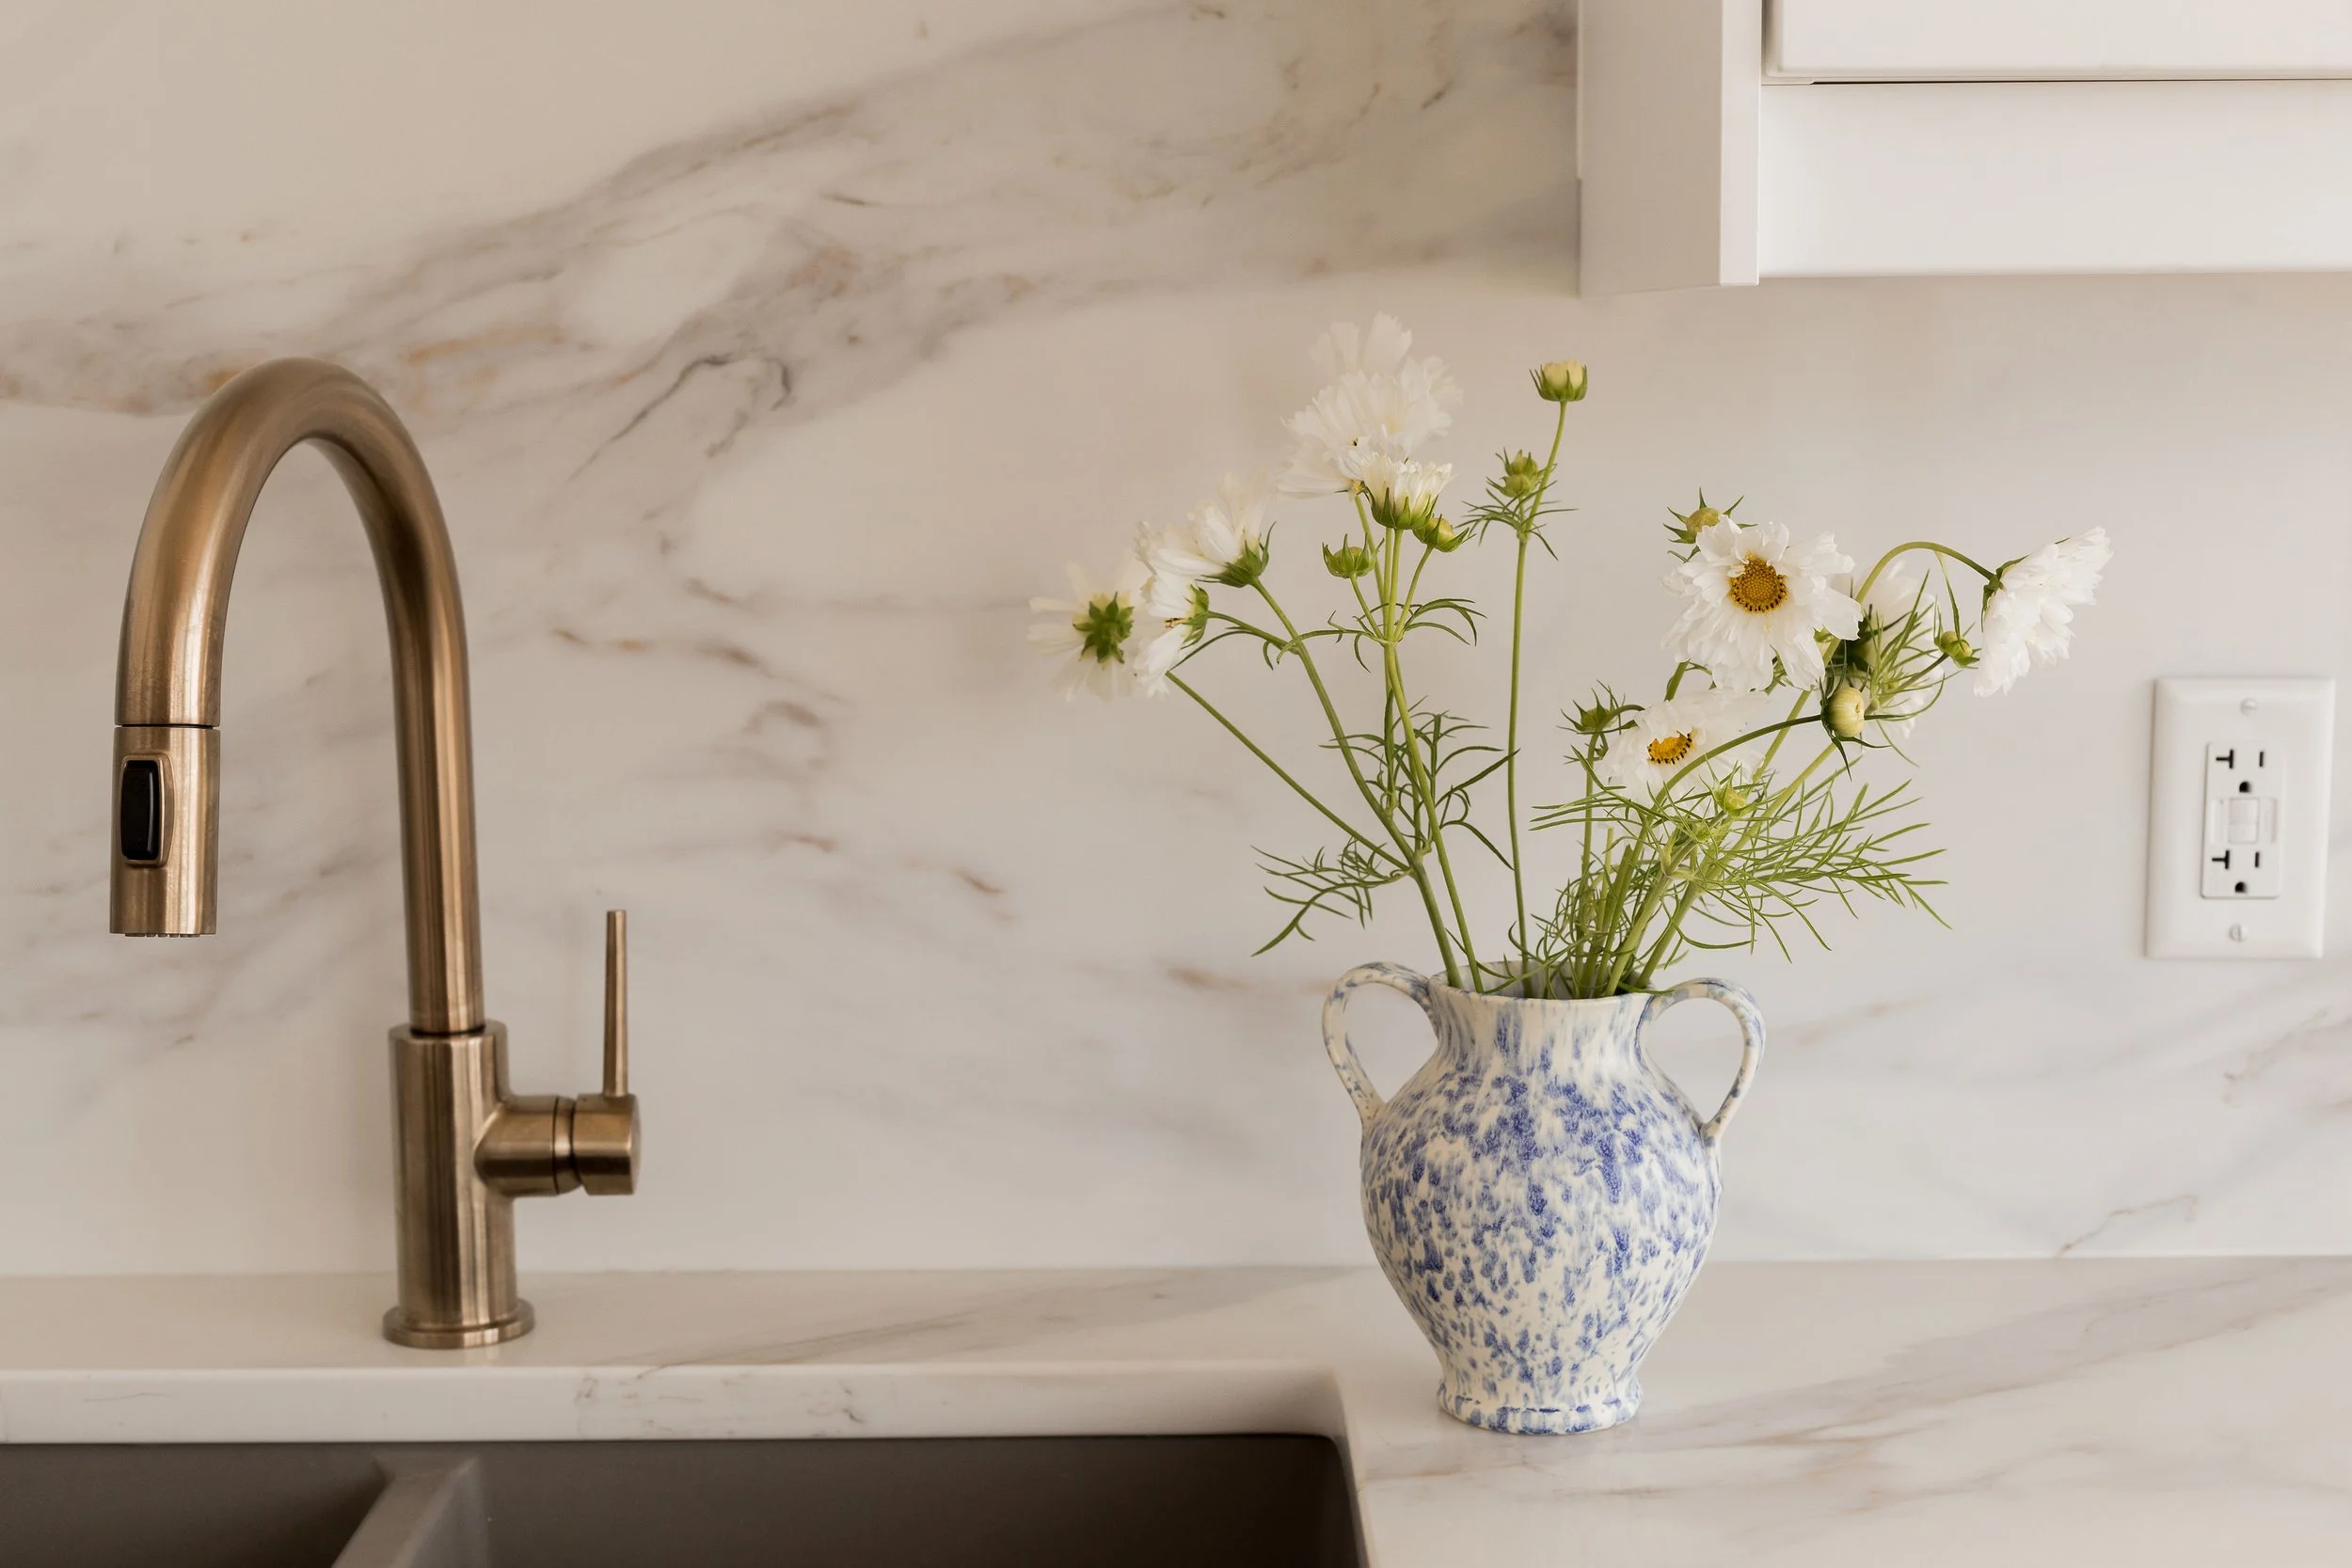
The sink is from Blanco Sinks, paired with a bronze Kohler faucet. I wasn't initially sure about adding colour to the sink, but our interior designer, Tiare Watson, encouraged us to go for it—and I'm so glad we did. Above the sink is one of my favourite little moments: a shell-like Heirloom Wall Scone from Light House Co. The aged brass finish and sculptural shape give the kitchen that collected, coastal feeling I wanted.
We chose KitchenAid appliances for the fridge, stove and dishwasher because, at the end of the day, this kitchen needs to work. We're here to host family and friends, and I would much rather be sitting around the table with everyone than washing dishes all night.
The Dining Nook: A Little Piece of the Original Cabin
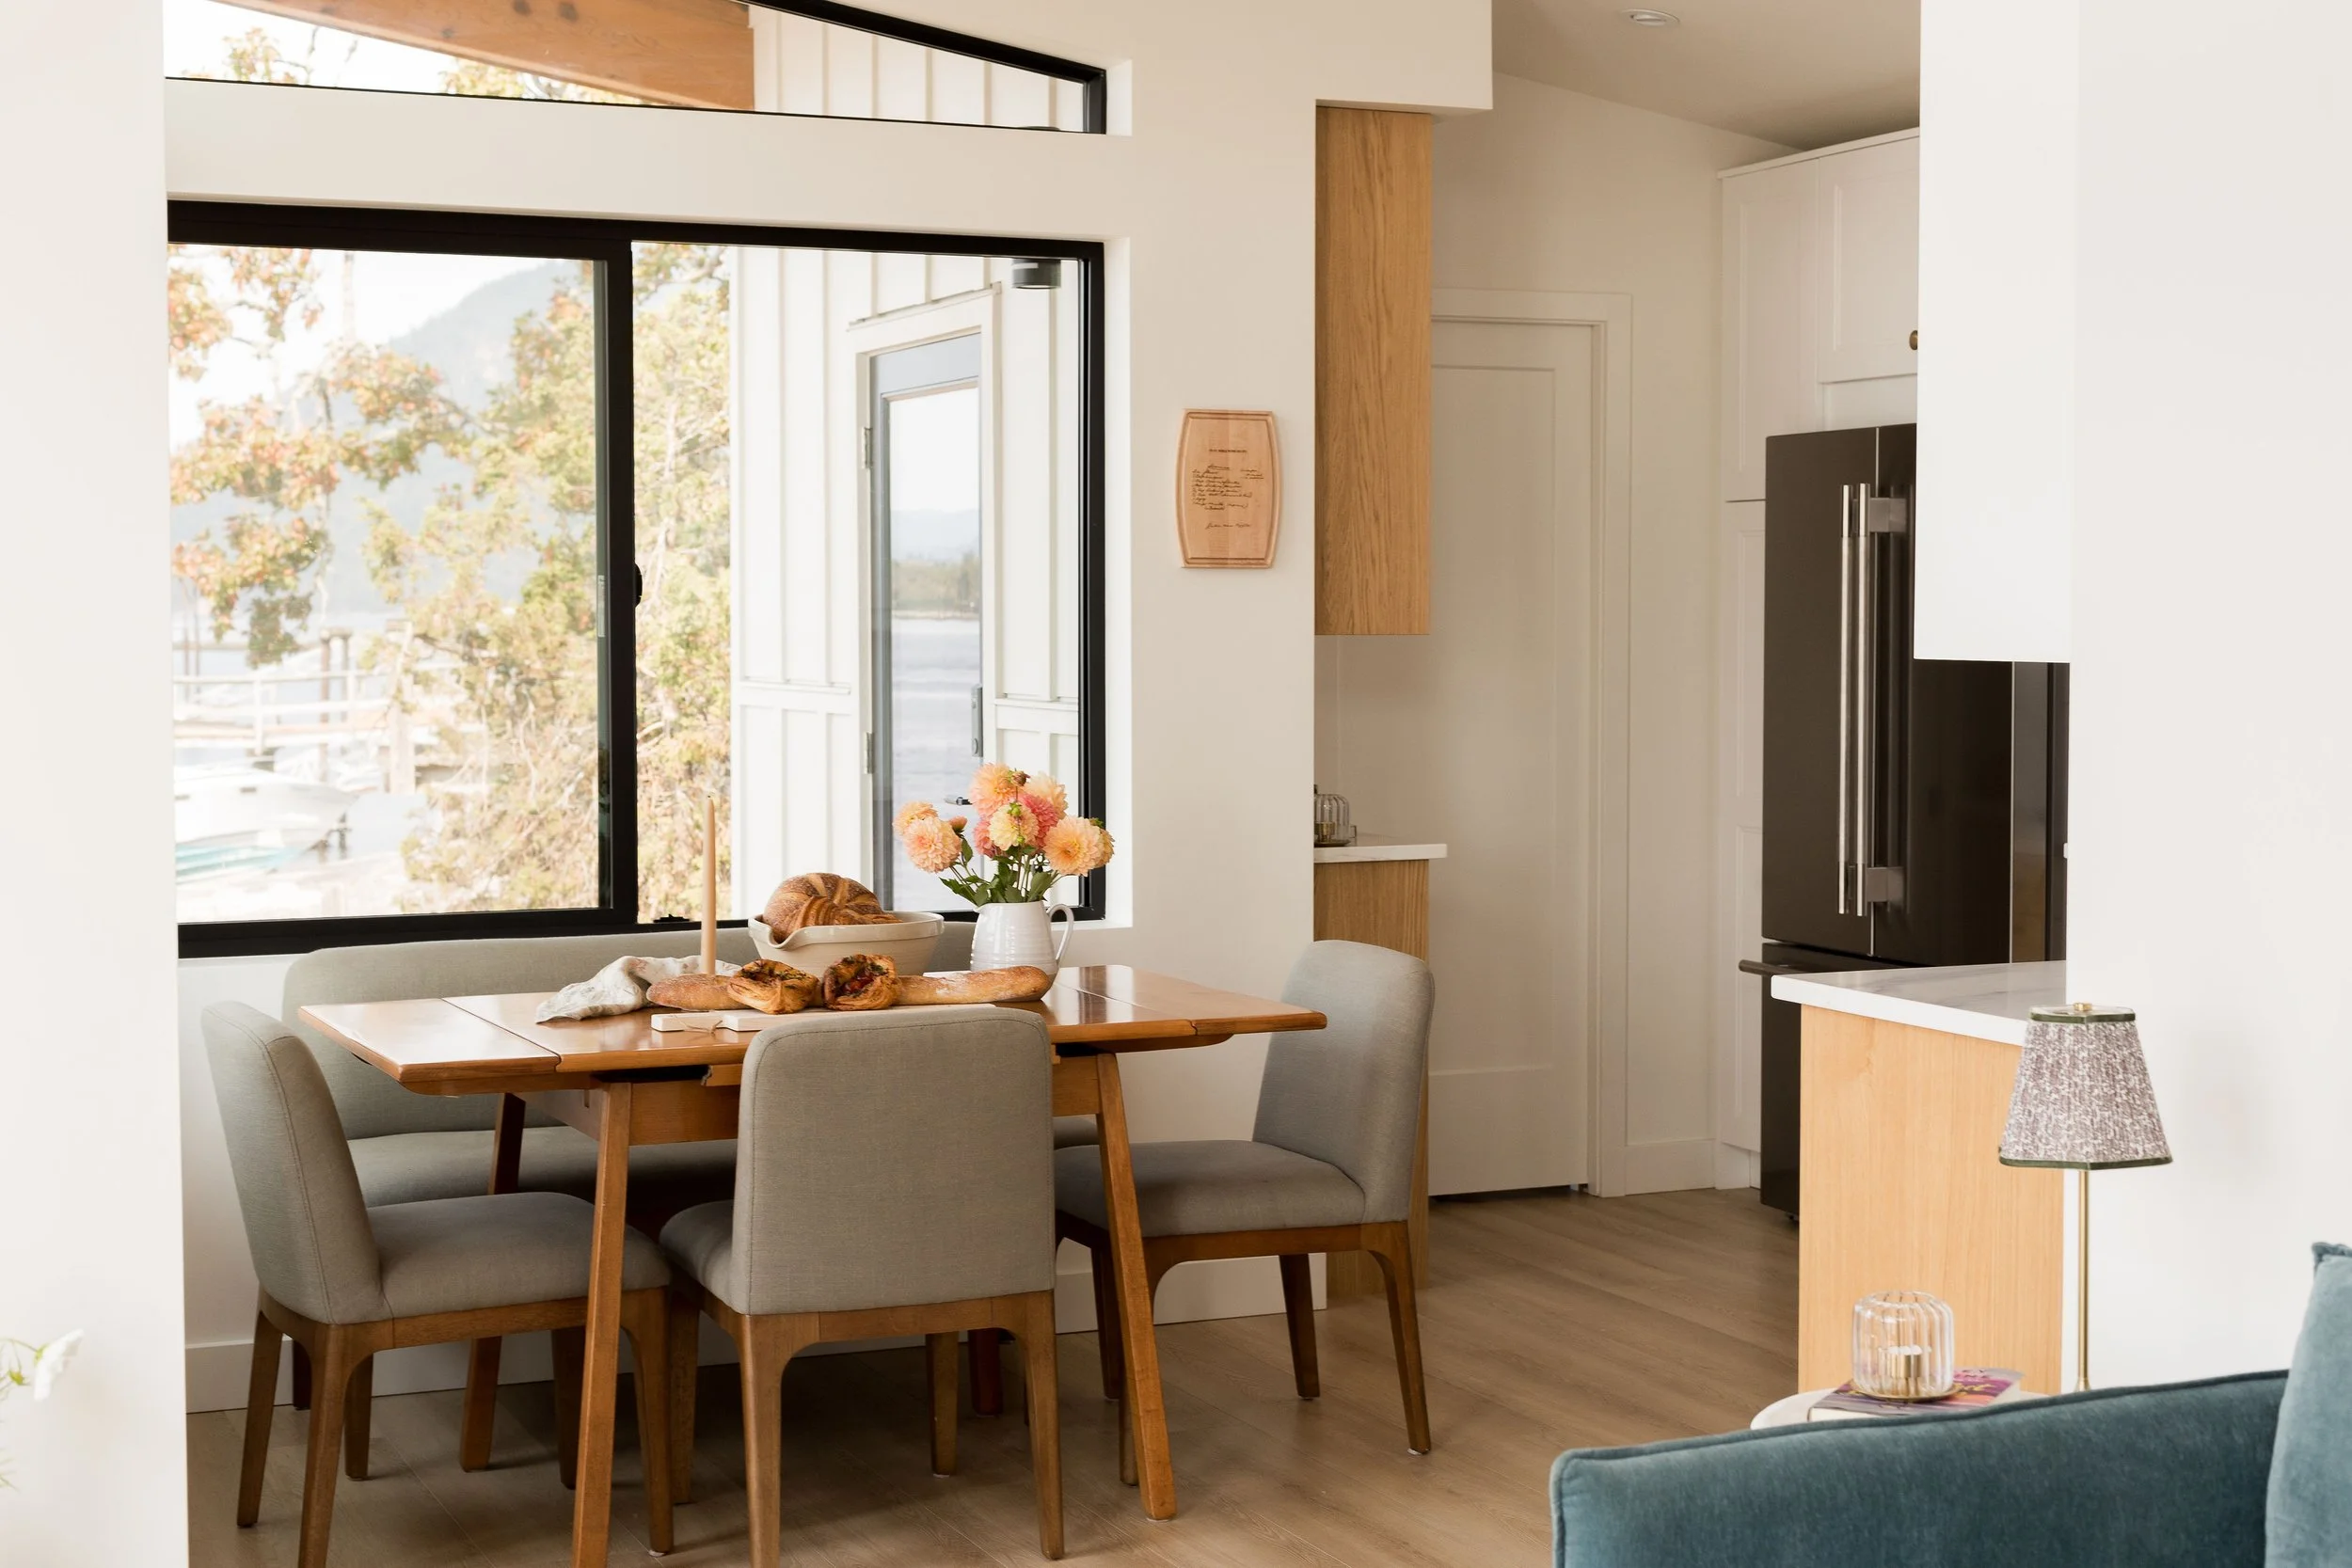
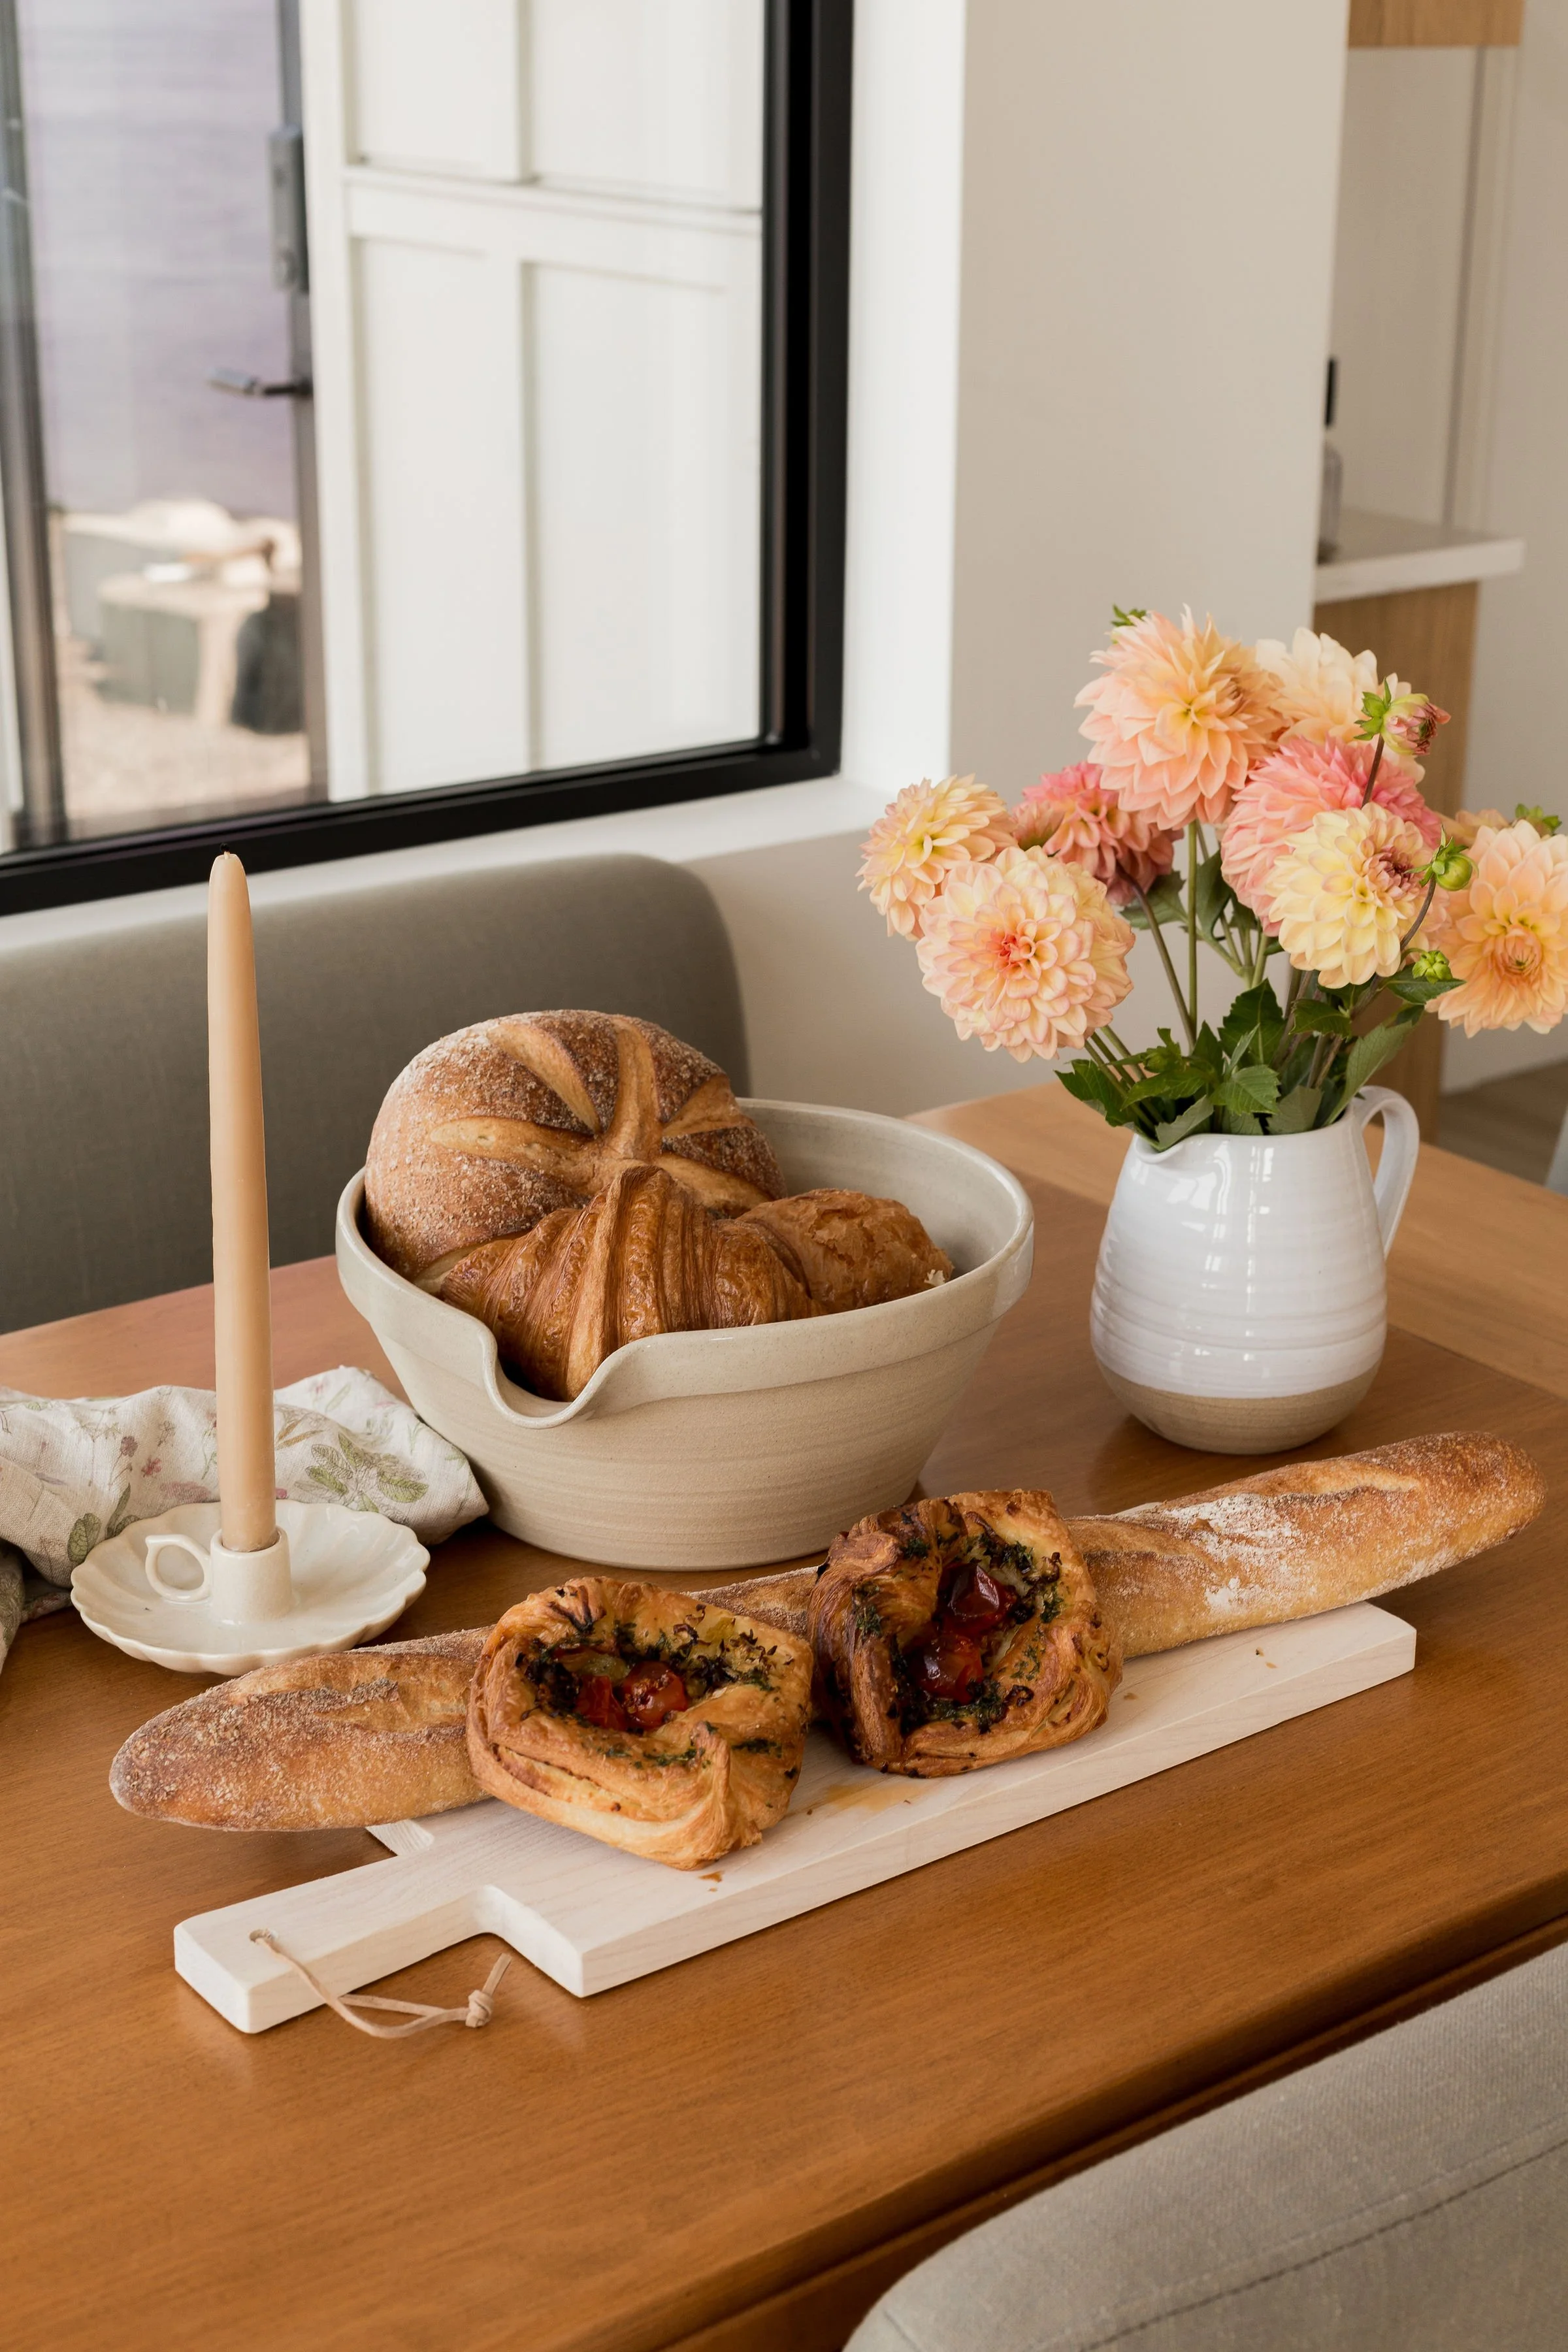
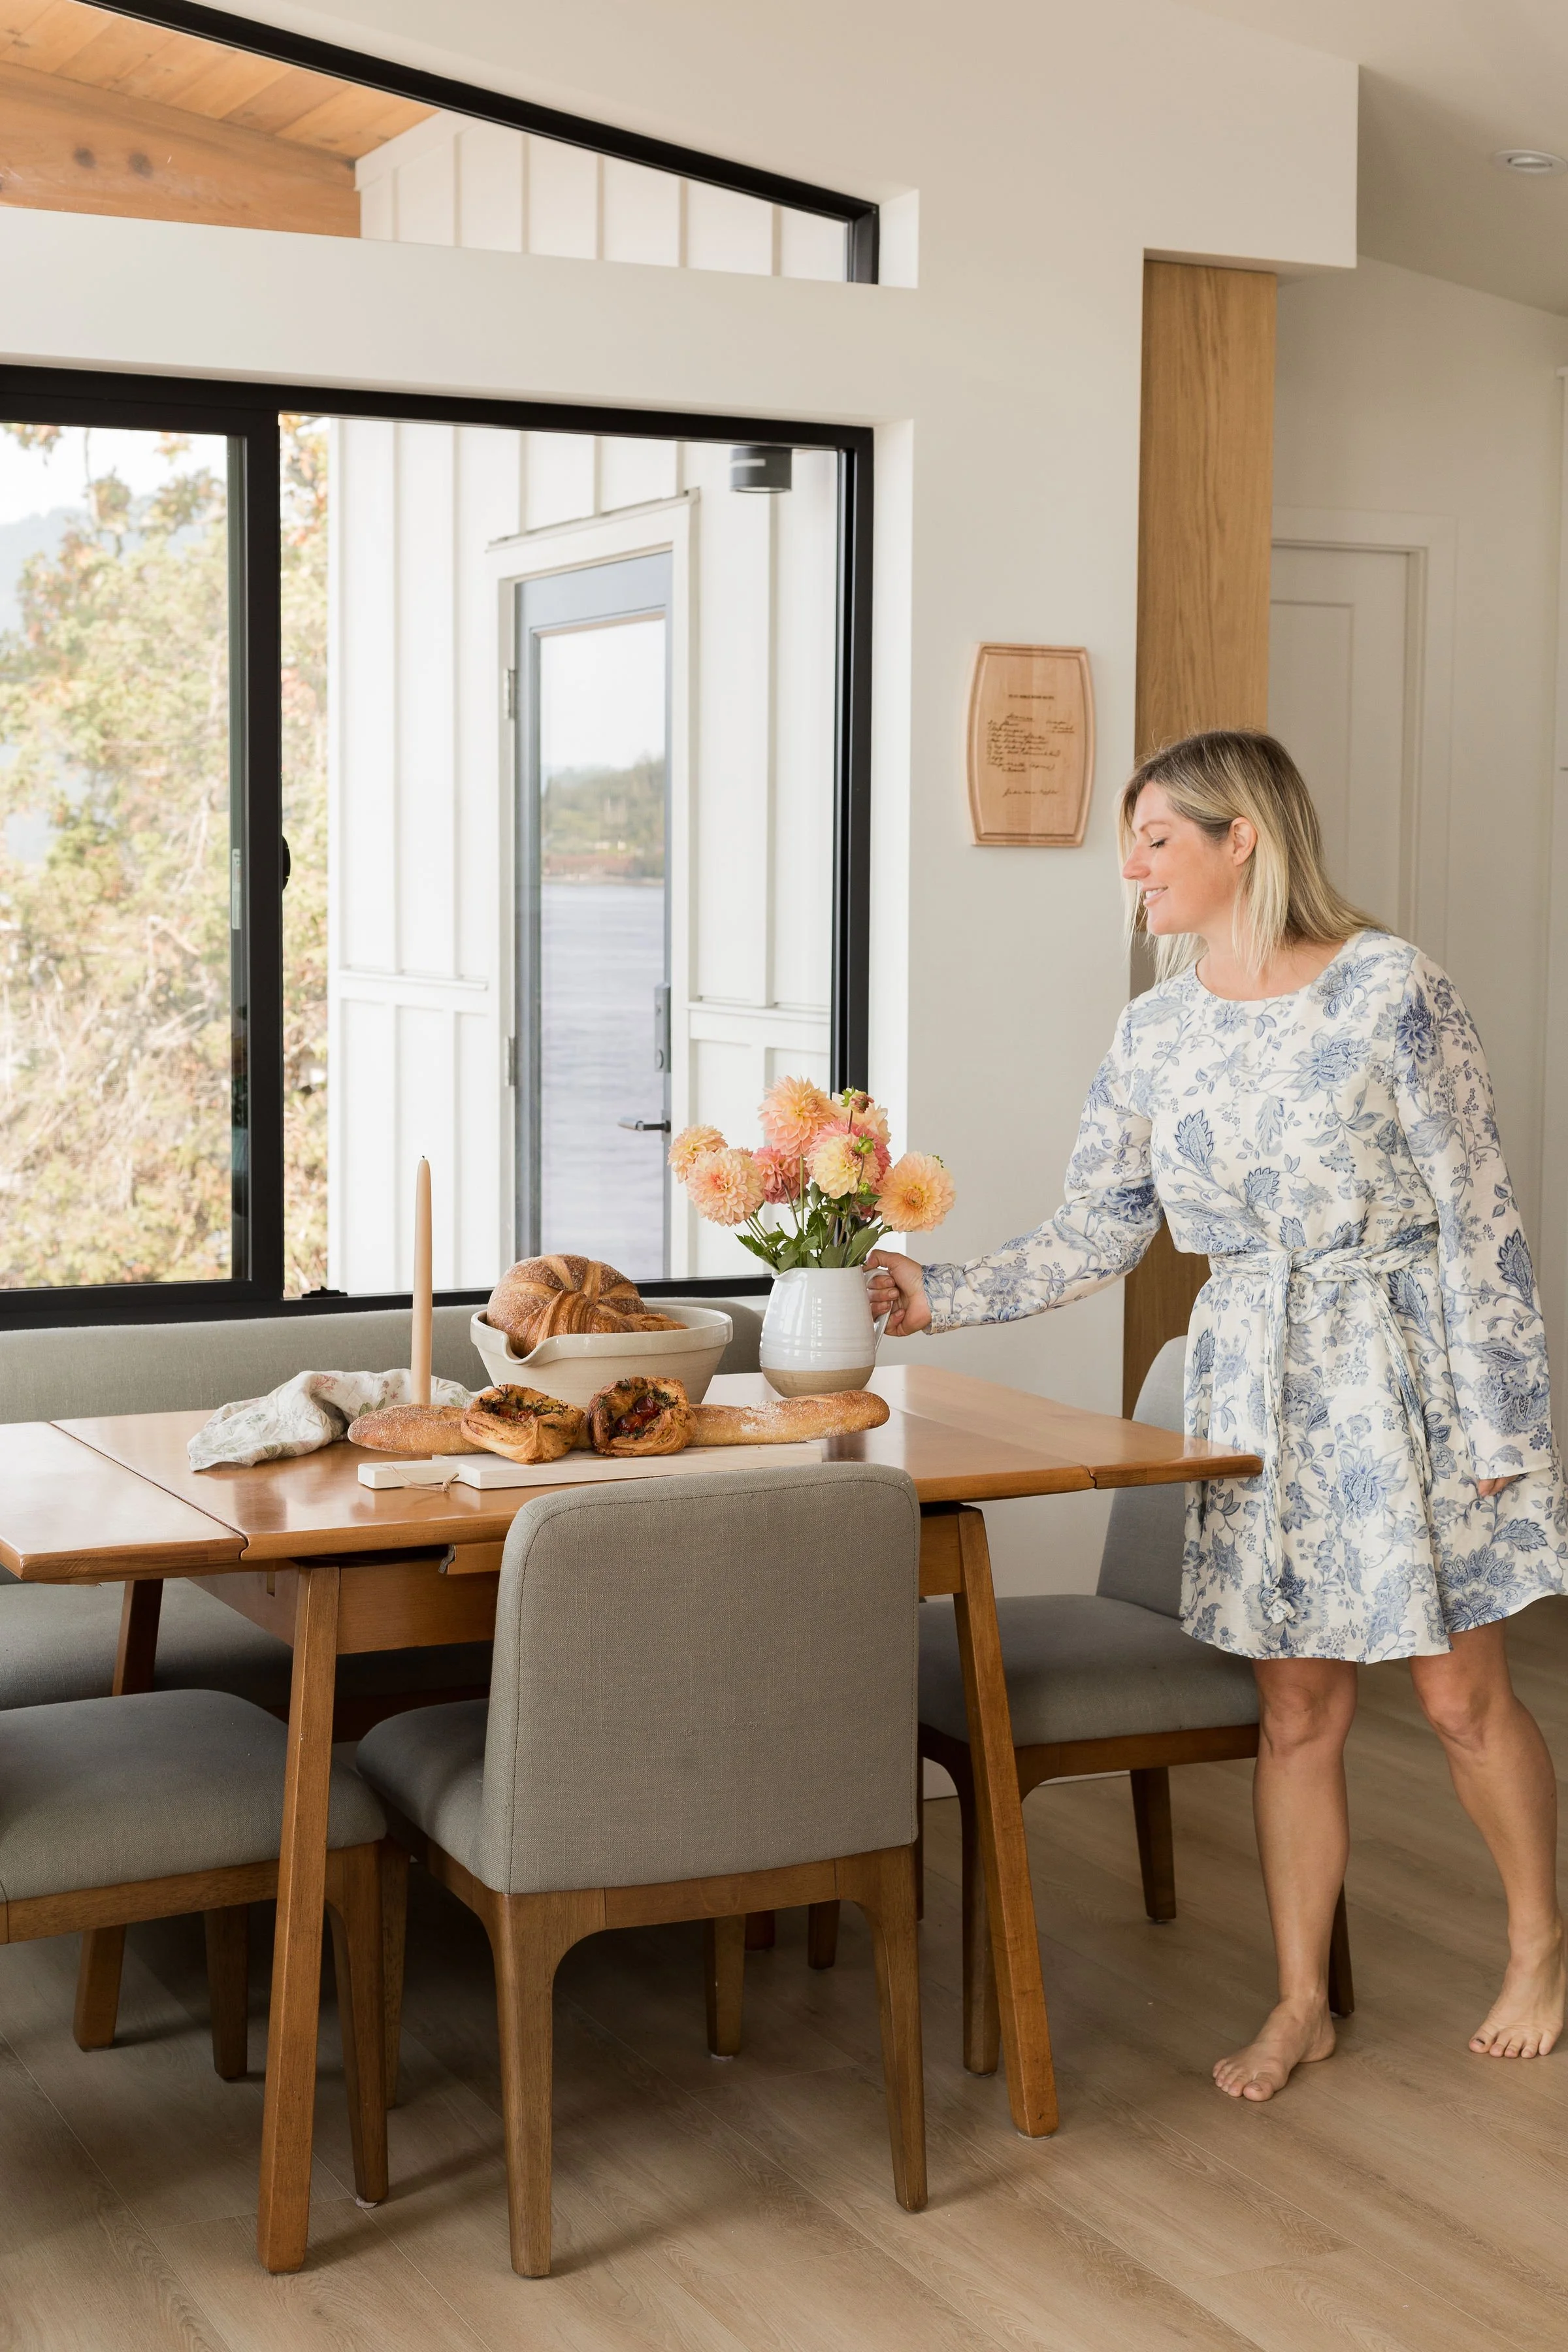
One of the things I didn't want to lose during the renovation was the feeling that this was still the same cabin. The dining nook helped us do that. We kept an antique table that was already at the cabin when we purchased it. It adds a little Scandinavian character and gives a nod to the cabin's history. We paired it with the Rosin Dining Chairs & the Armless Rosin Banquette from Article to bring a modern element to the space.
The Bedrooms: Small by Design
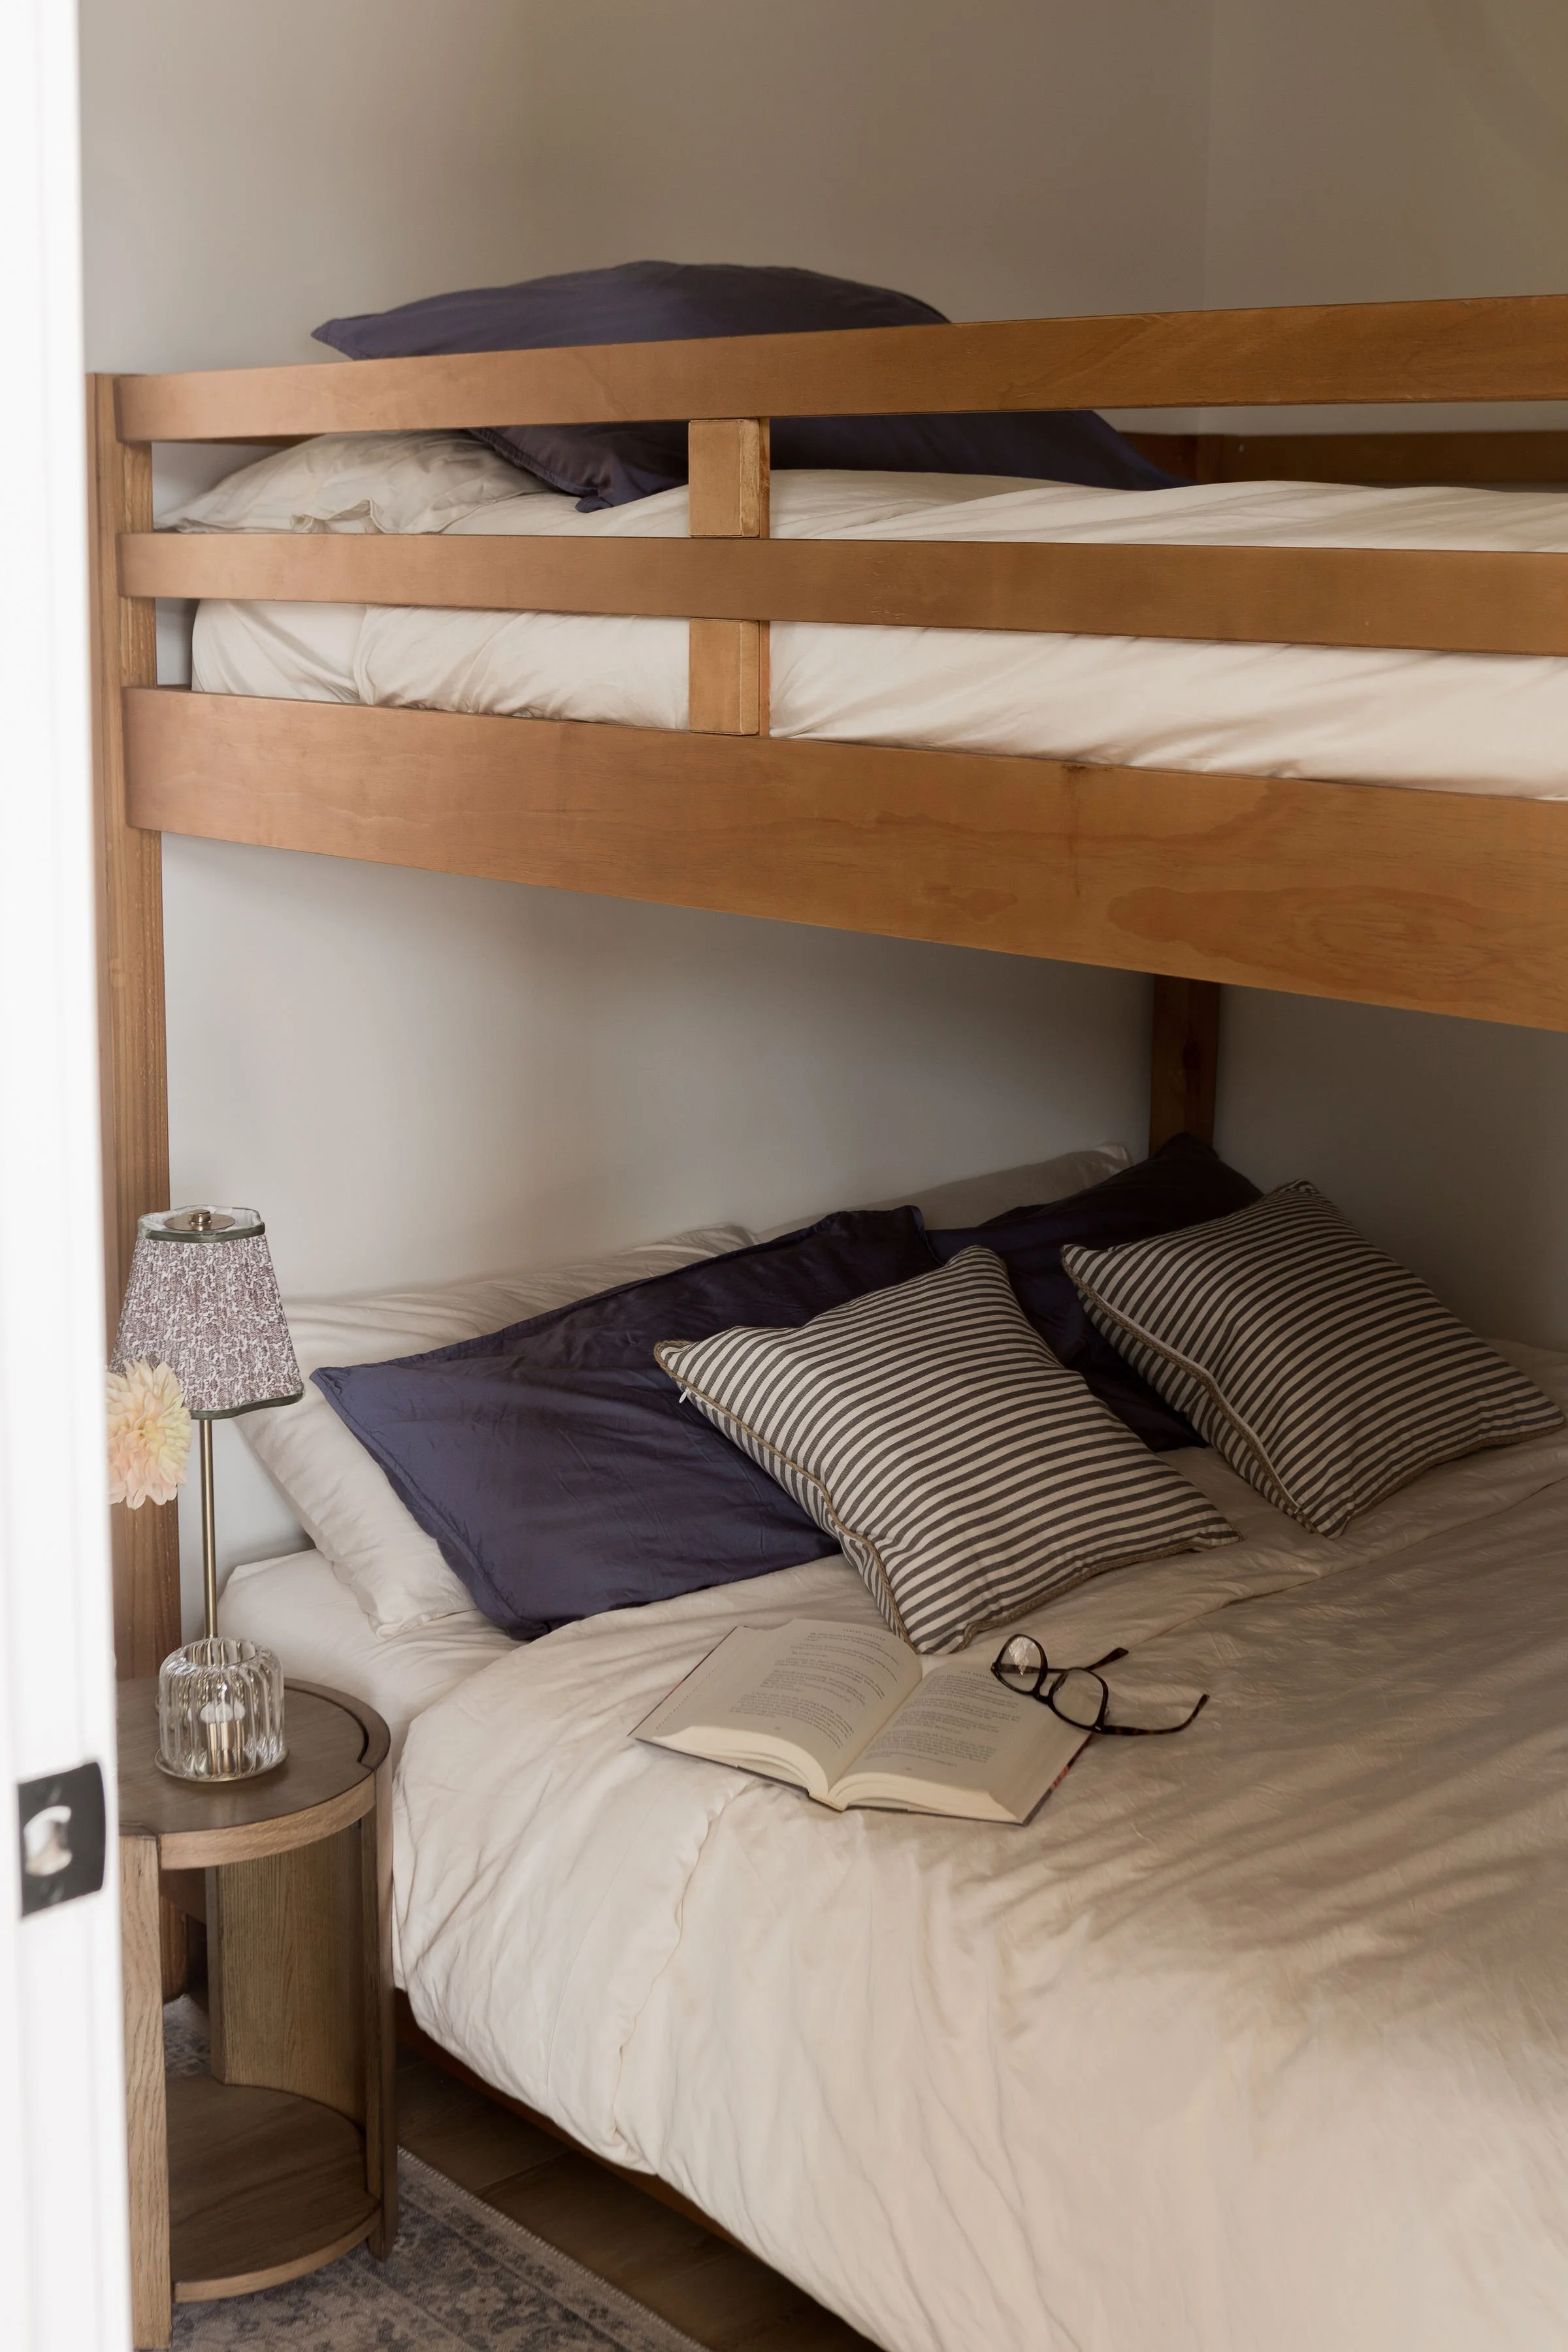
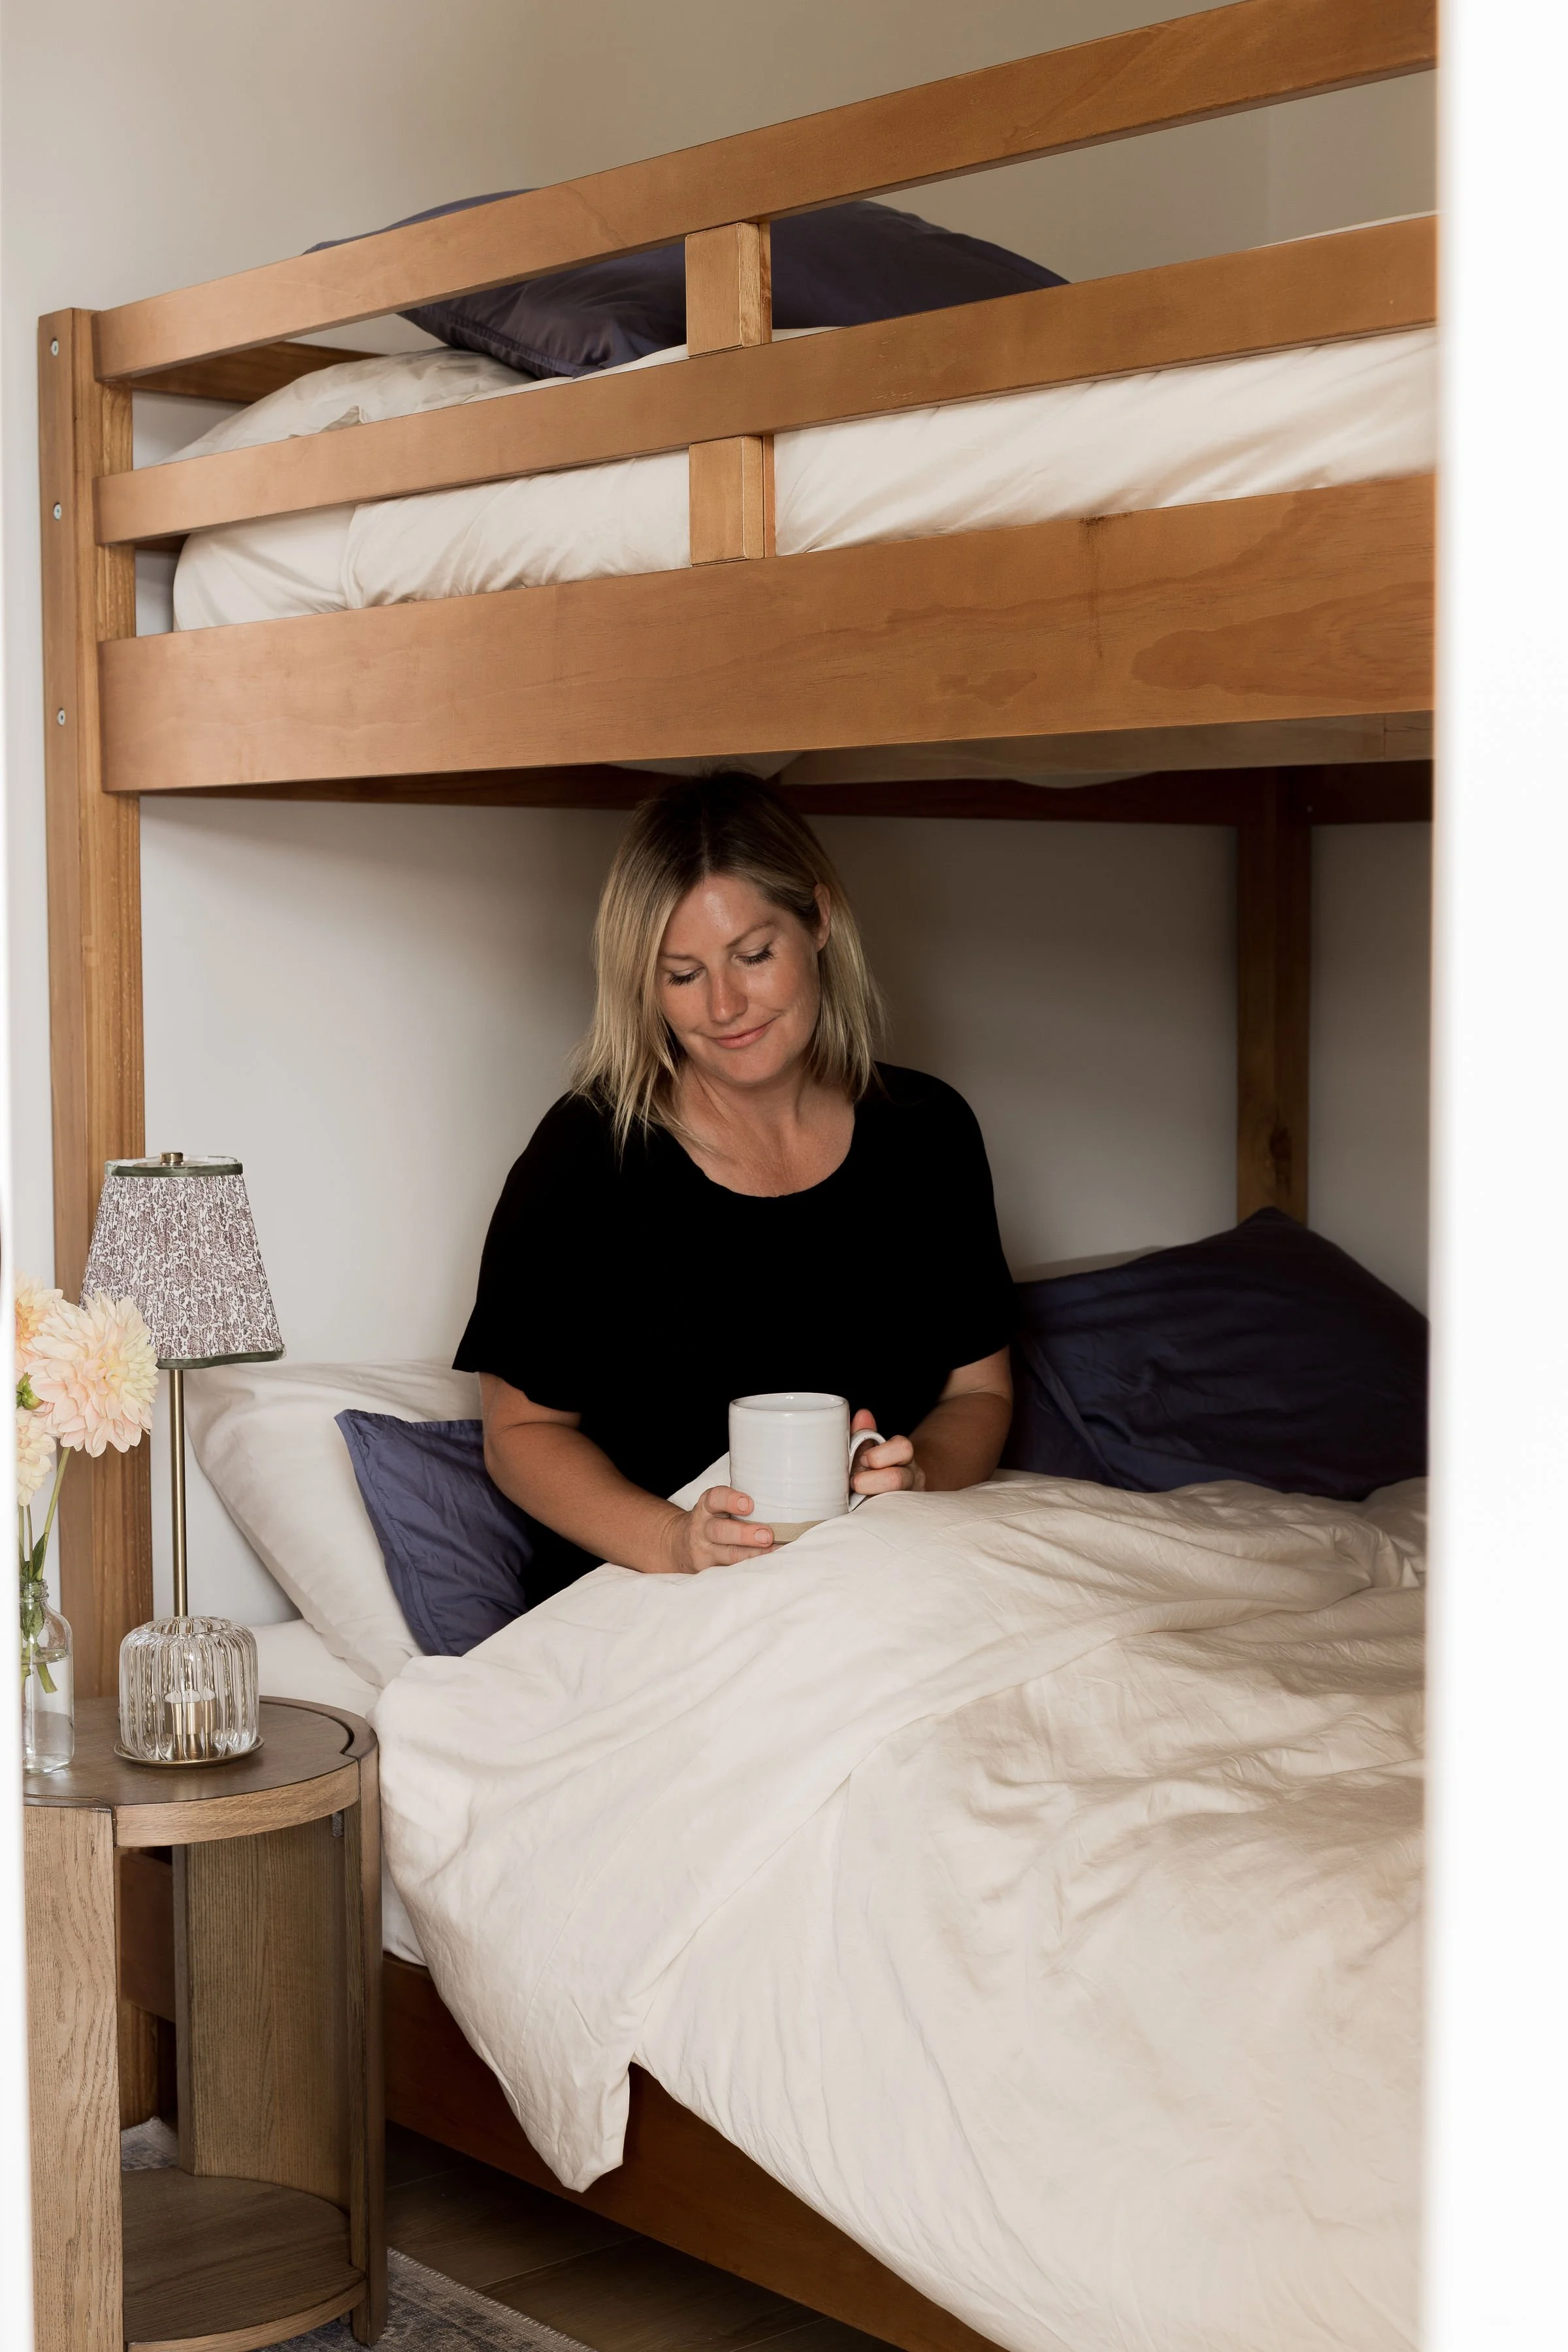
The bedrooms may be the smallest rooms in the cabin, but that was completely intentional. Before the renovation, the cabin had one long bedroom with the best view in the house. We decided to move the sleeping area toward the back of the cabin so we could create two bedrooms and give more square footage to the main living space.
The kids' bunk room is only about 7.5 by 6.25 feet, but it has everything they need: solid wood bunk beds, storage underneath for books and games, bunk lights for reading and a small closet. We actually found the bunks during the framing stage and adjusted the framing by two inches to make them fit. This is exactly why I think planning furniture early during a renovation can make such a difference!
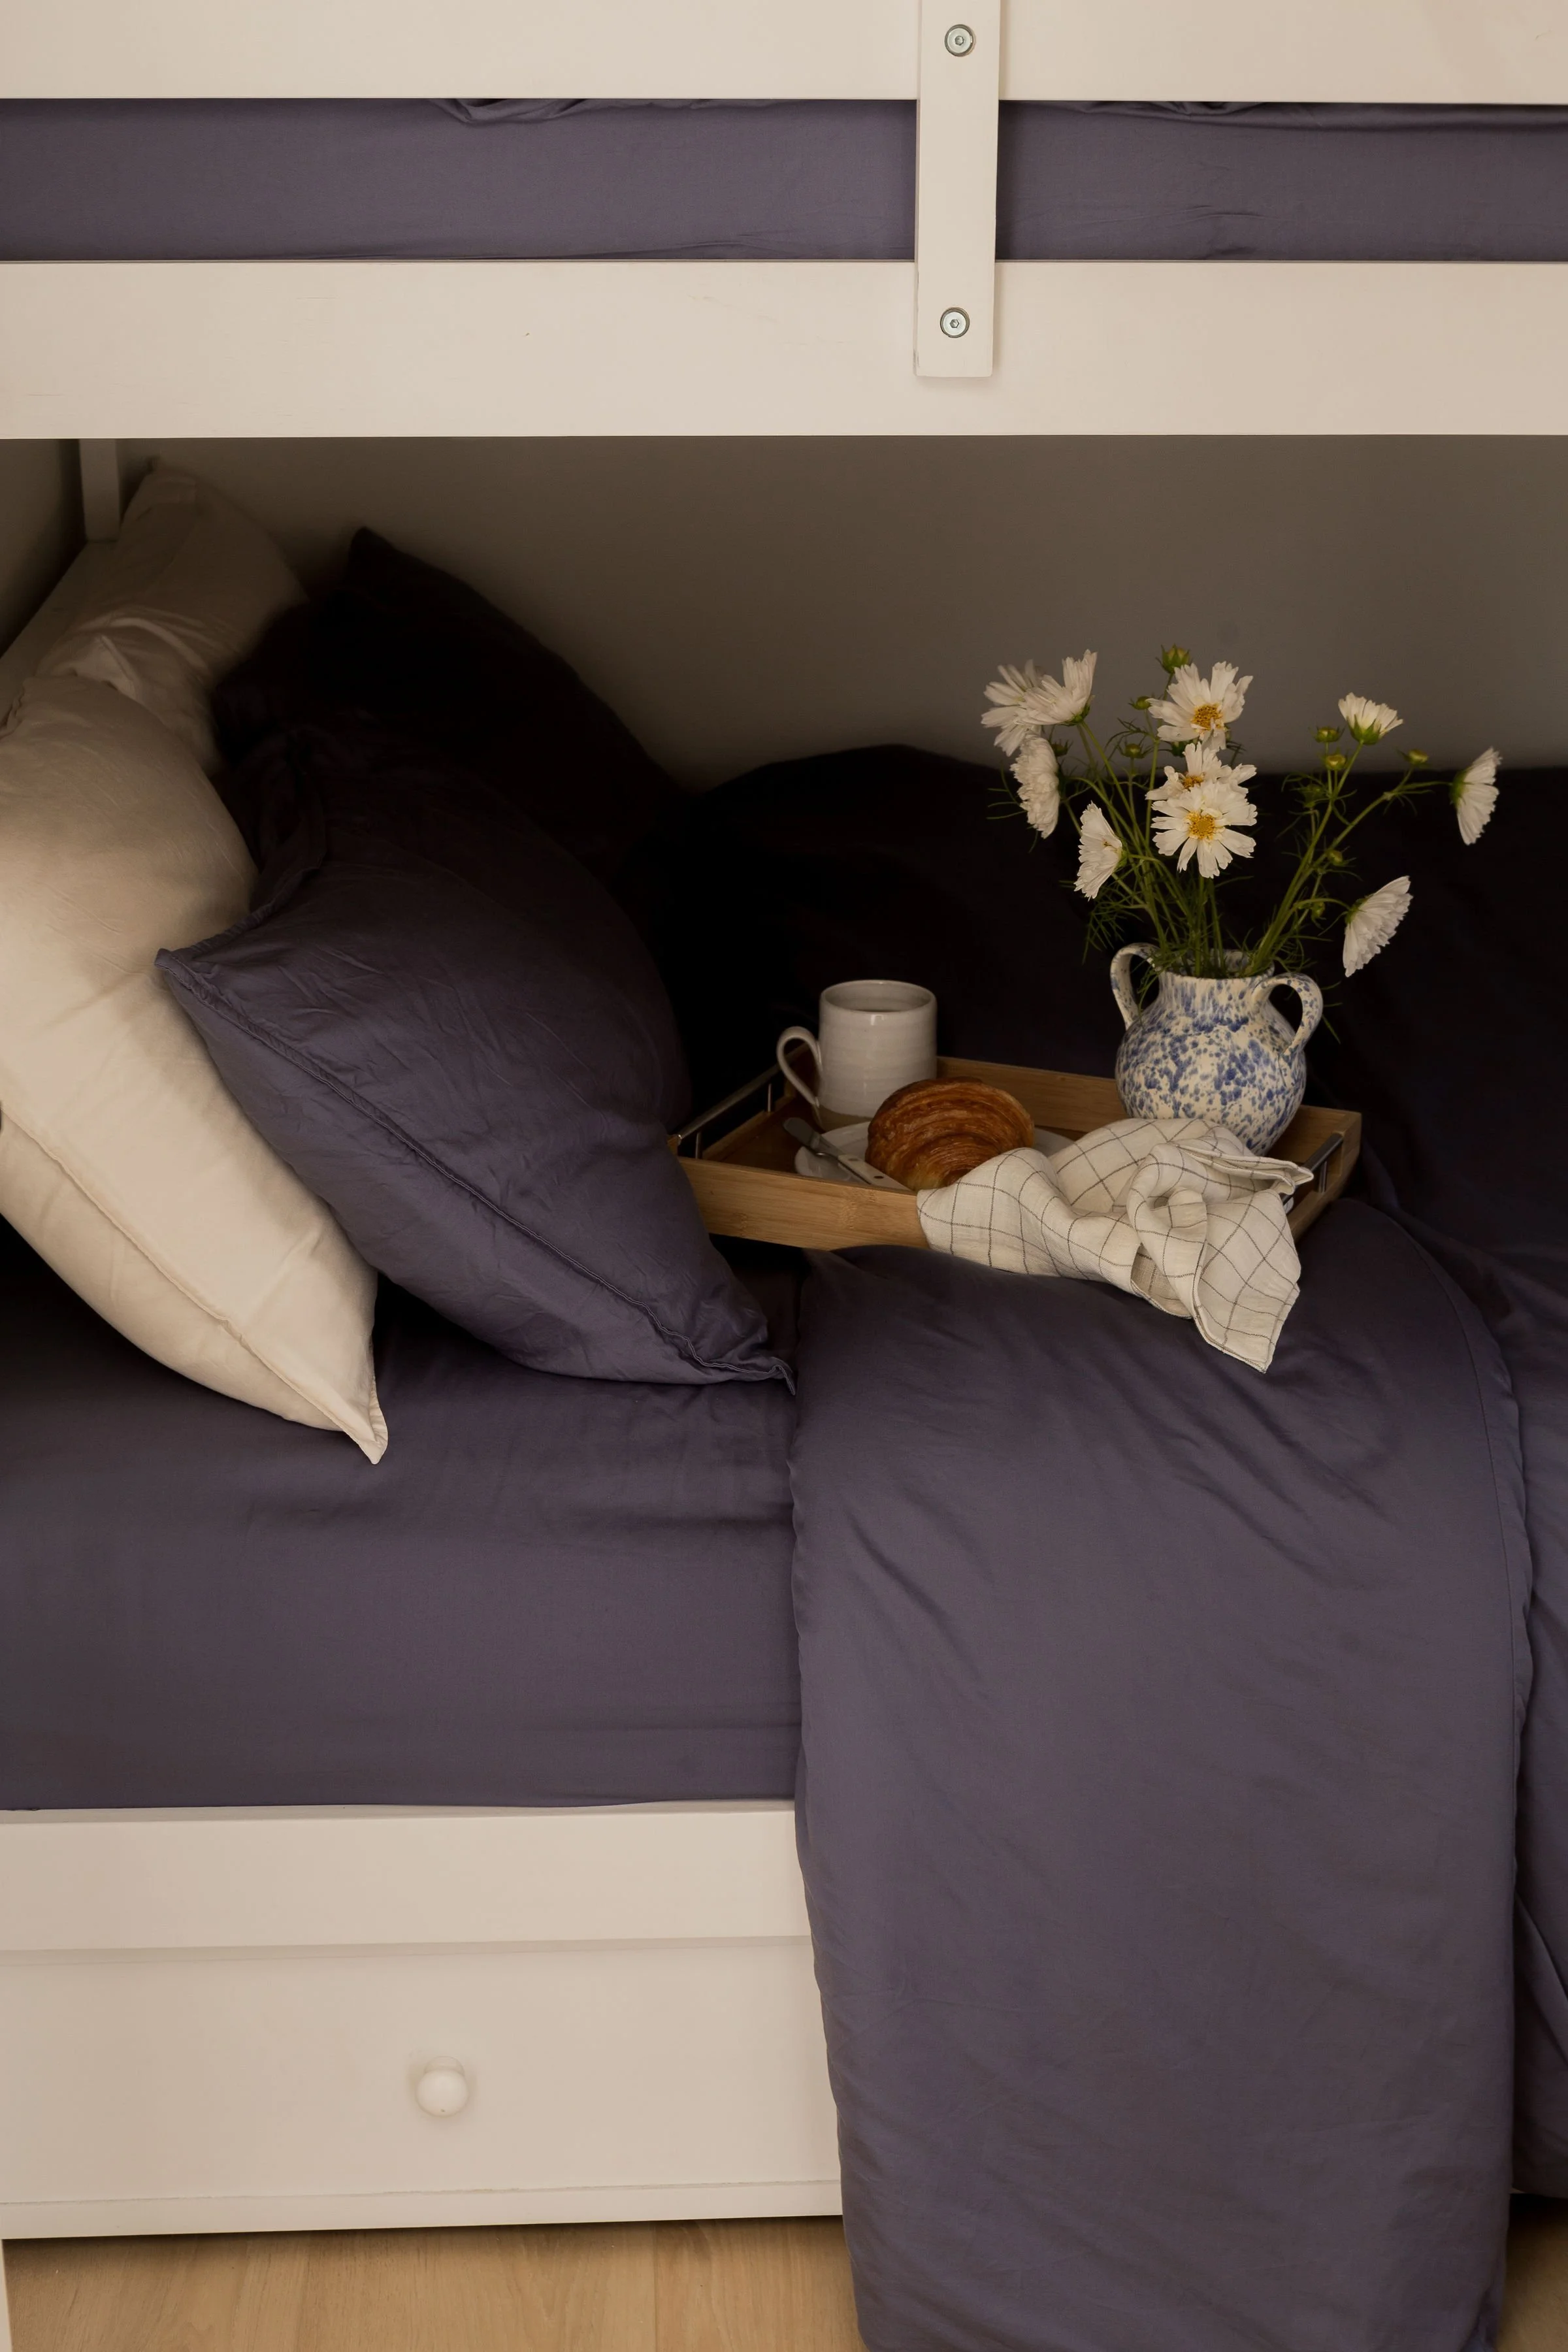
The second bedroom is about 9 by 7 feet and was designed around a queen bed. We even moved the wall two inches into the bathroom to make the room work. Again, every inch mattered.
For the bedding, we invested in Obasan mattresses, comforters and pillows. We've used Obasan for years and love their Canadian-made organic bedding. We also added organic wool toppers, which make the beds feel incredibly cozy. Our sheets & duvet covers are from Terrera and are made from viscose from bamboo. They're soft, comfortable and have been especially nice for our family.
The overall goal for the bedrooms was simple: make them comfortable, healthy and practical without wasting valuable cabin square footage.
The Bathroom: Small, But So Much Better
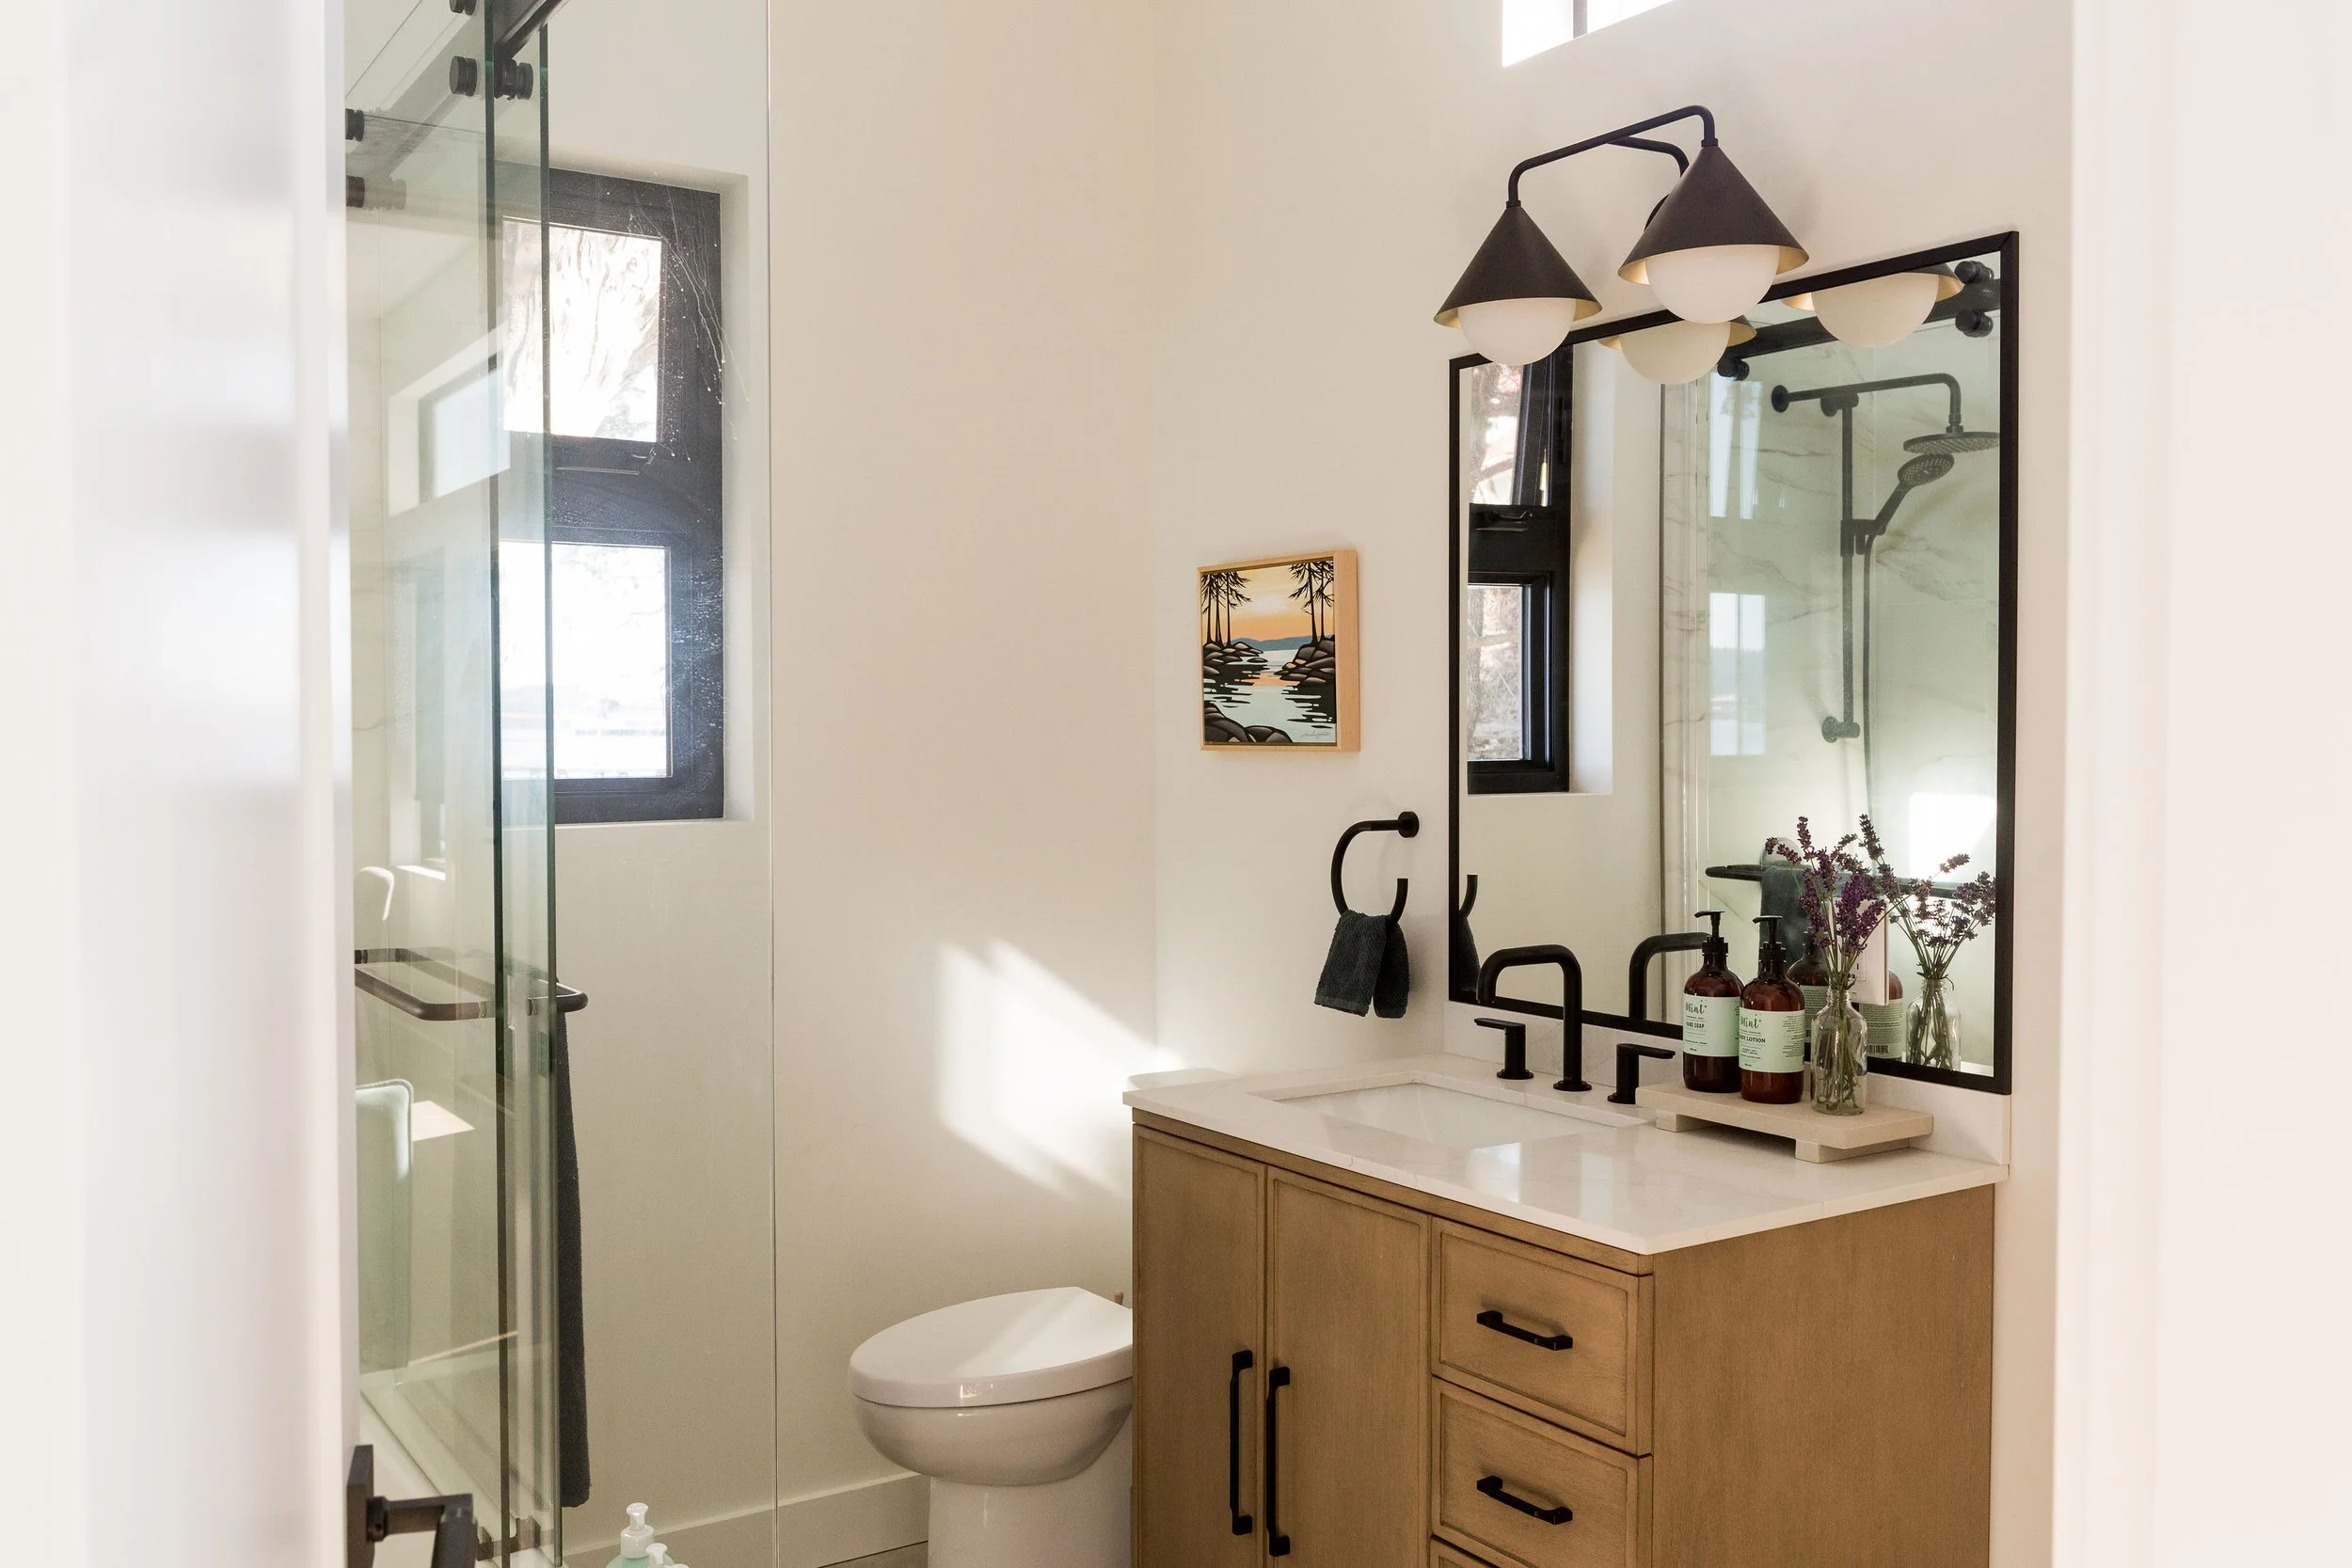
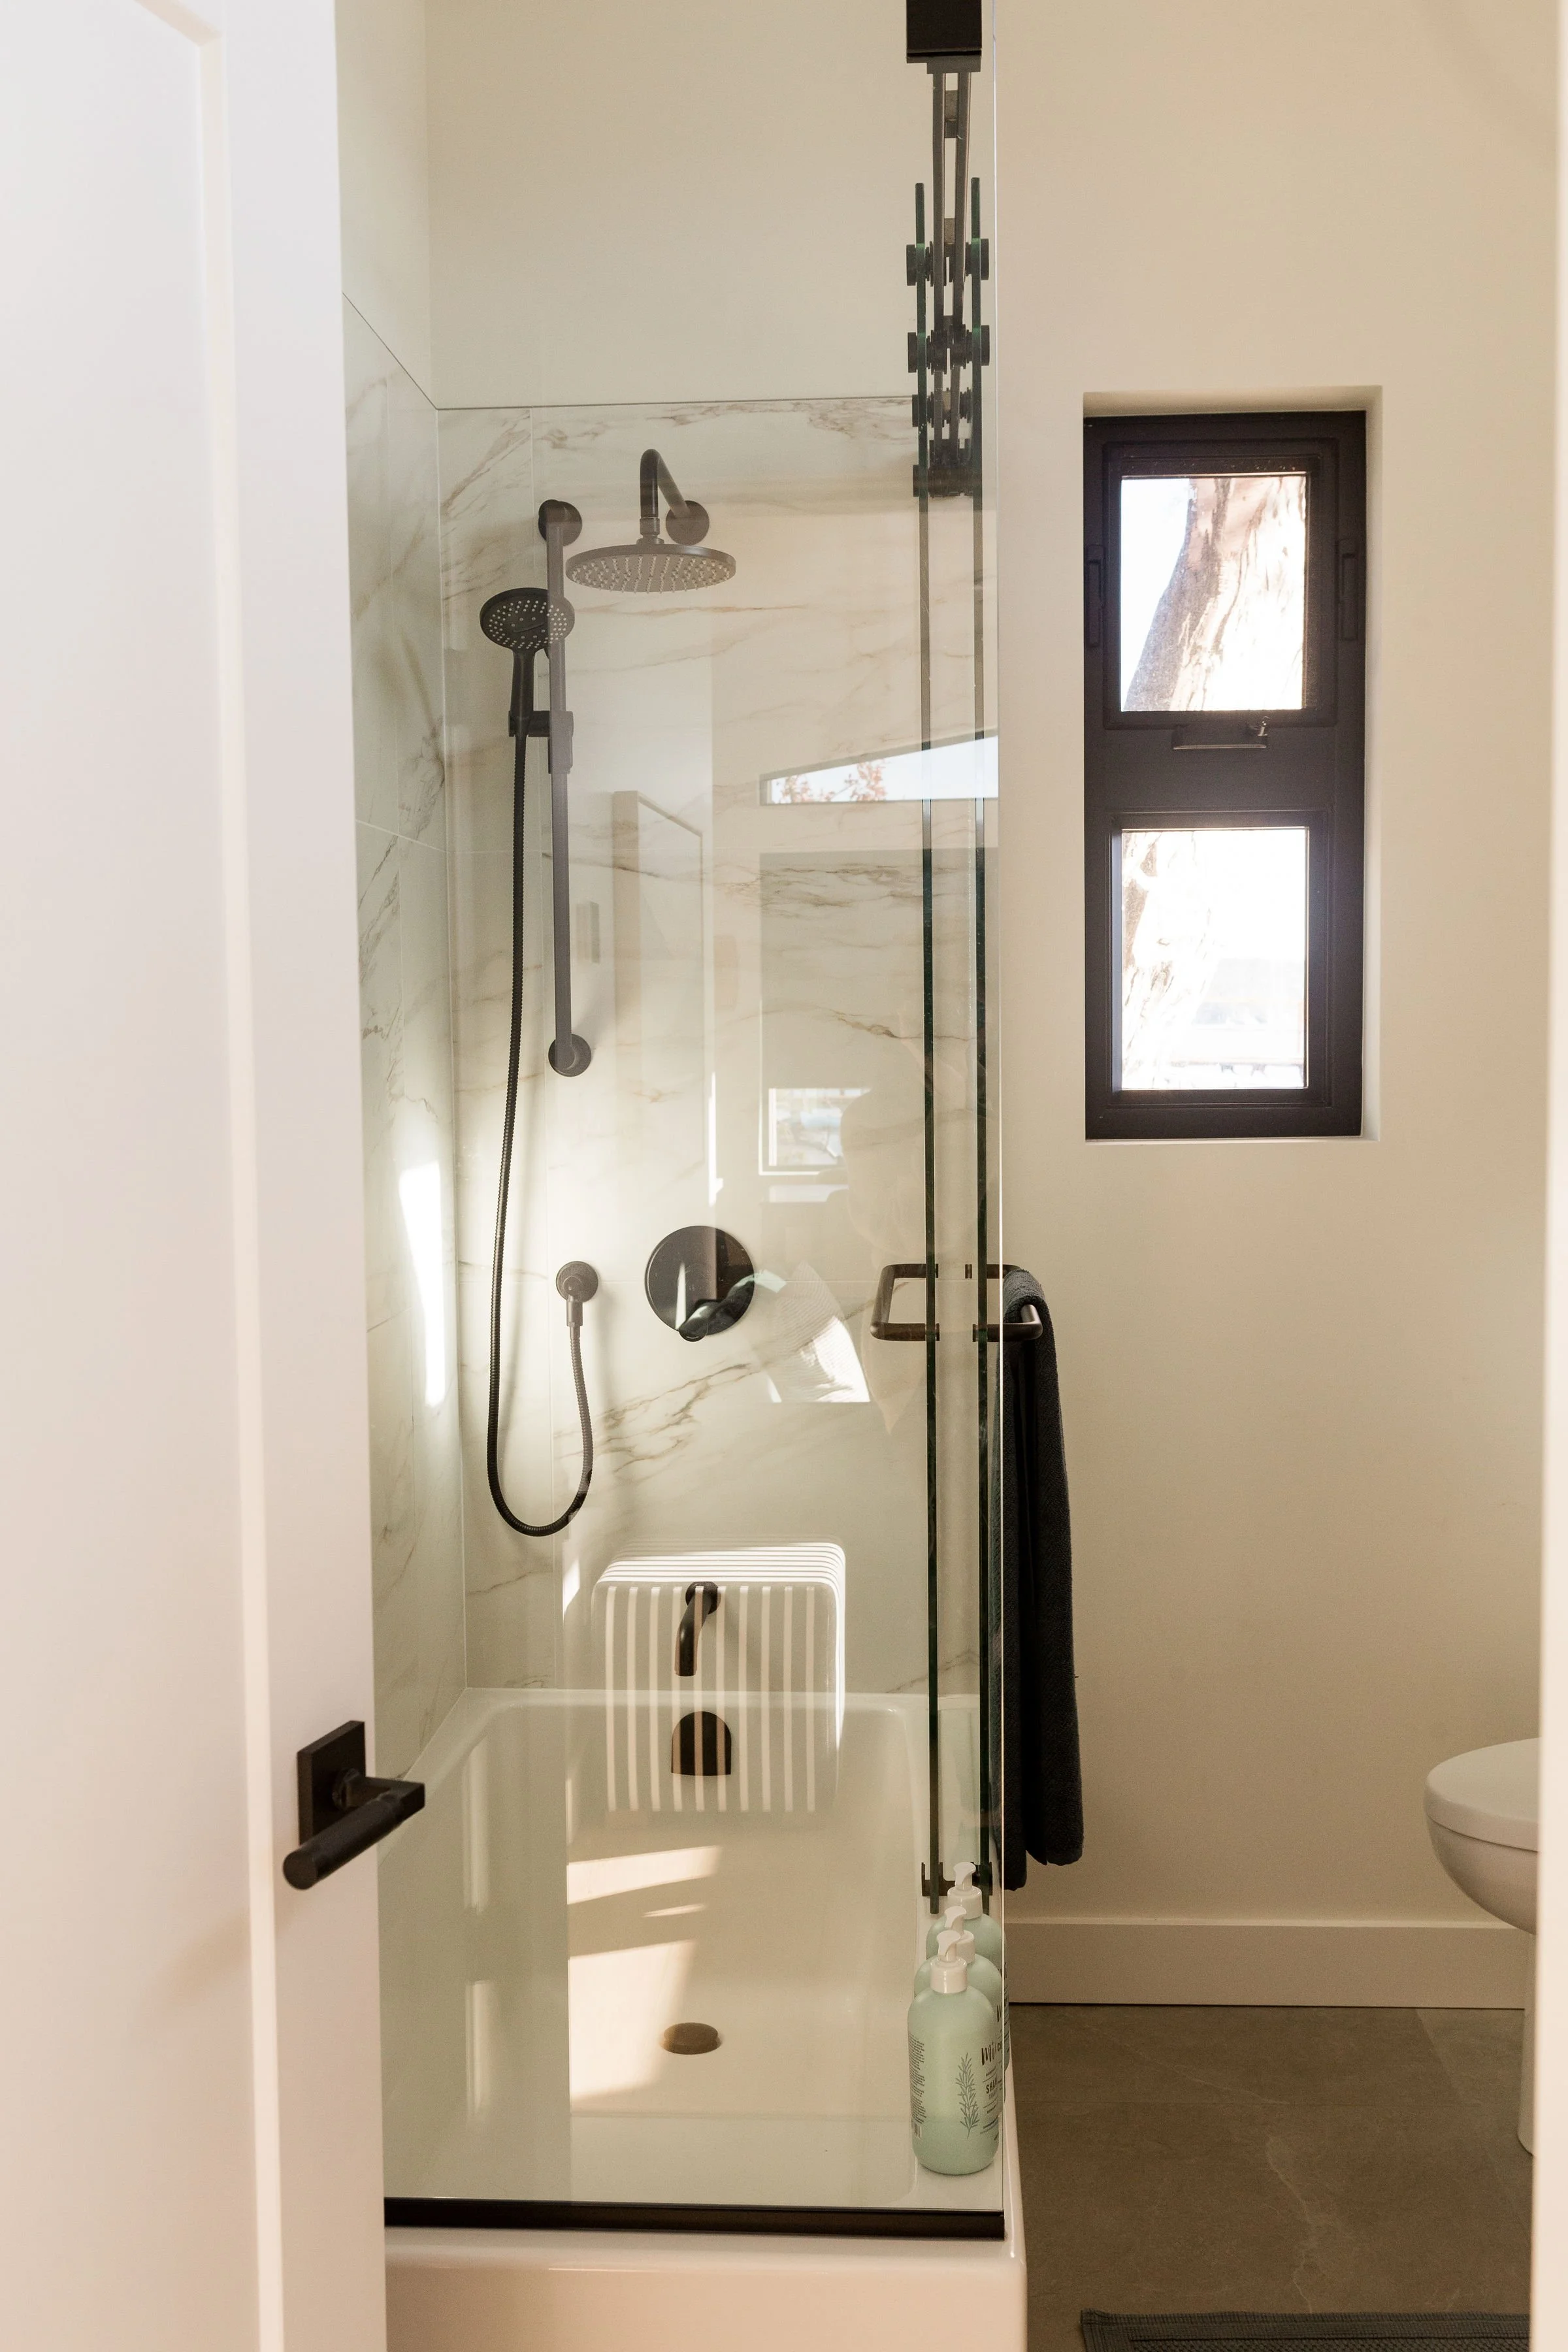
The bathroom was another space where we had to make every square inch count. Because the bathroom is long, we wanted to make it feel open rather than boxed in. One of the best decisions we made was doing custom glass.
The custom glass shower enclosure allows the eye to travel through the entire room instead of stopping at a shower curtain or bulky enclosure. It makes the bathroom feel noticeably bigger, which is exactly what we needed in such a compact space. We also chose a faux marble tile with warm brown undertones and black fixtures to make it feel modern.
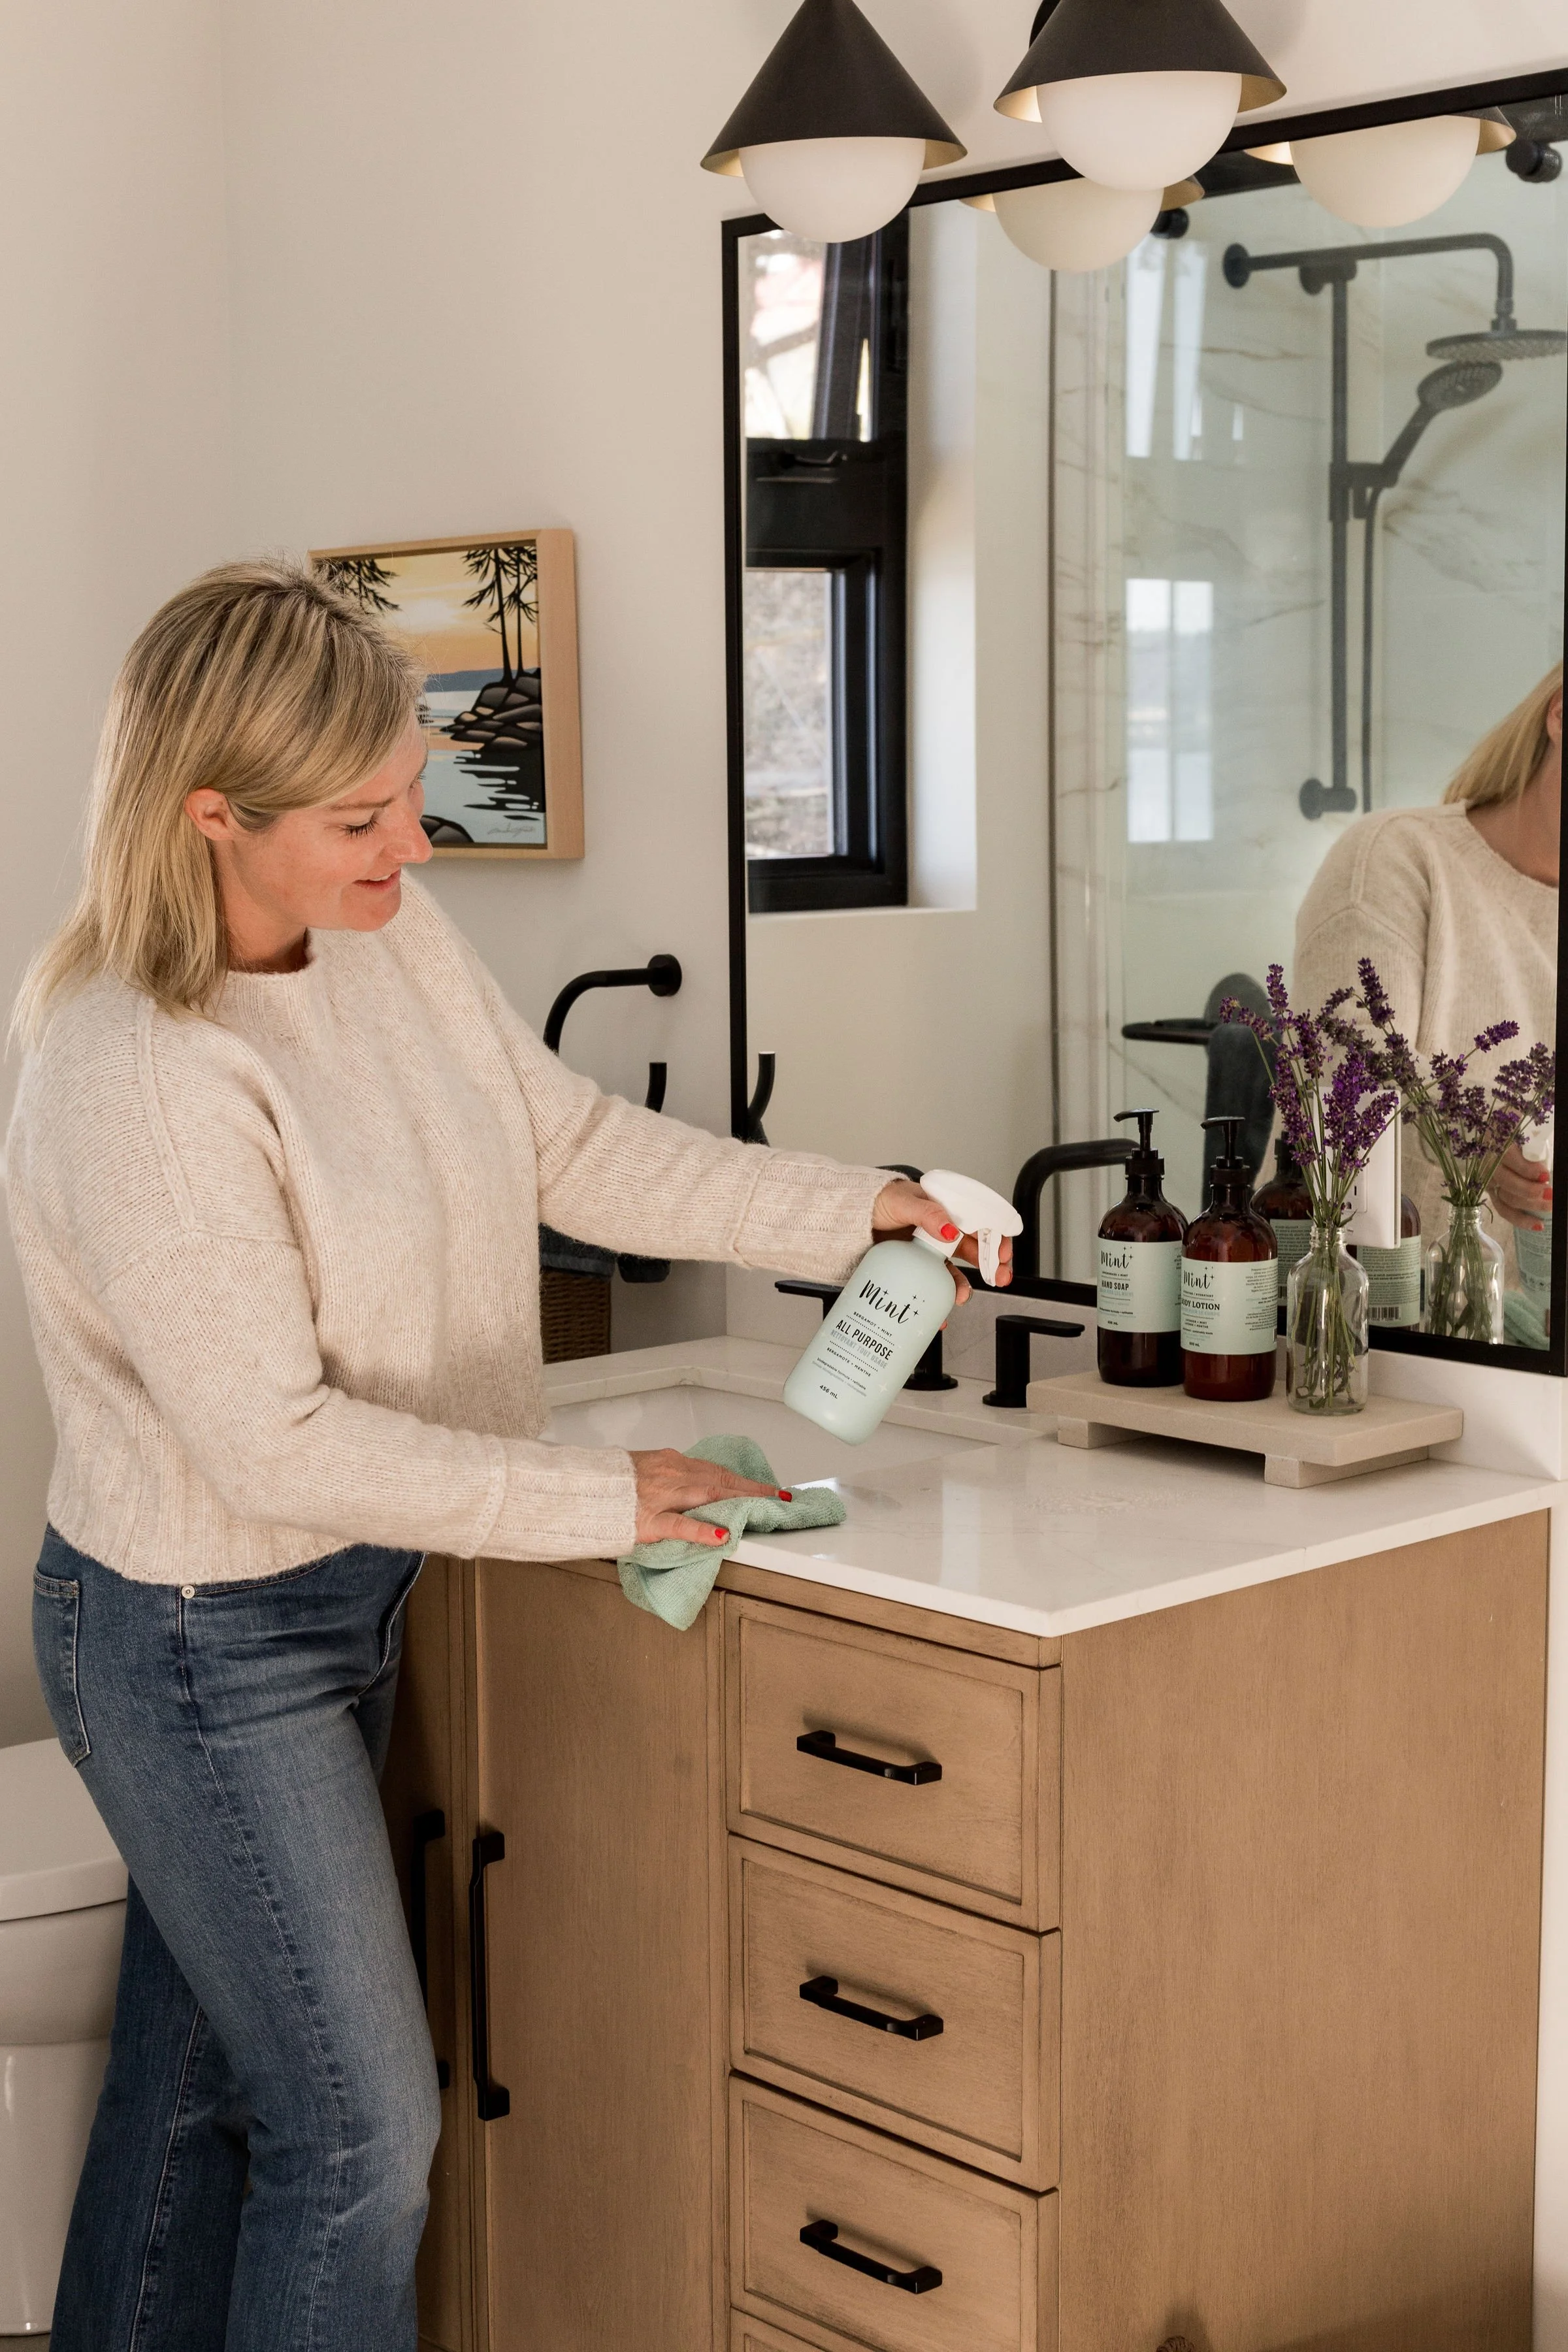
For the vanity, we went with a Costco vanity and did a custom mirror to make the space feel wider. The flooring is tile with a beautiful texture that gives it a beachy, almost natural-stone feeling underfoot. I keep Mint Cleaning (code tasha15 for 15% off) products on hand here. For a cabin that sees sandy feet, wet towels and plenty of outdoor adventures, having cleaning products that I feel good about using regularly is important to me and safe for septic!
Designing a Cabin for Real Life
Looking back at the renovation, I think my favourite part is that we didn't design this cabin for a photograph. We designed it for our family. We thought about where the kids would sleep, where everyone would sit, how much storage we needed, where we would cook, how we would clean, how many people we could comfortably host and how the cabin would work for us years from now. We thought about sandy feet, wet towels, big family dinners, morning coffee, board games, storm watching and fireplace nights.
And all those little everyday moments that make a place feel like home.

* Note: Some links featured in the above post are commissionable/affiliate links.